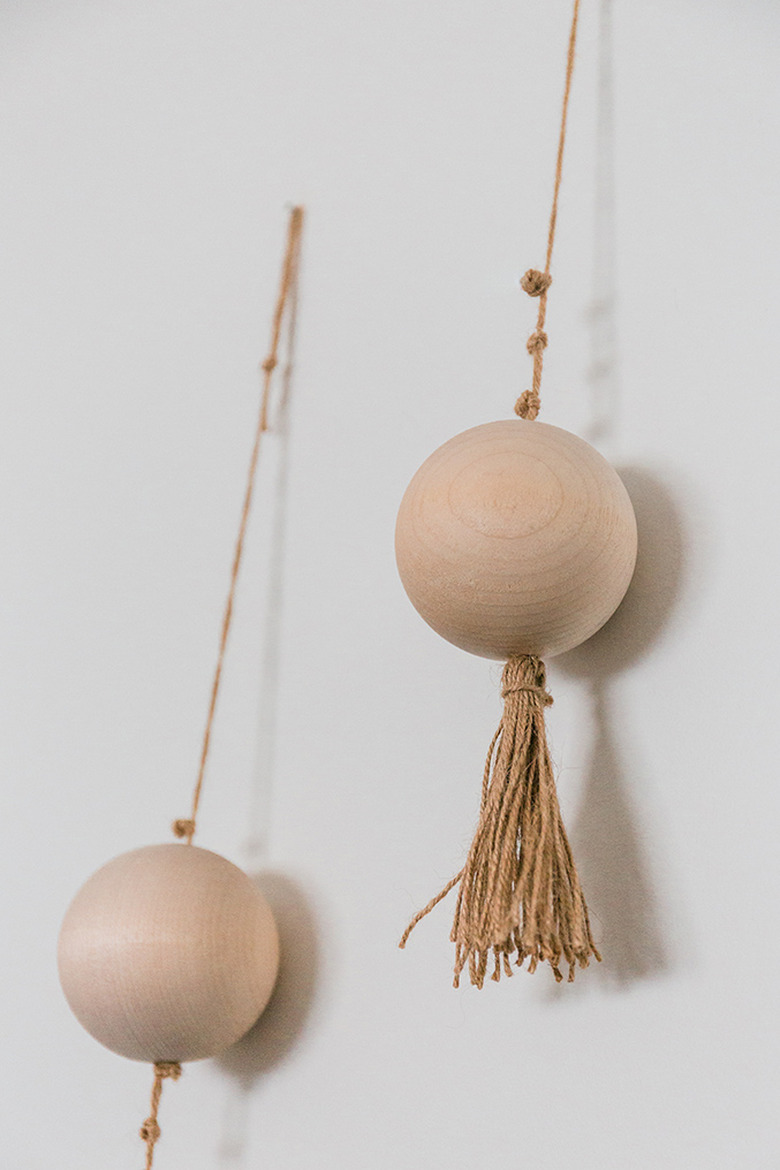
Easy Weekend Project: DIY Bohemian Wood Bead Wall Hanging

We may receive a commission on purchases made from links.
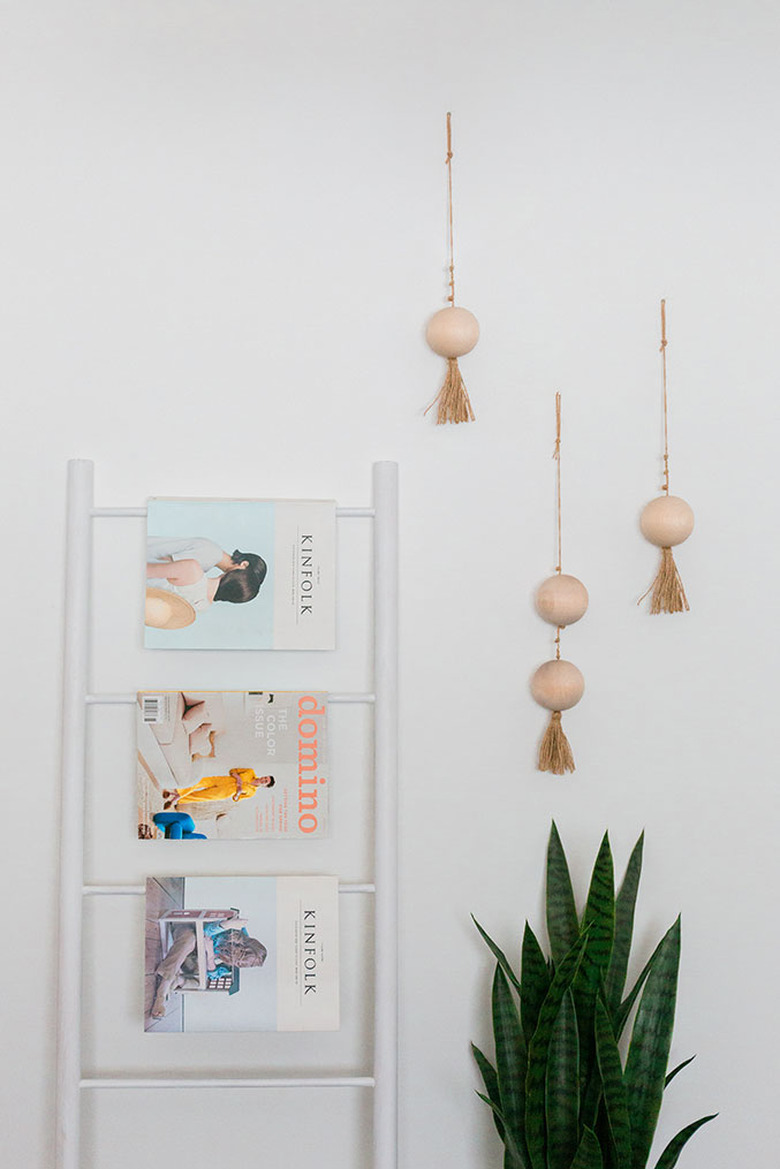
Trust us, Hunker readers, you're going to have a ball with this boho, earthy art project! (Ba dum tss!) OK ... cheesy puns aside, we really do think you'll love how easy this multi-piece wall hanging is to make. Here's how to pull it off in seven simple steps.
 Carrie Waller
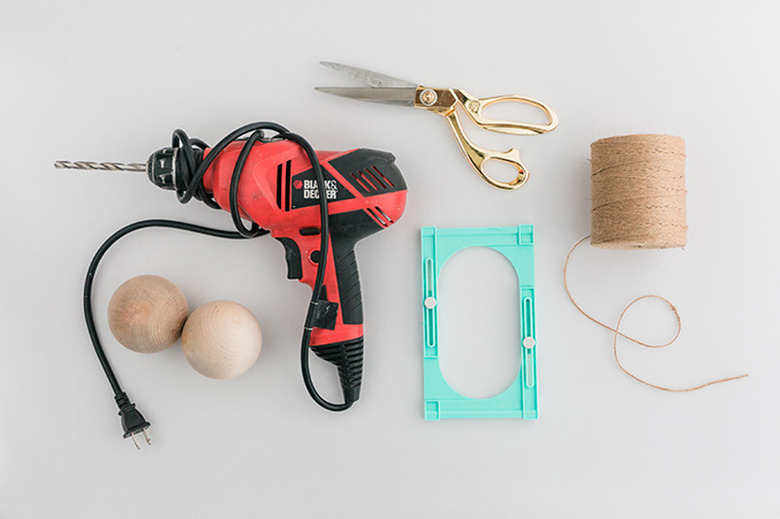
Things Needed
Note: For this DIY, we went with the neutral look, but you could always experiment with painting the balls or dying the twine.
 Carrie Waller
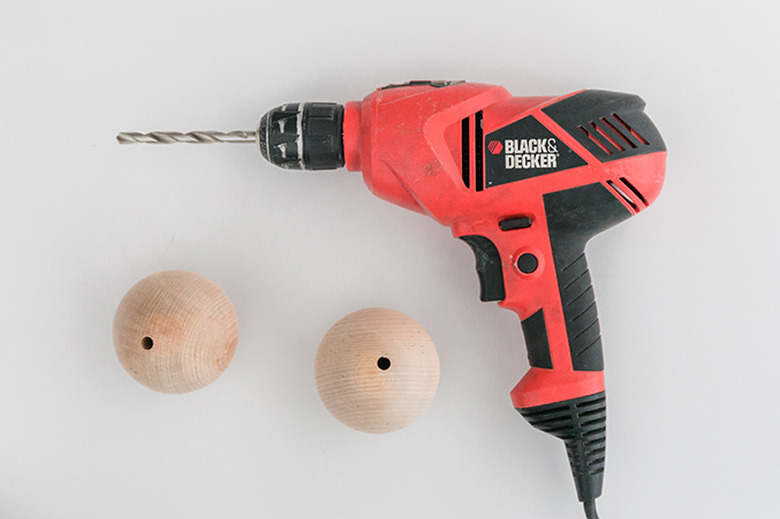
Step 1
Securely clamp the first of your 3-inch wood balls in a vise. Outfit a corded power drill with a 5/16-inch bit, then drill a hole straight through the middle of the ball.
 Carrie Waller
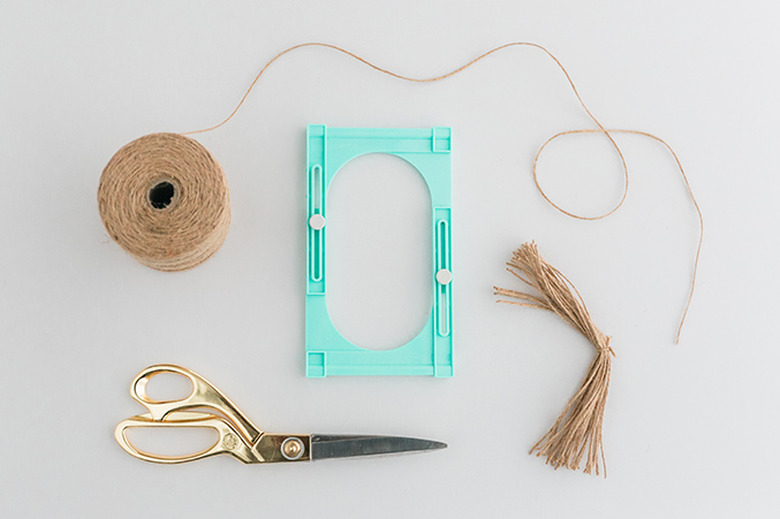
Step 2
Use the tassel maker and its accompanying instructions to fashion handmade tassels from twine. It's important not to completely finish the construction of your tassel, though, as you'll see in the following step. Go so far as knotting the tassel in the middle and cutting the ends off the tassel maker, and then move on to Step 3.
 Carrie Waller
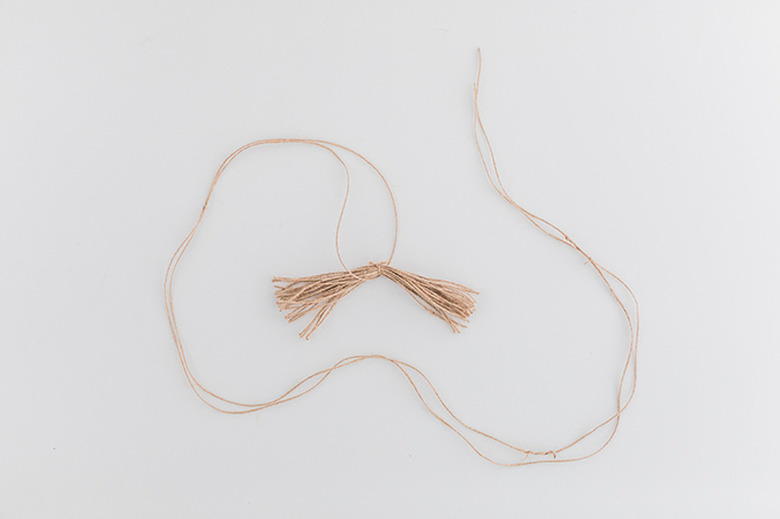
Step 3
Use scissors to cut a piece of twine 6 feet long. Fold it in half and situate it around the middle of your partially finished tassel, exactly as you see pictured here.
 Carrie Waller
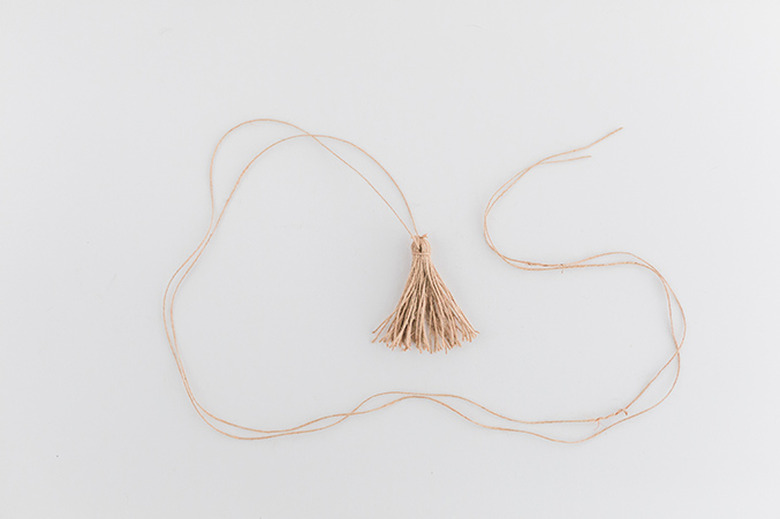
Step 4
Close the tassel around the long piece of twine, and knot it together with another small piece of cut twine to finish it off. Trim off the ends of the tassel to even it out.
 Carrie Waller
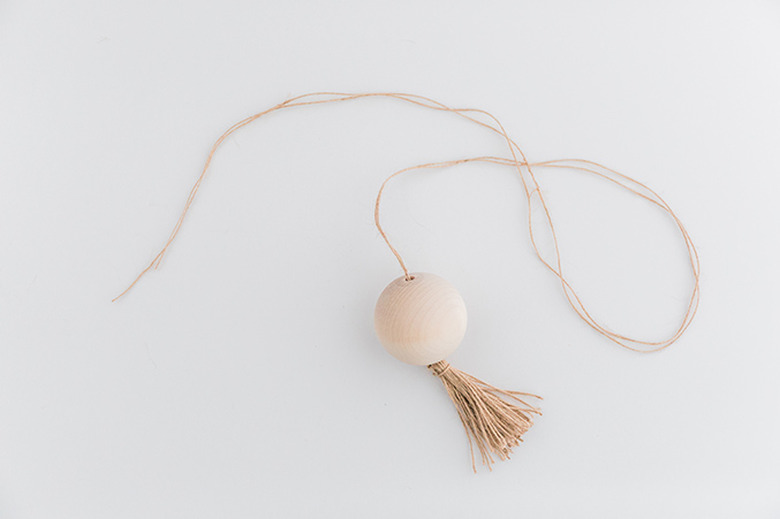
Step 5
Thread the long twine end through the wood ball. Pull the twine taut until the tassel hits the bottom of the ball.
 Carrie Waller
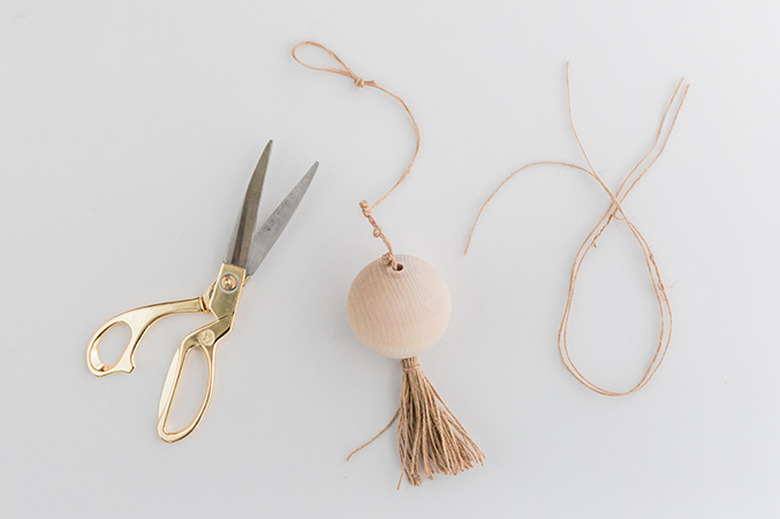
Step 6
Tie a few decorative knots along the length of the twine. Decide how long you want the finished wall hanging to be, and then fold the end over itself and knot a loop into the end. Trim off any excess twine that you don't need.
 Carrie Waller
Step 7
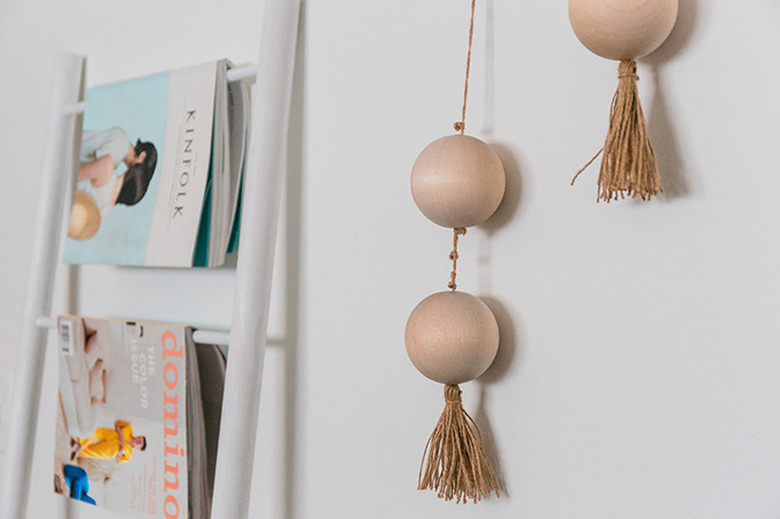
Repeat the process step-by-step for however many wall hangings you'd like to make. Note that you may use more than one wood ball to achieve a layered look on one string! Hang the finished threaded wood balls on your wall using a hammer and hanging nails.
 Carrie Waller
 Carrie Waller