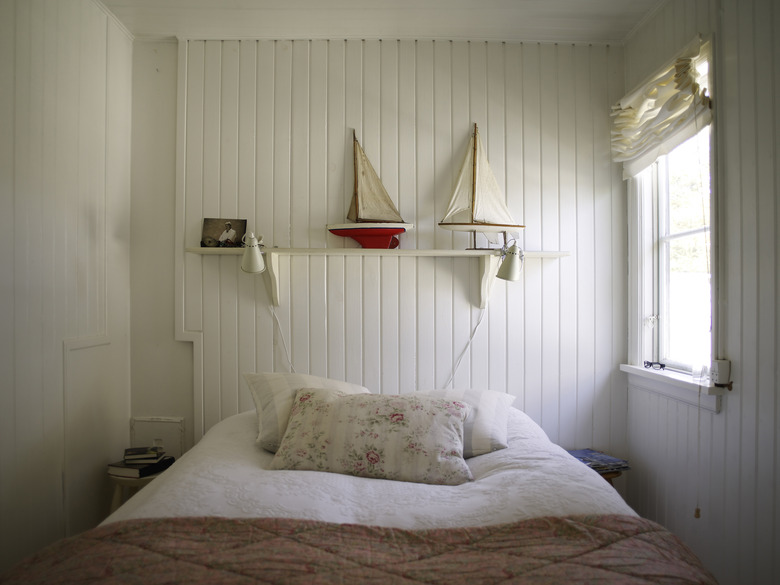
How To Paint Wood Paneling
Painting wood paneling isn't a whole lot different from painting any ordinary wall or ceiling surface. The preparation, as always, is the most important part. For both solid-wood planks and wood sheet paneling, prep includes priming all surfaces to even out the coloring and prevent "bleed-through" of dark spots or knots. If the old wood isn't bare (it usually isn't) it should be sanded or deglossed prior to priming. And with solid tongue-and-groove planks, you might want to caulk between the boards to help prevent cracks in the paint. Once the prep work is done, you'll be ready to paint with a standard roller and brush, using any paint you like.
 Jakob Valling/Cultura/GettyImages
Sand the Wood Paneling
Sand the Wood Paneling
If your old wood paneling is wood-colored (that is, it hasn't yet been painted), chances are it has a clear protective finish, such as urethane, shellac, lacquer, etc. This may give it a slight sheen and, worse, may prevent your paint from sticking to the wood. The solution is to sand the surface with sandpaper. This does two things: it scratches the glossy finish so the primer can grip to it, and it smooths out rough spots that might otherwise show through the paint job.
Sand your wood paneling with 180- or 220-grit sandpaper if the surfaces are pretty smooth. If they're rough and need some knocking down, use 150-grit paper. Wear a good dust mask or respirator so you don't inhale the sanding dust. When you're done, carefully remove all the sanding dust from the wood with a rag or a vacuum with a brush attachment.
If you really don't want to sand (some people consider it a mild form of torture), you can treat the old wood finish with a liquid deglosser. This is strong chemical stuff that's usually applied with a rag or foam brush. Follow the manufacturer's directions carefully.
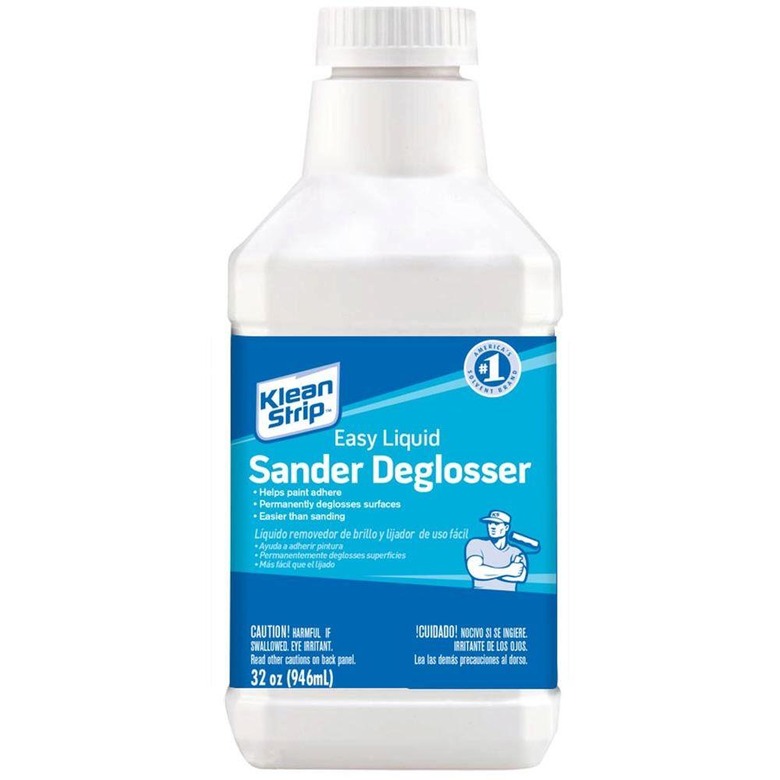 Klean-Strip/Home Depot
Caulk or Spackle the Wood Paneling
Caulk or Spackle the Wood Paneling
The next major step is priming the paneling, but depending on several factors, you might want to caulk and/or spackle as well. If the paneling is made of solid-wood, tongue-and-groove planks (such as knotty pine or traditional beadboard paneling), the planks are continually expanding and contracting with seasonal humidity changes. You don't notice the movement when the wood is bare or clear-coated, but when it's painted, the joints between the planks can develop hairline cracks along the joints as the wood moves. Paint is a fairly elastic material and often stretches enough so that it doesn't crack, but over the years it gets more brittle and is more likely to crack. Also, if the planks aren't fitted snugly together and show some gapping, paint probably won't span the gaps, leaving your finished paint job with dark lines from the gaps.
If you do choose to caulk, use a high-quality paintable caulk, apply it with a fine bead, and smooth it along the plank joints with your finger. It should be invisible once it's painted. You can caulk either before or after priming. A lot of pros prefer to caulk after priming because the primer helps expose gaps and holes, and real sticklers like to prime both before and after caulking, but the choice is up to you.
If you have sheet paneling (sometimes called "faux wood" paneling, a term that isn't quite accurate because most 70s-style paneling is a type of plywood with real-wood face veneer), it might have a lot of holes made by the nails holding up the paneling. If so, fill these in with spackling compound applied with a putty knife. Let the spackle dry, then sand it flush with the surrounding surface. Do this before priming the paneling because the spackle should be primed over before you paint.
Prime the Wood Paneling
Prime the Wood Paneling
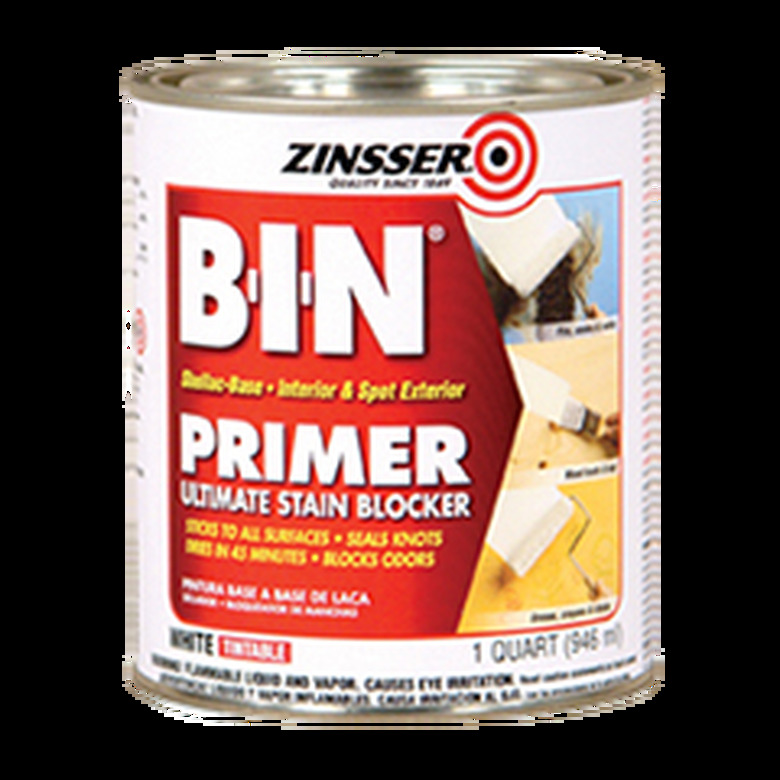
Primer is critical for wood paneling because it prepares the old, dry wood for paint and helps hide dark lines (common on sheet paneling) and knots (common with solid-wood planks). To make sure the dark areas and knots stay hidden, it's important to use a stain-blocking primer. For serious cases, the ultimate cover-up is shellac-based primer, such as Zinsser B-I-N; this seals over knots, oils, smoke, crayon...you name it. It's very strong stuff, so ventilate the area well.
 Rustoleum
Apply primer to the dark lines or plank joints first, using a brush. Also "cut in" along all edges of the paneling with a brush, as when painting. Then, use a brush or standard paint roller to prime the remaining surfaces. Let the primer dry completely as directed.
Paint the Wood Paneling
Paint the Wood Paneling
Once it's prepped and primed, any interior paint will work for wood paneling. Choose a sheen based on how flat or glossy you want it to look and how durable and washable you want it to be. Glossier, or higher-sheen, paint is more durable and washable, but it shows surface imperfections more than does a flatter paint.
Apply the paint just as with any wall or ceiling: cut in with a brush, then roll or brush the remaining areas. Using a roller on grooved paneling or tongue-and-groove planks can be a little tricky. Try a 1/2-inch- or 5/8-inch-nap roller cover, and tip the roller slightly to get it into the panel grooves or joints. If the paint drips or collects in the grooves, back-brush them (brush after rolling) to smooth it out and prevent drips. Always brush parallel with the planks or panel grooves. An angled sash brush is good for getting into tight spaces.
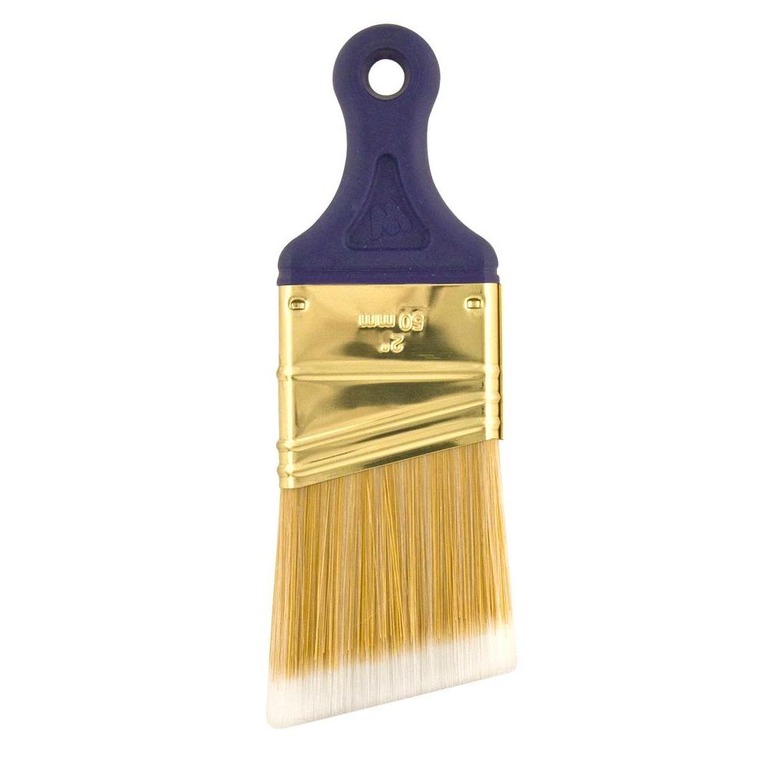 Wooster/Home Depot
As with other interior surfaces, two coats of paint are standard for paneling. However, if you see knots or dark spots bleeding through the paint, don't keep painting over them because paint may never cover them. Spots can also appear later. When dark spots bleed through, spot-prime those areas with a stain-blocking primer (shellac-based primer comes in aerosol cans for quick application) and repaint over the primer.