How To Transplant Agave Plants
We may receive a commission on purchases made from links.
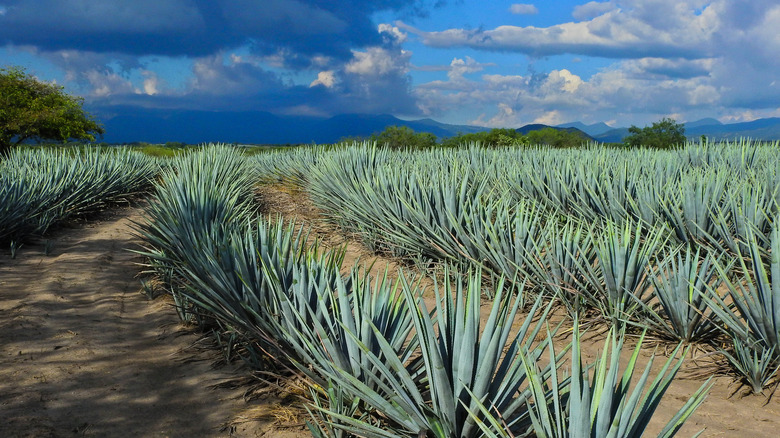
Agave plants (Agave spp.) thrive in desert gardens and on sandy soils with little moisture. They grow as perennials in U.S. Department of Agriculture plant hardiness zones 9 through 11, depending on the species and cultivar. Although agaves die after flowering, they have a long flowering cycle and can live for eight to 60 years. These desert succulents transplant well and tolerate disturbance, so you can move the plants to a new area at any time during the spring and summer growing season.
Always Keep Safety in Mind
Always Keep Safety in Mind
Most agave species have sharp spines along the edges of the leaves. The sap is also a common skin irritant and can cause allergic reactions. Before handling the agave, protect your skin and eyes. Heavy leather gloves, long sleeves, and long pants provide skin protection. Wear eye protection so sap doesn't get into your eyes. Protecting the plant is also necessary. Sanitize with isopropyl alcohol any knives, shears or spade blades you will use to prune and cut through the plant to minimize bacterial soft rot and other fungal disease problems.
Prepare the Plants
Prepare the Plants
Small plants, called pups or offsets, often grow up around the base of the main mother plant. Each of these pups grows into a new agave if you separate it from the mother. Though roots might break during the separation process, it doesn't cause harm to the mother plant or her pups.
Separate the pups just below the soil surface with a knife or the edge of the spade, making sure some roots remain attached the small plantlet. Removing the outer leaves of a large agave plant lessens the weight during transplanting and results in a healthier looking plant. Peel the outer ragged leaves off the plant and dispose of them, leaving only the intact, healthy-looking rosette of leaves in the center. Tie a string loosely around a remaining leaf on the west side of the agave to mark it, but avoid tying it too tightly and cutting into the leaf.
Dig Holes Properly
Dig Holes Properly
A shovel lifts the entire plant and keeps you well away from the spiny foliage. Insert the shovel blade into the soil around the outer perimeter of the root zone, working around the plant until the soil is loosened. Slide the shovel under the root system and pry the agave out of the ground. After lifting the agave, dust any exposed wounds with sulfur powder to ward off infection. The wounds on any removed pups also benefit from a sulfur dusting before you replant them.
How to Transplant Agave
How to Transplant Agave
A site with sandy, fast-draining soil that receives all-day sunlight provides the best location for an agave or agave pup. Transplant at the same depth the agave was growing at previously and set it so the string-marked side is facing west. Planting agave so it faces the same direction protects the side that's accustomed to shade from sun damage.
Spacing requirements vary depending on the agave variety, so leave enough room between plants so they can reach their full size without crowding. If you can't transplant right away, set the agave in a shaded location for two or three days and let any wounds dry over.
After planting, cover the agave with a shade cloth to protect it from the direct sunlight as the roots establish in the new site, but remove the cloth as soon as new growth becomes apparent. Watering isn't usually necessary, but you can water just enough so the soil is barely moistened if the soil is completely dry and the plant has resumed growth.