How To Transplant Russian Sage
We may receive a commission on purchases made from links.
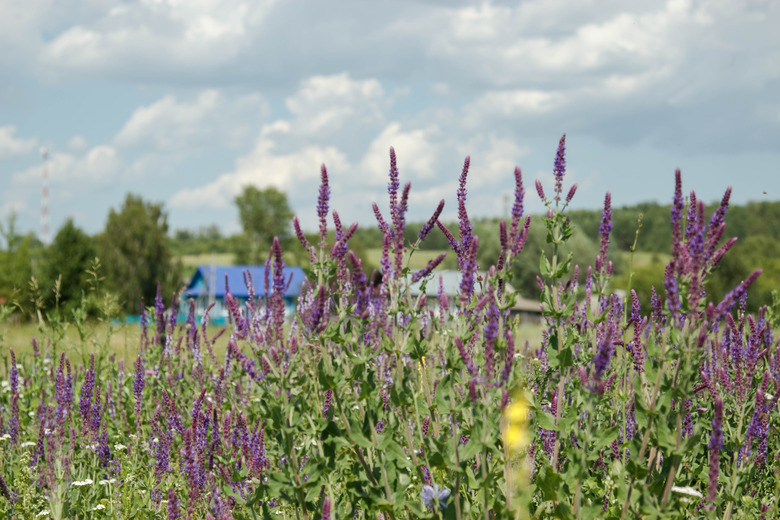
Russian sage (Salvia yangii, formerly classified as Perovskia atriplicifolia) blooms with bright purple flowers that resemble lavender, mixing well with its gray-green leaves and adding a depth of color to any garden. This hardy perennial plant (USDA plant hardiness zones 3-9) is drought resistant, and though it carries the name "sage," is not the edible culinary sage. Move your Russian sage to ground that will not flood in the winter or dangerously soak the plants root system.
When to Transfer Russian Sage
When to Transfer Russian Sage
Transplanting Russian sage can take place any time during the growing season. It grows best in full sun with well-draining soil that's slightly dry or has medium moisture. Growing Russian sage with less than eight hours of direct sun per day encourages flopping, though pruning in spring helps prevent this.
Preparing the Site
Preparing the Site
Loosen the soil and add compost to prepare the new growing site before transplanting Russian sage. The soil for growing Russian sage must be loose to encourage water to drain. Mixing compost over the planting site improves drainage and provides evenly moist soil. At any frost-free time of year, loosen the soil on the new growing site to a depth of 12 to 15 inches using a garden fork. Spread a layer of compost 2 to 4 inches thick, and mix it into the soil with the garden fork.
Digging Up Russian Sage
Digging Up Russian Sage
Russian sage requires careful removal to minimize damage to its root system. Growing 3 to 5 feet tall and 2 to 4 feet wide, Russian sage can have an extensive root system, and some damage is unavoidable. Digging up the plant carefully is unlikely to cause serious harm. Push a garden fork into the ground about 1 foot from the Russian sage's central stem, and lever the end of the fork upward.
Repeat this around the plant's base, slowly working the root ball out of the soil. Wear gloves when handling the plant, since the leaves may cause irritation or an allergic reaction for some sensitive gardeners. Lift the plant out, and put it down on the soil's surface. Break off excess soil in areas that contain no roots, to lighten the plant's weight.
Moving Russian Sage
Moving Russian Sage
Take the Russian sage to its new growing site immediately after digging it up to prevent its roots from drying out. Russian sage is drought-tolerant and low-maintenance and should suffer few problems from transplanting, but replanting it right away increases the chances of success. Dig a hole 2 1/2 feet wide and as deep as the depth of the Russian sage's root ball, which is usually about 1 foot. Place the plant in the hole so that it's level and sitting at its original growing depth. You may need to add or remove soil at the base of the hole. Fill in the gaps around the root ball with the excavated soil, and gently firm the plant in its hole.
Caring for Russian Sage
Caring for Russian Sage
Regular watering helps Russian sage quickly establish in its new site. Water the Russian sage using a garden hose fitted with a spray attachment. Spray water over the root area until it begins to puddle, but avoid washing away soil. Through the rest of the growing season, water Russian sage when the soil is dry to a depth of 2 inches. Russian sage grows sturdy, dense and upright if it is pruned in spring. Sanitize pruning shear blades by wiping them with rubbing alcohol and prune all Russian sage stems to 6-inches tall in spring before new growth appears. Sterilize the pruning shears again after pruning.