How To Build A Fence On Top Of A Concrete Slab
We may receive a commission on purchases made from links.
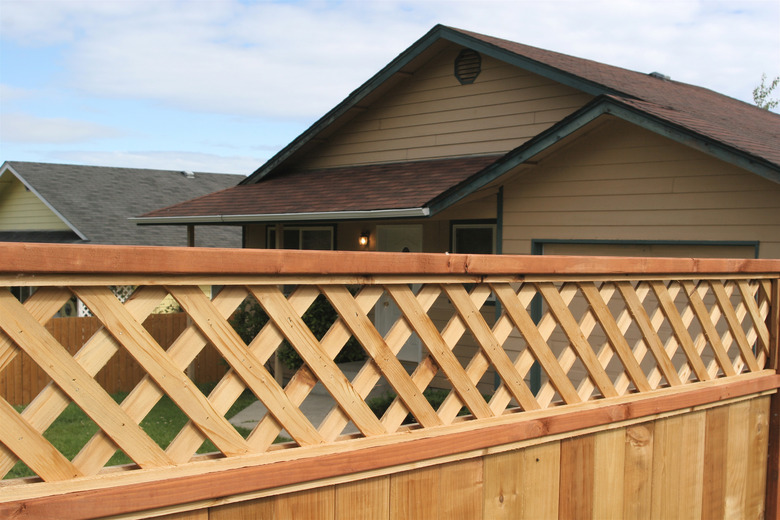
Building a fence on a concrete slab is easy. Unlike the case with standard installations, anchoring fences to slabs doesn't require digging post holes or mixing concrete, so planning out your fence is relatively easy. Builders use metal post brackets to anchor fence posts onto existing concrete slabs. Post brackets attach to concrete via concrete screws or concrete anchors. Brackets not only securely connect posts to the slab but also raise posts above the slab's surface to prevent deterioration. After anchoring posts with brackets, builders construct the fence as normal, attaching fence rails and fence boards.
Things Needed
-
Tape measure
-
Square
-
Electrical tape
-
Air compressor or tube brush
-
Pencil
How to Build a Fence on Top of a Concrete Slab
1. Stretch a Chalk Line Across the Slab
Stretch a chalk snap line across the slab to mark a line that indicates the outer faces of the fence's posts; do not position the snap line to indicate the posts' center line. Pull the line taut and snap the twine to mark the position. Stretch a tape measure along the chalk line and use a pencil to mark the position of each post along the fence's length, typically 6 to 8 feet apart on center.
2. Draw a Perpendicular Line
Align a square with a pencil mark that indicates the position of a post. Use the square and a pencil to draw a perpendicular line that indicates the inner, adjacent face of the post. Use the pencil and square to create a perpendicular layout line for each of the fence's posts.
3. Mark the Screw Hole Position
Align a post bracket with the layout lines that indicate the faces of a post. While holding the bracket in position, press a pencil through the bracket's bottom screw holes and mark the position of the screw hole on the slab's surface. Lay out screw hole positions for all the posts.
4. Drill Holes
Mount a masonry drill bit to the combination hammer drill and switch the drill to the hammer setting. Wrap electrical tape around the bit's shaft to indicate the desired depth of the screw hole; concrete screw manufacturers include depth guidelines on concrete screw packaging. Bore through the screw holes marked for each post until the electrical tape reaches the slab's surface. Remove concrete dust from the holes with air blasts from an air compressor or cleaning with a tube brush.
5. Drive a Screw Into the Hole
Attach a driver bit to the combination hammer drill and switch the drill to the drill and driver setting. Position a post bracket over the screw holes. Press the tip of a concrete screw through the bracket and into the screw hole. Drive the screw into the screw hole to secure the bracket to the slab. Secure the post brackets to the slab by driving screws through all the brackets' screw holes.
6. Bore Bolt Holes to the Fence
Lay out the position of the brackets' bolt holes onto the end of the fence posts with a tape measure, pencil and square. Attach a wood drill bit to the drill and switch the drill to the drill and driver setting. Use the drill to bore bolt holes through the bottom of each fence post.
7. Bolt Remaining Posts
Hoist a post into a post bracket. Align the post's bolt holes with the bracket's bolt holes. Run bolts through the bracket's bolt holes and through the post until the bolts' threaded ends protrude from the opposite side of the bracket. Place a washer over the threaded ends of the bolts and thread nuts onto the bolts. Tighten the nuts first by hand and finish tightening with adjustable wrenches. Hoist and bolt remaining posts into place.
Tip
Installing concrete screws might not require a hammer drill; consult your screw manufacturer's suggestions for tool requirements.
Attach rails and fence boards with a nail gun. Alternatively, attach rails with a hammer and rail support brackets.