How To Build A Dog-Ear Fence
We may receive a commission on purchases made from links.
Dog-eared fences are as delightfully visual as their name — and they can help break up the monotony of flat-topped fences in the neighborhood. With its tips cut at an angle, a dog-ear fence can add a charming aesthetic to any backyard or patio space. How you space your slats can also offer a more visually pleasing boundary. Of course, before installing a dog-ear fence, there are a few things to consider.
What Is a Dog-Ear Fence?
What Is a Dog-Ear Fence?
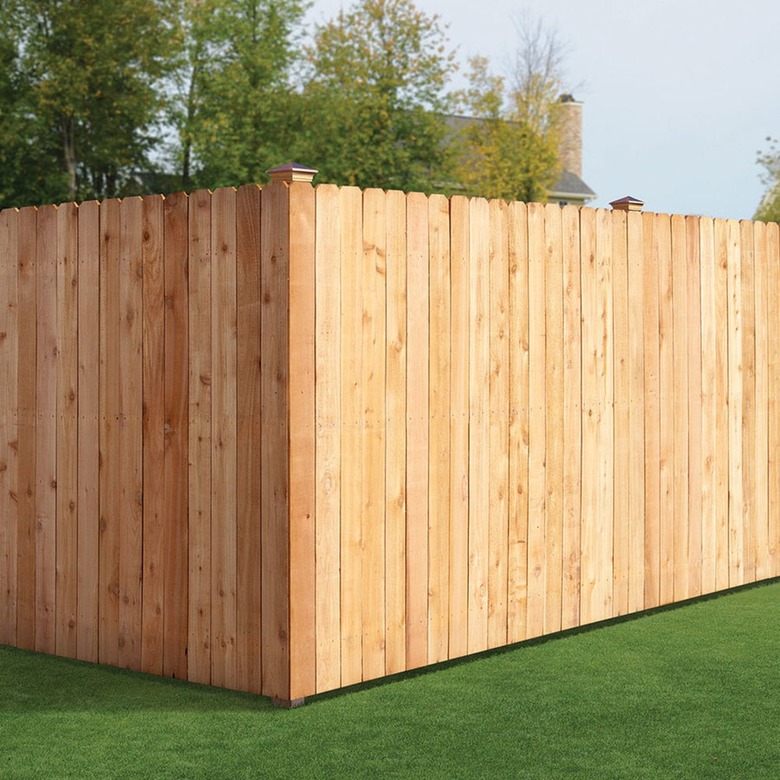
A dog-ear fence is a fence made up of boards, or pickets, that have sawed off corners, giving it a dog-ear look. Solid dog-ear fences do not have spaces between the pickets, while spaced dog-ear fences have gaps between the pickets so air can flow freely. This also allows neighbors to peak into your property, although they won't see much. The spacing of the pickets offers a limited view.
Vinyl dog-ear fences are manufactured in sections. They cost a bit more than wood dog-ear fences, but the maintenance is considerably less and installation is easier.
Composite dog-ear fences are the most durable and therefore come in at a higher cost. They usually come with a 20-year warranty and require little to no maintenance throughout their life.
How to Cut and Install Dog-Ear Slats
How to Cut and Install Dog-Ear Slats
Dog-ear slats have flat tops, just like standard ones, but the corners are cut to angles rather than being 90 degrees. This is easy to do with a circular saw.
- Cut the top of the board at an angle that intersects the top of the board about an inch from the edge
- Flip the cutout around and use it to mark the angle on the other side of the board.
- Use the first cutout to mark all the others so that they will all be identical (or as close to identical as possible).
- Once you've cut all the dog ears, drive two or three screws through the slat into each of the fence rails to secure it.
- To prevent warping, the outside screws should be about an inch from the outside edges of the slats.