Easy Way To Grout Patio Pavers
We may receive a commission on purchases made from links.
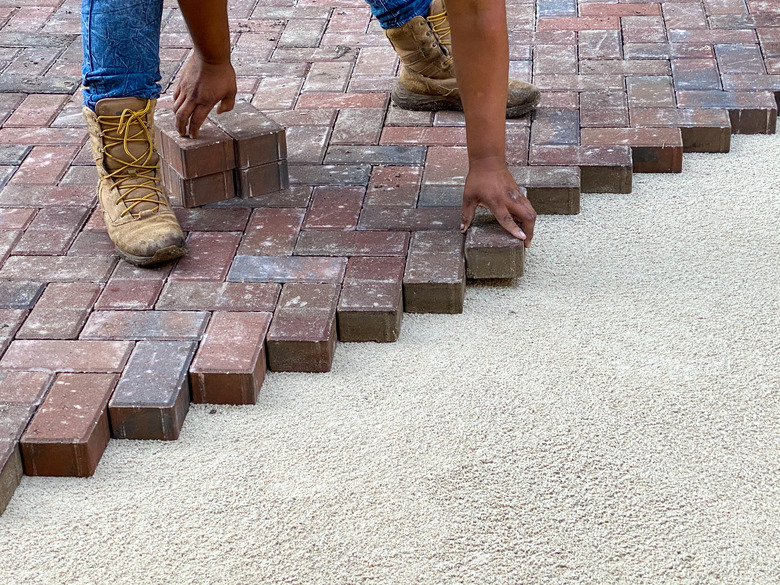
Whether you're installing a new paver patio or fixing up a neglected one, you're going to need something to fill the spaces between pavers and keep them locked securely in place. Of the two common methods for grouting pavers, one method is the clear favorite among homeowners and patio professionals alike. (Hint: It's sand.) This is a pretty simple project that shouldn't take more than an hour of hands-on labor for a small patio. But before you start filling in the gaps between patio pavers, check the forecast. Save patio grouting for a stretch of sunny days when rain is unlikely to wash away all your work.
Options for Grouting Pavers
Options for Grouting Pavers
Homeowners have two main choices for filling the spaces between patio pavers. Using dry mortar between pavers is the first. This method should hold the patio in place for several years. The biggest downsides of using cement between pavers are that it's labor-intensive and that grout is porous and will start to fall apart after prolonged exposure to precipitation. If you're going to try it, using grout bags makes installation as easy as possible; simply fill the bag with grout, pipe it into the joints, and use a stiff brush to remove excess grout before it dries completely.
The second method — filling the spaces between pavers with sand — is easier and less messy and can be even more long-lasting than using paver grout. By using polymeric sand, which is made with additives that cause the sand to harden once wet, grouting a patio can be as simple as pouring and sweeping.
Things Needed
-
Garden hose or pressure washer
How to Grout Pavers With Sand
1. Prep the Patio
Wash the pavers well, focusing a hose or pressure washer nozzle on the joints between them. This is especially important when grouting an existing patio where weeds and debris are lodged in those gaps. The more space you can clear between pavers, the more stabilizing sand you can fit in there.
2. Pour and Sweep Sand
Cover one section of the patio with a few inches of polymeric sand. Use a push broom to sweep it back and forth across the area, working sand into all those gaps. Tilt the broom head on a slight angle as you move it across the patio so as not to pull sand out of the places where you just put it. Continue this process, adding more sand and sweeping it across the pavers until every gap is filled with sand and all the excess sand has been swept off the patio.
Tip
There are actually many kinds of sand that can be used with pavers for different purposes. Commonly, a product called paver sand or concrete sand for pavers is laid down as a base before the bricks are set. Either polymeric sand or plain play sand can be used to fill joints. The downside of using play sand is that some of it will wash away with every heavy rain storm.
3. Dampen the Sand
Set your hose's nozzle to mist mode and spritz down the entire patio area. The goal is to wet the polymeric sand just enough to activate the hardening ingredients in it but not drench the patio so thoroughly that the dry sand is immediately washed away. Let the patio dry and stay off it for a few days.
4. Seal the Patio
Fill a garden sprayer with paver sealer. Following package directions, apply an even coat of sealer to all the pavers. Let the first coat dry and then apply a second coat. This process should minimize staining and other damage to your pavers and extend the life of your patio. It's advisable to reseal pavers every few years for the best long-term results.
Tip
If you're installing new pavers, you may need to wait a month or longer to seal them so any water inside the pavers evaporates before they're sealed. The waiting time depends on the specific type of pavers you use.