Noma Light Timer Instructions
Things Needed
-
Outdoor extension cord (optional)
-
Electrical outlet
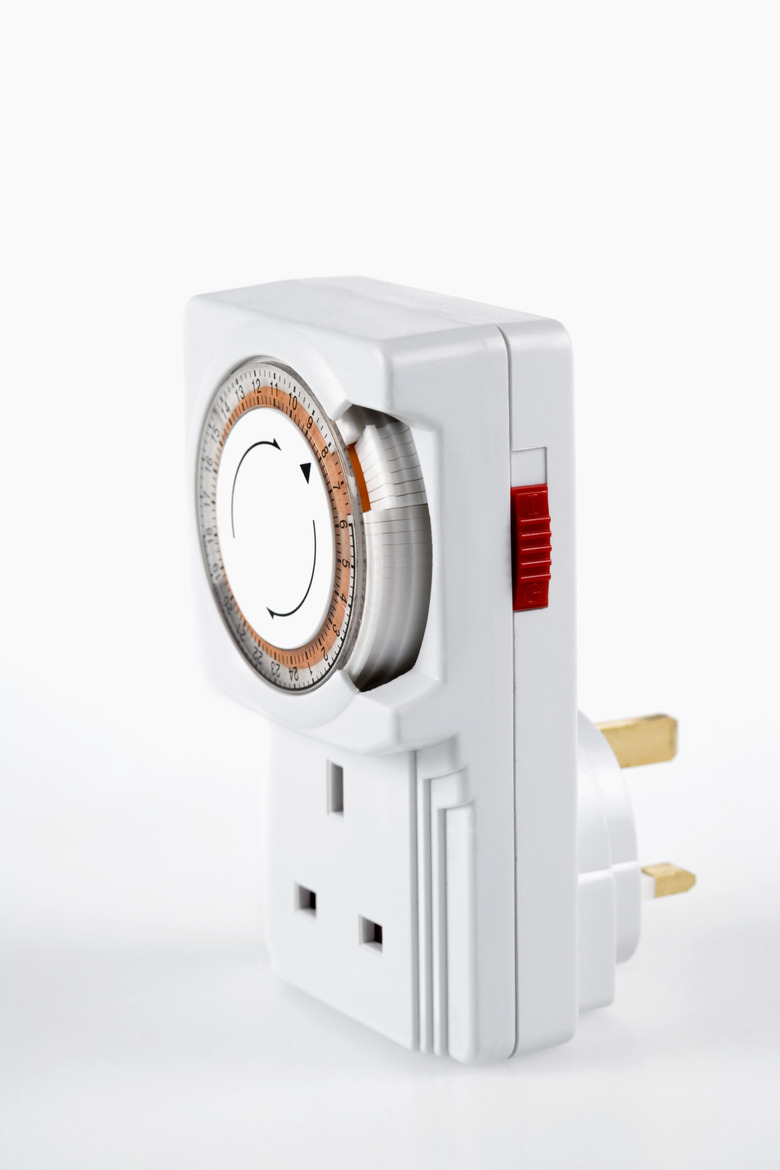
The Noma light timer allows you to preset times at which certain lights will automatically turn on or off. It is approved for outdoor installation and is commonly used to control holiday light displays and indoor lamps while residents are on vacation. Setting the timer takes just a few minutes thanks to its streamlined design.
Step 1
Plug the pronged cord of the Noma timer into an indoor or outdoor electrical outlet. Use an outdoor-approved extension cord if the timer's cord does not reach the outdoor outlet.
Step 2
Plug the electrical cord of the light into the opposite end of the Noma timer.
Step 3
Look at the digital display at the top of the timer and wait until it shows a "C," which represents the current clock time. Press the top button on the timer until the correct hour is displayed. The small red dot beside the numbers represents p.m. times.
Step 4
Press the bottom button on the timer and wait until the digital display shows a "P," which represents the time the lights will come on. Press the top button until you reach the hour at which you want the lights to turn on automatically.
Step 5
Press the bottom button and wait until an "E" is displayed in the digital box, which represents the time the lights will turn off. Press the top button until you reach the desired time.
Step 6
Press the bottom button again to start the program.