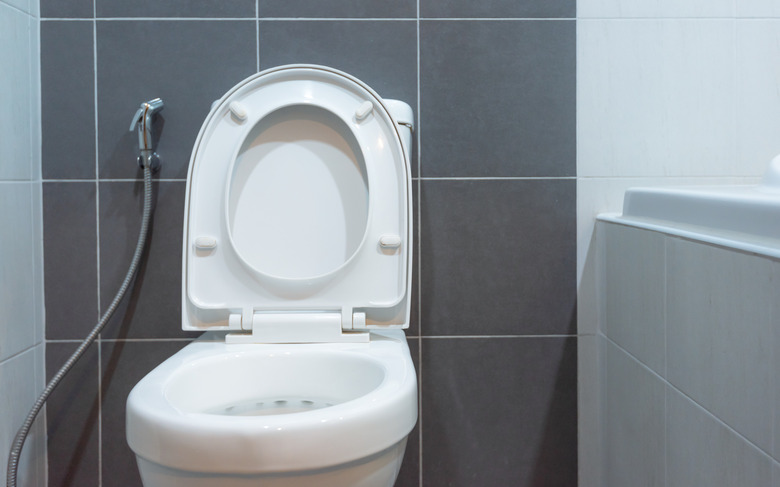
How To Clean A Toilet Fill Valve
We may receive a commission on purchases made from links.
If your toilet is taking a long time to fill or the toilet fill valve keeps running even after the tank is full, there may be sediment in the fill valve that is preventing the valve from opening or closing properly. This sediment is often due to minerals in the water, but it could also be some other debris, and you can often remove it and get everything back to normal by flushing out the valve. This is a simple procedure for a cup-style fill valve, but things are a little more complicated if you have an older ballcock-style fill valve with a float arm.
Flushing a Cup-Style Valve
Flushing a Cup-Style Valve
A cup-style valve, such as the Fluidmaster 400A, has a cap that you can remove, and once the cap is off, you flush the valve by turning on the water. Follow this simple procedure:
- Turn off the shutoff valve under the toilet. There's no need to empty the tank.
- Grasp the cap of the valve with one hand and the valve body with the other, push the cap down and turn it counterclockwise. It should pop off in your hand.
- Hold a plastic cup over the valve to avoid getting sprayed and turn the water valve on. Leave the valve on for about 30 seconds and then shut it off.
- Replace the cap and turn it clockwise to lock it in place.
If the procedure worked, you may have to adjust the water level by adjusting the float. Lengthen the float rod to lower the water level by turning the adjustment screw counterclockwise with your fingers or, if necessary, a Phillips screwdriver. If the level is too low, raise it by turning the screw clockwise.
Flushing a Ballcock Valve
Flushing a Ballcock Valve
You can't always flush a ballcock valve because some are sealed, and those that aren't sealed aren't always meant to be disassembled. If you see two wing screws on the top of the valve securing the armature to the valve piston, though, you may be in luck. Unscrew them and carefully pull out the armature, keeping one finger on the valve piston, which is spring-loaded and will pop out. Remove the piston and flush the valve by putting a cup over it and turning on the water. Then, put everything back together.
Ballcock fill valves are not as common as they used to be, and many of them are made of metal. Metal rusts, and that may be the cause of the valve malfunction. Rather than trying to fix your old ballcock valve, it's probably easier to replace it with an inexpensive universal cup-style valve like the Fluidmaster 400A.
Replacing a Toilet Fill Valve
Replacing a Toilet Fill Valve
Replacing a fill valve takes five to 10 minutes and requires little plumbing knowledge, and considering that a new valve costs less than $15, there's little reason to keep your old malfunctioning ballcock valve. The simple procedure is as follows:
- Turn off the shutoff valve, empty the tank and sponge out remaining water into the bowl.
- Unscrew the water connection nut underneath the tank using adjustable pliers and then unscrew the nut holding the fill valve and lift the valve out of the tank.
- Unpack the new valve and follow the instructions for adjusting the length of the fill tube to fit your tank.
- Slip the included rubber washer onto the threaded end of the tube, insert that end through the hole in the tank and screw on the nut, tightening it with pliers.
- Fit one end of the included rubber tube to the outlet on the valve and secure the other end to the overflow tube using the clip.
- Screw on the water connection, tighten it with pliers, turn on the water to let the tank fill and adjust the float rod to get the water level to about an inch below the mouth of the overflow tube.