Toilet Fill Valve Replacement: A DIY Guide
Toilets are usually reliable fixtures, but when trouble does arise, the solution often calls for replacing the toilet fill valve. Fortunately, toilet valve replacement is a straightforward toilet repair job that most homeowners can do themselves.
The Toilet Fill Valve
The Toilet Fill Valve
The toilet fill valve controls the water level in the toilet tank. When the toilet is flushed, the flapper at the bottom of the tank opens, and the water rushes into the bowl. Once the tank is almost empty, the flapper closes, and the fill valve opens and lets fresh water into the tank. A float rises with the water level and signals the valve when it is time to close.
While the tank is filling, a small port on the top of the valve directs a stream of water through a rubber tube that empties into a vertical pipe called the overflow pipe. This water replaces the water in the toilet bowl. It should stop flowing when the flush is completed.
There are a few different types of toilet fill valves in use. Older models, called ballcocks, have a float ball attached to the valve by long metal rod, or arm. Newer valves have a float cup that slides up and down along the stem of the valve. There are also floatless valves that use a diaphragm on the bottom of the tank to sense the volume of water in the tank. Float cup valves are typically the least expensive and can replace most other types of old valves.
Correcting Toilet Problems
Correcting Toilet Problems
Before starting a toilet valve replacement project, it is a good idea to identify the problem. A faulty toilet fill valve can lead to a few problems that can only be corrected by replacing the valve.
If the toilet seems to be running constantly, remove the top of the tank and place it out of the way. The overflow pipe, or tube, is open at the top. If the tank water is above the overflow tube and draining into it, the water level is too high. The noise is the valve continually adding water to the tank. You may be able to correct the problem by adjusting the valve. If that doesn't work, replace the valve.
If the valve seems to be making an odd noise that may become louder as time goes on, there could be an obstruction within the valve. This will eventually block the flow of water into the tank. You may be able to disassemble the valve to clean it, but if not, you should replace the fill valve. A faulty valve can also lead to the toilet taking a long time to refill the tank after flushing.
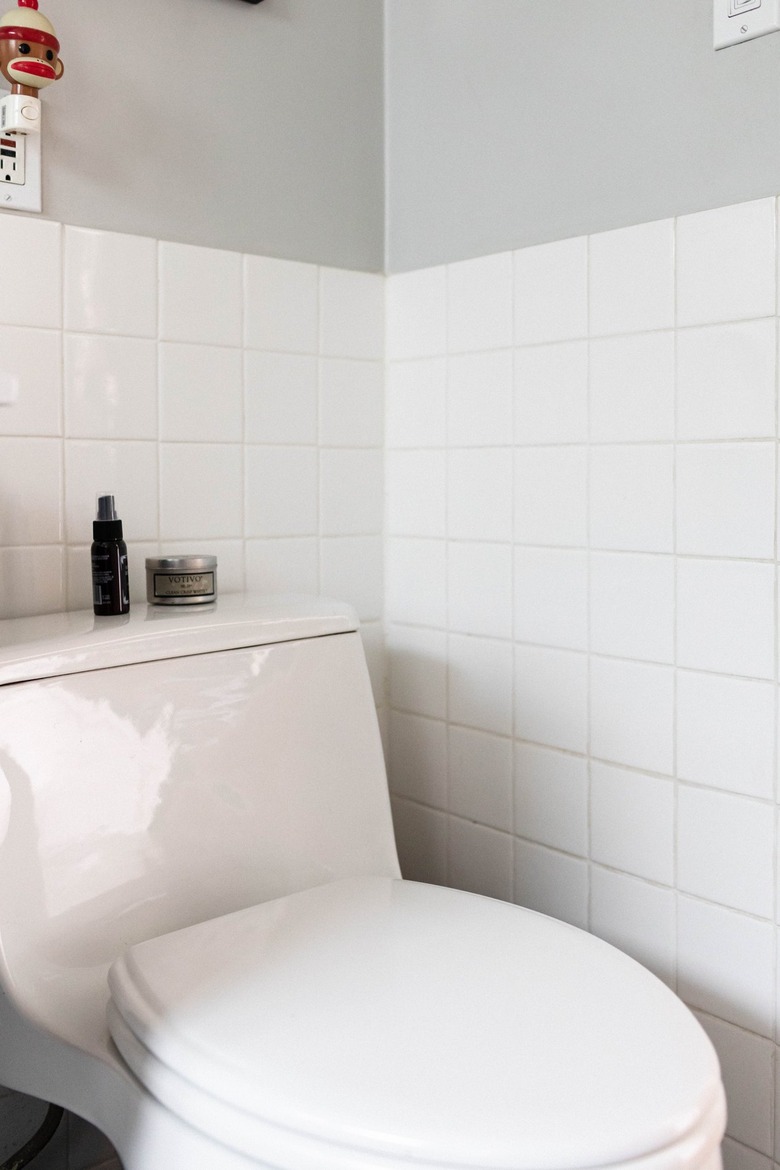
 John Keeble/Moment/GettyImages
Finding Replacement Valves
Finding Replacement Valves
All toilet manufacturers make toilet valve replacement parts for their products, but the parts are not interchangeable with parts from other manufacturers, and some manufacturers change the specifications for replacement parts from one model to the next. To use original manufacturer equipment, you need to know the name of the manufacturer and the specific model number of your toilet.
To find the model number, remove the tank top and set it aside. The model number may be printed on the inside of the tank, or it may be stamped into the porcelain. PlumbingSupply.com offers helpful hints for tracking down a toilet's model number.
In many cases, it's much easier to use a universal fill valve. There are many universal valves available that are relatively inexpensive and easy to install. The quality that makes them universal is that the valve stems are adjustable, so they can be sized to fit most toilet tanks.
Companies like Fluidmaster and Korky make universal valves, but it is important to read the product literature closely. Some valves just won't work with some toilets, and those products will be listed in the descriptions. Some are designed for either pre- or post-1994 toilets. That was when the industry went from producing toilets that used 3 to 7 gallons per flush to water-saving toilets that use 1.6 gallons per flush.
Things Needed
-
Large sponge
-
Large adjustable pliers
-
Bucket
-
Universal fill valve kit that includes valve stem, shank washer, lock nut, refill tube and refill tube clip
-
Tape measure or ruler
-
Scissors
-
Pencil
How to Perform a Toilet Valve Replacement
1. Turn Off the Water
Turn off the water supply by closing the shutoff valve, which will be located on the wall or the floor near the toilet. Close the valve by turning it clockwise until you can't turn it anymore. If the valve does not work, you may need to turn off the water to the whole house.
2. Drain the Tank
Flush the toilet to drain the tank. There will be a small amount of water left in the bottom of the tank. Use a large sponge to sop up as much water as possible. You can wring out the sponge over the toilet bowl.
3. Disconnect the Old Valve
The bottom part of the stem of the existing valve protrudes through a hole in the bottom of the tank. A lock nut on the outside of the toilet tank holds the existing valve in place. The stem is also the connection point for the water supply line. Both the supply line and the lock nut must be removed.
- Follow the supply line to where it meets the underside of the toilet. You may be able to loosen the connection nut by hand, or you may need to use pliers. Have a bucket handy to catch the water still in the supply line.
- Unscrew the lock nut. Again, you may be able to unscrew by hand, or you will need pliers. Catch any water left in the tank in the bucket.
- Remove the clip that holds the old supply tube in place from the overflow pipe. The overflow is the open pipe you see as you look down into the toilet tank.
- Pull the old valve out of the tank.
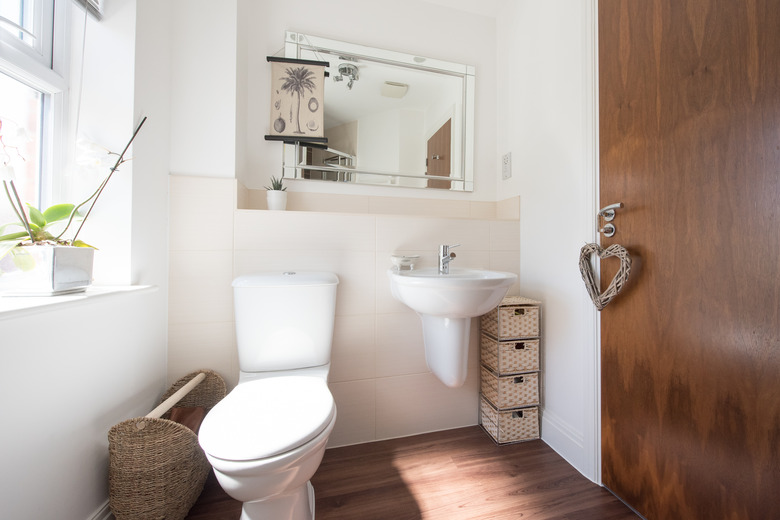
 Chloe Berk
4. Dry Fit the New Valve
Valves that are the original manufacturer's equipment will be sized to fit your model of toilet, which means the stem is the right height. You can adjust the height of the stems of universal valves by turning them; usually, you turn the bottom section while holding the top portion steady. You can increase or decrease the valve's overall height. That's important because the critical level of the valve, identified by the initials C-L, must be 1 inch above the overflow tube's opening. This is a code requirement, and it is designed to prevent backflow into the potable water supply.
- Place the shank washer on the threaded shank of the valve. The washer may already be in place.
- Measure 1 inch from the top of the overflow pipe and make a mark on the wall of the tank.
- Place the new valve in position with the nipple near the top of the valve facing the overflow pipe.
- Adjust the height of the stem until the C-L is 1 inch above the overflow pipe.
5. Install the New Valve
Thread the lock nut onto the shank of the valve that protrudes from the bottom of the toilet. Tighten the lock nut by hand. The nut should be snug but don't overtighten. Reconnect the water supply line but don't turn on the water yet.
6. Connect the Supply Tube
One end of the supply tube is held in place by a clip that you attach to the right side of the top of the overflow pipe. The other end is attached to the nipple on the valve. In many cases, the tube will be too long, so you will need to judge how much tube is necessary to go from the nipple to the clip with a slight arch in the tube. Use scissors to cut the tube to size.
7. Turn On the Water
Turn the shutoff valve counterclockwise to restart the flow of water into the toilet tank. Check for leaks on the outside of the toilet around the base of the valve. As the toilet fills, a stream of water should enter the overflow pipe from the supply tube. When filled, the water level in the tank should be about 1/2 inch below the top of the overflow pipe.
8. Adjust the Water Level in the Tank
If the water level in the tank is too high or too low, adjust it using the knob or adjustment screw on the valve. Flush the toilet and turn the screw as the toilet fills, usually clockwise to raise the water level and counterclockwise to lower it. It may take a few tries to get the water level right.