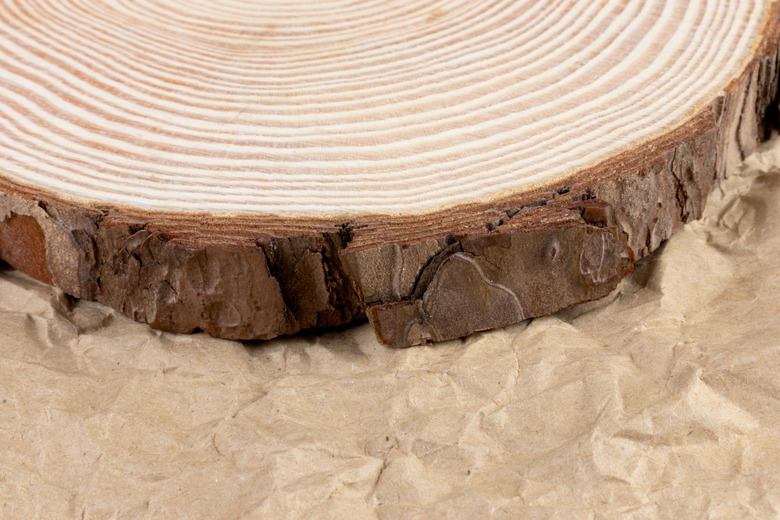
How To Cure Round Slabs Of Wood
Slabs are cut perpendicular to the trunk of large trees, for tables, craft projects, and specialty items. They contain no man-made seams, relying solely on the diameter of the tree for size. Slabs vary in thickness from about 3 to 6 inches; they are cut when the tree is still wet. Proper curing and drying prevents the slab from cracking. Here are some tips for getting the best results.
Be Patient and Allow Time
Curing times vary based on the wood species, the initial moisture level in the tree, the thickness and density of the wood, and the air temperature and ambient humidity when the wood is drying. The general rule of thumb is to allow slabs to cure at least one year for each inch of thickness.
Watch for Cracks and Splits
Because of the grain orientation in the slab — grain lines that radiate out from the center — cracking and splitting is an important issue when curing slabs. Dimensional boards, with their long, parallel patterns, won't crack like round slab lumber, with its short grain lines. When the slab dries, it pulls the grain apart when it dries too fast.
Prevent Cupping Problems
Cupping is a problem related to the curvature of the slab. Cupping is caused from uneven drying; one side dries faster than the other, shrinks, and pulls the outer perimeter upward. Regular monitoring and turning of the slab helps to prevent cupping. Cupping can also be avoided by adding significant weight to the slab to keep it flat — while at the same time allowing the flow of air around it.
Warning
Air-drying of standard rough lumber sometimes requires sealing the ends of the lumber with wax. Doing so on a slab will cause it to warp or twist because of the grain orientation; one side dries out faster than the other. Don't add wax or sealant to the slab when curing.
Follow the Proper Curing Process
To effectively cure a slab for use in a table or other specialty item, it's critical that you adhere to specific steps.
1. Select a Location
Choose a spot where the slab can remain for the extended time required. Use the formula of 1-inch of thickness per year for the curing time. Place the slab out of direct sunlight, rain, and weather.
2. Provide for Air Circulation
Place the slab upright, off the ground, leaning it at a 30-degree angle to provide air flow behind it. Or optionally, lay it flat atop and across two sticks, braces, or anything that won't cover the bottom of the slab. It should have a minimum of 4 inches of air flow beneath it.
3. Rotate Front to Back
Rotate the slab often — every three to four months — so that each side faces away from walls or anything that could impede airflow.
Check the Moisture Content
Wood begins to shrink at 30 percent moisture content. Slabs will shrink considerably, depending on species and existing moisture in the wood. Equilibrium-moisture-content, or EMC, is the point where the wood equalizes with the moisture in the air, and that can differ depending on the climate where you live.
When the EMC is reached for your area, the slab will no longer shrink, crack, or warp, and is ready to use. Locations such as Florida will have a higher EMC than the Southwest desert. The rule of 1-inch per year is typically safe enough for most areas, but it's best to monitor the curing process with a hand-held moisture meter to be sure. The meter is a simple device with two sharp prongs; when you plunge them into the wood, it reads the moisture content on a display.
Finish the Curing Indoors
The relative humidity in most homes averages between 30 and 40 percent, translating into a required 6 to 8 percent moisture content of the slab before it is ready to use indoors. Studs in your home, for example, typically have a moisture content of about 9 percent.
To verify your slab is ready to use, bring it in the house when it reaches about 10 to 15 percent moisture content on the meter's display. Allow it to continue to cure inside the house until it reaches a level of between 6 and 8 percent moisture content.
Tip
Don't get discouraged if your slab cracks or splits; it's very common. Cut some small wedges from a similar piece of wood, apply glue and then hammer them into the crack. Sand them off smooth.
