How To Correct A Stain That Shows Drip Marks
Things Needed
-
Razor blade
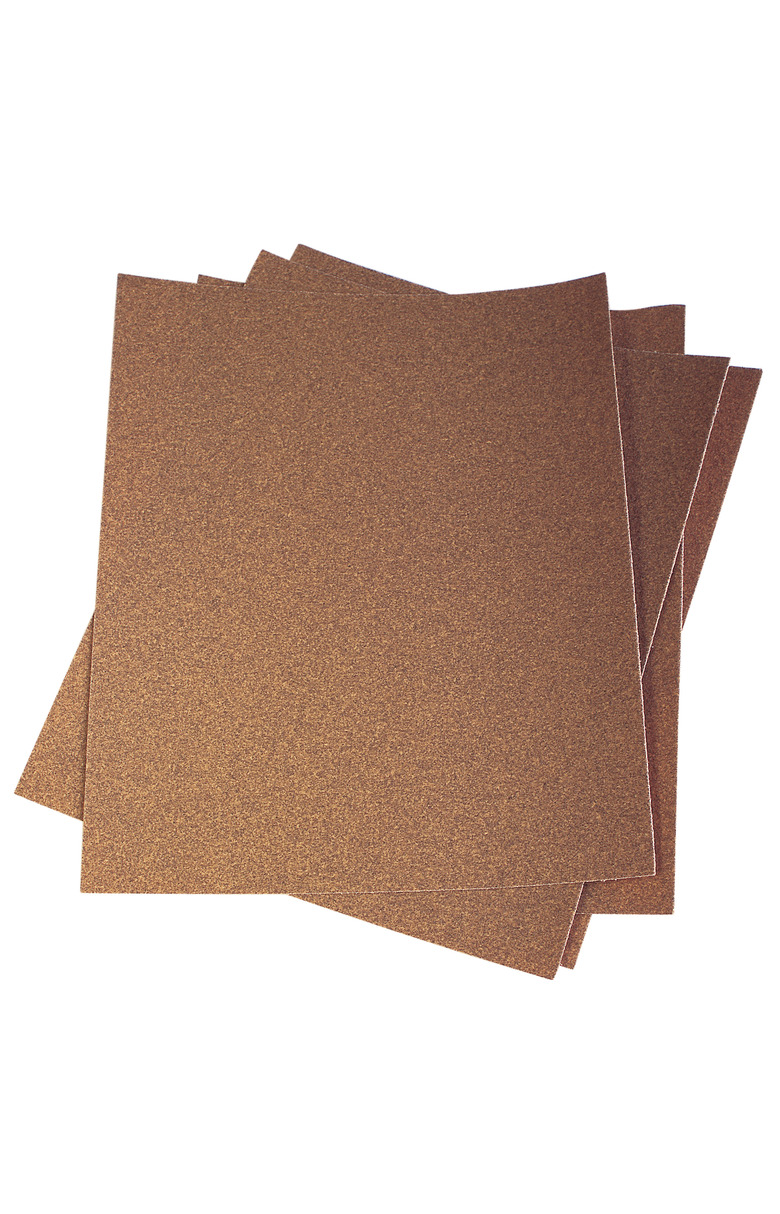
-
400-grit sandpaper
-
Fine scouring pad
-
Water
-
Mineral spirits
-
Stain
-
Cotton swab
-
Clear varnish
Seeing drip marks on a newly stained piece of furniture or finding old ones on a molding stained long ago can be disheartening, but all is not lost. Staining wood in thin coats that fully dry between applications helps prevent drips, but they can still occur. You can remove drip marks from stain, then you can repair the area so that you achieve a consistent drip-free look.
Step 1
Press your fingernail into the drips on your stained surface. If the drips have not yet hardened, your nail will sink into them. Wait until they are hard before attempting to remove them.
Step 2
Scrape the dried drip marks with a razor blade or 400-grit sandpaper until the surface is smooth. If you use sandpaper, alternate going with and against the grain, then rub with a fine scouring pad.
Step 3
Dab water or mineral spirits on the surface after removing the drips to remove any bits of stain that you've scraped off. Wait for the area to dry, then repeat the process if the surface is not yet smooth and free of drip marks.
Step 4
Reapply stain if you've removed any from the surface stain while eliminating the drips. Use a cotton swab and lightly dab the area until the stain is uniform. Apply a layer of clear varnish over the whole surface to help ensure that it looks consistent.