How To Fix A Hole From A Medicine Cabinet
We may receive a commission on purchases made from links.
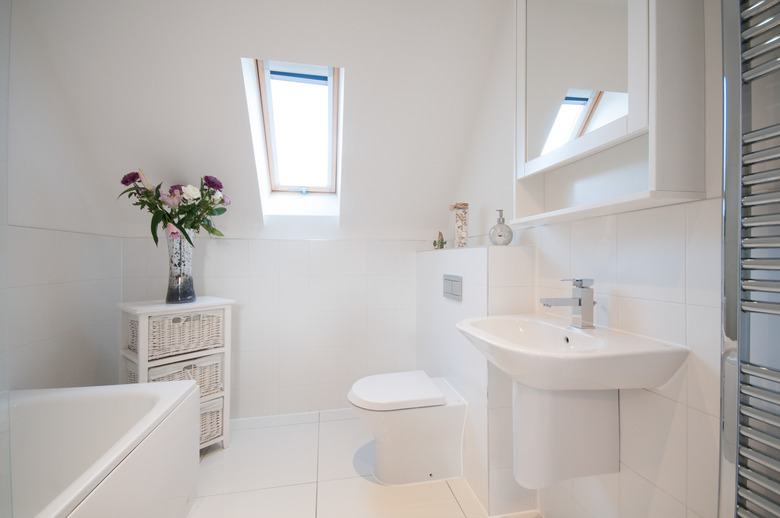
Medicine cabinets are so often a feature in bathrooms that they can usually be overlooked. But if a bathroom renovation or simply changing tastes requires medicine cabinet removal, know that it can be done. After removing a medicine cabinet from a bathroom wall, there will oftentimes be a large, rectangular hole left behind where the cabinet was recessed into the wall. While the size of this hole may make a do-it-yourself repair seem daunting, fixing a hole from a medicine cabinet is actually a simple repair job that requires only a few standard tools.
1. Cut the Top and Bottom of the Hole
Use a drywall saw to cut out the top and bottom of the recessed area. To patch the hole, you will need to be able slip boards behind the edges of the drywall.
2. Cut Two Planks
Cut two planks from the 1-by-3s that are at least 2 1/2 inches longer than the length of the rectangular hole. Place one plank at one side of the hole and one plank on the other side. Position the boards so that each end overlaps the drywall by 1 1/4 inches. Screw both boards into place using drywall screws and a drill.
3. Cut the Drywall
Trim a patch of drywall to the same size as the rectangular hole in the wall. Mark the height and width of the hole on the drywall, and use the drywall saw or a utility knife to cut the drywall to size.
4. Apply Adhesive and Screw in the Drywall
Apply construction adhesive to the surface of the 1-by-3s and place the drywall in the hole, pressing it to the adhesive. Screw at least two screws into each side of the drywall and through the 1-by-3s behind it to further secure it. Although you probably have other adhesives that you used for past projects, know that construction adhesive is made specifically for things where a sturdy connection is necessary, like walls and floors.
5. Add Drywall Joint Compound
Cover the edges of the drywall patch with drywall joint compound to fill in the cracks around the edges. Avoid the temptation to use too much joint compound, as that could lead to more work later if it cracks, and would take longer to dry. Place paper tape over the joint compound to fully cover the joints between the patch and the wall. Note that joint compound comes in different varieties, and choosing the best one for the job you're doing can make for a smoother-looking finish.
6. Sand and Add More Layers
Let the joint compound dry and sand the compound down until it is smooth to the touch. The right type of sandpaper will make this job easier. Cover the area with two more layers of drywall compound, letting it dry completely between coats. According to Bob Vila, it's best to see what the manufacturer suggests for drying time because it can be different depending on the product you use.
7. Sand and Paint
Sand the final coat of joint compound lightly to get a smooth finish and apply paint that is the same color as the wall. Once the paint has completely dried, add a second coat of paint to fully conceal the patch.