How To Repair Peeling Plaster
Things Needed
-
Mildew remover spray (optional)
-
Mildew primer like KILZ (optional)
-
Paint brush (optional)
-
Flat scraper or putty knife
-
Plaster, ready-made or mix
-
Drywall tape (optional)
-
Drywall mesh for holes (optional)
-
Bucket
-
Water
-
Damp sponge
-
Trowels
-
Mixing stick(s)
-
Ladder
-
Drywall hand sander tool
-
Mask
Tip
When removing peeling paint, if the house is older and you think there might be lead in the paint, call the Environmental Protection Agency at 1-800-424-5323 (LEAD).
• A recommended fast dry compound powder that you mix with water has a 90-minute work window.
Warning
Check to see if you have a leaking roof, water coming through walls or other water-related problems first and fix those before you try to make plaster or paint repairs.
• For large jobs, if you are mixing more than one batch of joint compound, clean the equipment completely; the second batch will set up too fast if it mingles with the first mixture.
• Large holes need a support behind them. A backing of drywall or thin plywood needs to be screwed in place. See: http://www.hammerzone.com/archives/interiors/drywall/repair/large.html or http://www.mygreathome.com/fix-it_guide/patching_holes.htm for further instructions.
• The mask prevents dry wall dust from entering lungs, highly recommended.
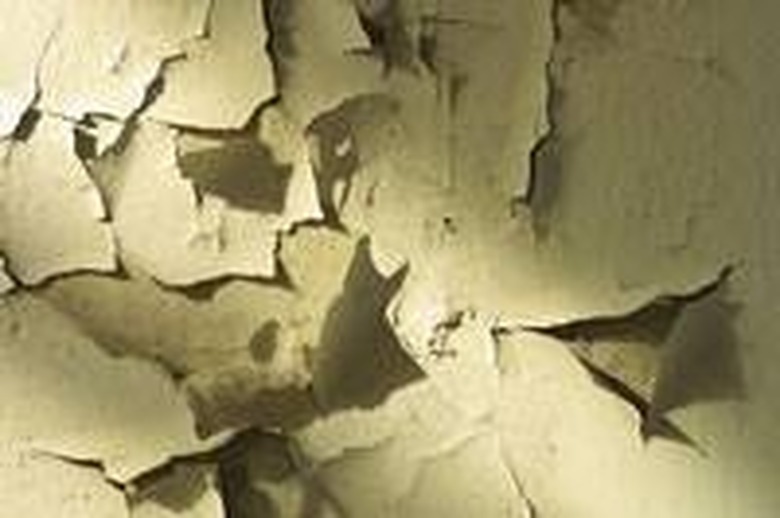
Tackling a peeling wall of plaster may look daunting but it's an intuitive process once you know the right steps. Before you begin, however, figure out why the surface is peeling or bubbling to begin with—and if your answer involves water, you should seek out professional help to fix that problem before you start. Water is the scourge of construction and renovation because it cannot be masked over.
Step 1
Prepare the surface by scraping off any old paint or bubbling surface texture. You can use a putty knife or wide blade scraper. Wipe off residue with a damp sponge.
If surface is mildewed you must treat it with a mildew remover. Spray it on and leave it on. Reapply only if necessary. Rinse well. When dry, scrape off loose particles. Then you might want to paint a layer of a mildew killer such as a plaster sealer or KILZ.
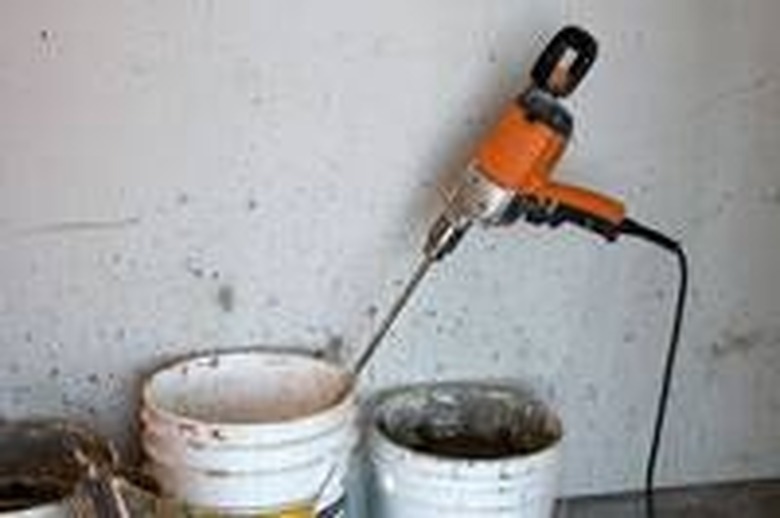
Step 2
Plan on filling deep holes, pits or crags. Mix a joint compound—or a drywall mud—such as a fast dry setting type joint compound (See link below) or use Sheetrock® Easy Sand™. For long cracks, you may need to open them up a bit and then fill in (and over) with a joint compound made for walls. If they are too large, a drywall paper tape should be applied to cracks.
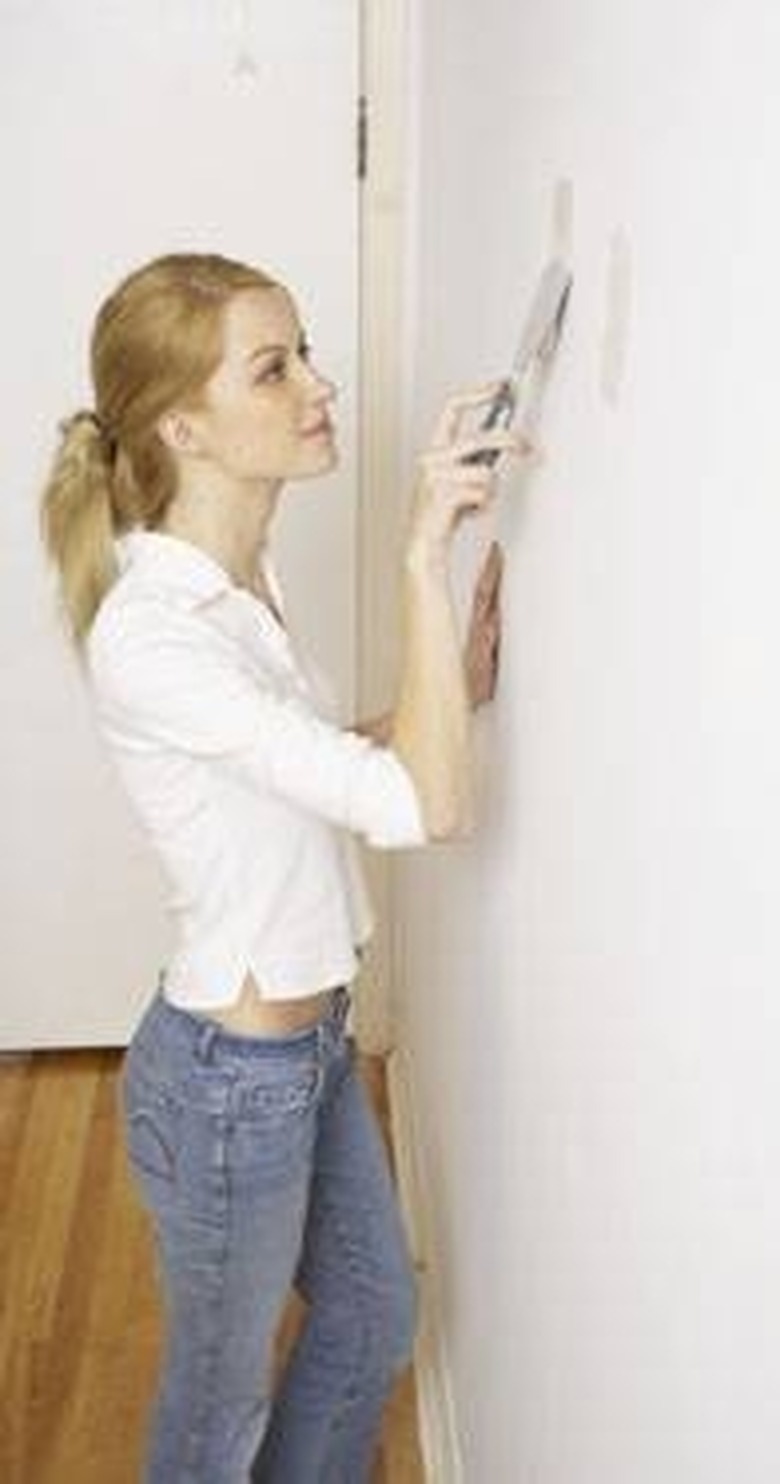
Step 3

Apply the joint compound in thin coats—also referred to as "skim coats"—until the flaws are covered. Use a modified arc sweeping motion, with the towel angled about 15 degrees to the wall, and smear the edges to a taper. You can smooth any ridges with a damp sponge if you wish. Let dry completely. Sand between coats.
Step 4
Apply a final coat in a texture to match the previous surface. If starting a large wall in an all-over application, don't be afraid to experiment with different techniques.
Step 5

Paint if you like, just wait several days up to a week for the plaster to dry.