Should You Caulk Around Bathtub Faucets?
We may receive a commission on purchases made from links.
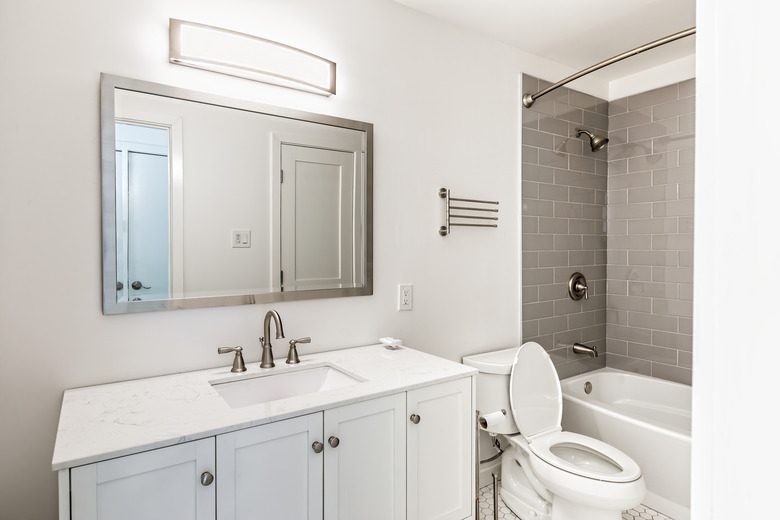
Water damage can be a devastating discovery during a remodel and can take a lot of effort and time to fix. One of the best ways to avoid water damage is by caulking around bathtubs, showers, and faucets. So, should you caulk around the bathroom faucet? The answer is a simple yes if you want to prevent any type of leak. It is not a difficult task, but it can be a messy one that may take some patience.
Tip
Bathtub faucets should always be caulked to avoid potential water damage. It can be a quick, easy, and inexpensive task.
How to Use Caulk
How to Use Caulk
If you are using caulk for the first time, have the right equipment on hand before beginning your project. The best type of caulk to purchase is a silicone-based caulk. Purchase a color that matches your sink color so that it doesn't stand out. Many people opt for the traditional white color, but caulk is available in a variety of colors if you wish for it blend into your décor.
Along with a tube of silicone caulk, you'll also need to purchase a caulking gun. It should look like a metal device with a squeeze-type trigger that will extract the caulk from the tube for you. Tubes of caulk are available that you can squeeze to apply the caulk directly to a surface without the gun attachment; however, this method may result in an uneven application.
How to Caulk Around Bathtub Faucets
How to Caulk Around Bathtub Faucets
Caulk provides a seal so moisture can't penetrate the underside of the tub, causing damage or condensation buildup. Here's how to properly caulk around a bathtub faucet:
- Tape the area. Before beginning the caulking application, apply painter's tape around the faucet and on the faucet, leaving a small gap where the faucet meets the sink. Tape will help keep the surrounding areas clean and is a great tool to help any beginner get a smooth, clean line.
- Apply the caulk. The key to the application is to make sure that the flow of caulk never ends and is a continuous strip around the entire faucet. If you apply the caulk in short little lines by lifting your caulking gun away from the desired area, you may end up with bubbles in your caulk. Bubbles can cause cracks in the caulk, which can then lead to water seeping through.
- Smooth the caulk. Once you have applied a seamless line of caulk, dip your index finger in soapy water and run it over the line of caulk you just laid down. This will smooth it down into the crack with the excess coming up on your finger.
- Wipe away the excess. Wipe away the caulk on your finger with a paper towel and continue running your finger around the edge of the faucet in short sections, making sure that there is not too much caulk buildup on your finger.
- Remove the tape. Once you have run your finger around the entire edge, pull up the painter's tape from the sink and the faucet. Do this before the caulk dries; otherwise you may pull the caulk up with the tape. Clean up excess caulk with a damp cloth.