How To Adjust A Home Water Pressure Regulator
We may receive a commission on purchases made from links.
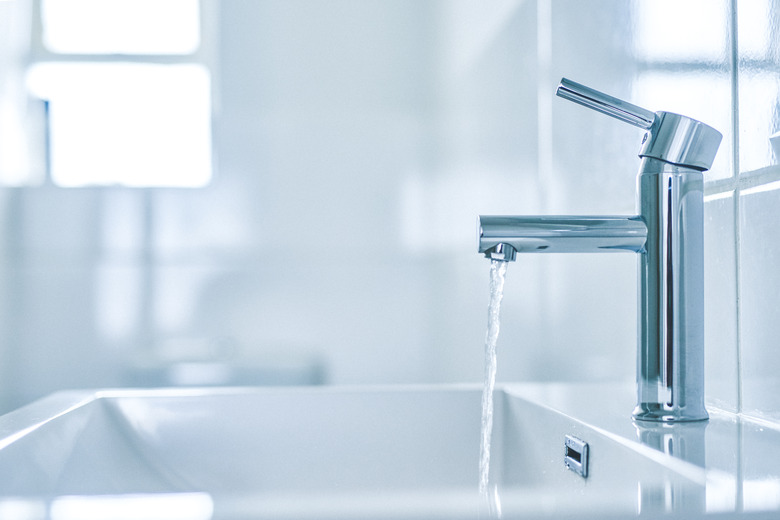
A water pressure regulator is used to reduce the high-pressure water coming into your home to a level that's more suitable for household use. The pressure coming from your water supply company can sometimes be in excess of 100 psi. These pressures are too much for the home's plumbing infrastructure, and most local code requirements specify that the pressure shouldn't exceed 80 psi. But you can make a few simple adjustments to reach a happy medium between comfortable water pressure and safety for household use.
Pressure From the Street
Pressure From the Street
As a community grows, the same old piping is often used to supply the growing area, and water companies may raise the water pressure to keep up with demand in the area being serviced. The higher pressure may help to meet the increased water demand, but not increasing the volume of water needed for a growing area can cause inconsistencies. This is where the water pressure regulator helps.
Find Your Water Pressure Regulator
Find Your Water Pressure Regulator
Knowing where the water comes into your home is important to you as a homeowner. In the event of water leaks, it's a good idea to know where the water main shutoff valve is. If you're not sure, trace the water piping back to an outside wall, typically in a basement, crawl space, or garage. Once you know where this is, you're not far from the water pressure regulator. It's usually a few inches long and shaped similar to a bell with a stem sticking out of the top, usually very close to the water main shutoff.
Check the Pressure First
Check the Pressure First
Finding out the pressure you have is the first step in adjusting water pressure. Using a pressure gauge with a hose connection is the simplest way to figure this out. Make sure there's no water running in the home and then screw the gauge onto an outside faucet that is downstream of your water pressure regulator (sometimes one or more hose faucets will come before the pressure regulator). Turn on the faucet all the way and take the pressure reading. You want the pressure to be somewhere between 40 psi and 80 psi depending on your local code. Remember the lower the pressure, the safer it is for your home's plumbing system.
Make the Adjustment
Make the Adjustment
Whether you want to increase or decrease the pressure, the adjustment is made with the adjusting screw on the pressure regulator. This screw has a locking nut that you must loosen in order to make the adjustment. After loosening the lock nut with an adjustable wrench, turn the adjustment screw with either a flat-head screwdriver or an adjustable wrench, depending on which type of adjustment screw the manufacturer used. Adjusting in small increments, turn the screw clockwise to raise the pressure or counterclockwise to lower the pressure.
Check Your Work
Check Your Work
After making your desired adjustments, check your work. Run some water somewhere in the house, then turn off the water and let the system settle. After a few minutes of settling, check the pressure on the outside faucet again using a pressure gauge. Remember, you're looking for around 40 psi to 80 psi, and keeping the pressure as low as comfortable is good for your plumbing and helps reduce your water bill.
Once you've adjusted the water pressure regulator to your desired setting, tighten the lock nut on the adjusting screw. If you were unsuccessful in making the adjustment or if the adjustment screw is seized, it might be time to call in a professional.