Mayfair Toilet Seat Installation Instructions
We may receive a commission on purchases made from links.
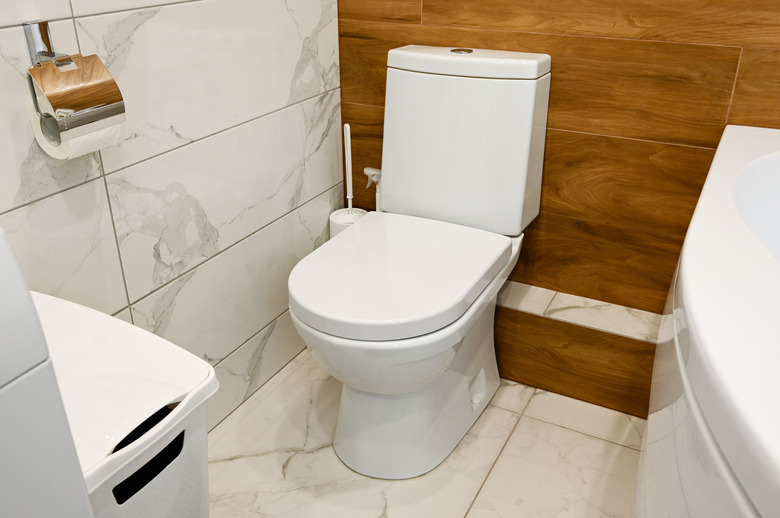
Bemis Manufacturing Company, known for quality and variety in toilet seats, created the Mayfair line specifically for homeowners to purchase at retail. The Mayfair line itself offers a variety of materials, colors and surfaces to match any sort of bathroom design scheme.
If your toilet has aged or the toilet seat is raised and lowered a lot, there's the possibility that the plastic bolts attaching the seat to the tank are worn or broken. You'll obviously want to pick up a new toilet seat and install it.
How to Remove a Toilet Seat
How to Remove a Toilet Seat
Most toilet seats come in a single custom size, but if you're looking at a special model, make sure it will line up with and fit the current toilet bolts. The following tools will help make this installation much easier: an adjustable wrench, a screwdriver and rust penetrant or plastic-safe lubricant (if necessary).
- Remove the old toilet seat from the
base. You'll see two plastic caps at the junction of the seat and tank. In some
Mayfair models, these caps can be pried off with a screwdriver. In other cases, instead of coming off entirely, the bolt covers may have a "locked" and "unlocked" position. In this case, move the covers to "unlocked." - You'll find a plastic bolt fitted with a
plastic nut under each of these caps. Remove the plastic nut. If it doesn't
loosen by hand, use the adjustable wrench to remove each nut. - Pull out
the plastic bolts and remove the old toilet seat.
How to Install a Toilet Seat
How to Install a Toilet Seat
- If the old bolts on your toilet seat are rusted into place, use a rust penetrant and allow it to sit in place for five to 10 minutes. This usually works well enough to loosen the bolts for turning.
- Use the appropriate screwdriver to hold the bolt in place from the top while
turning the nut below with the adjustable wrench. - If there is a sticker paper in the Mayfair toilet installation
kit containing two sticky washers; if so, line them up with the bolt holes on
the toilet itself and stick in place. - Line up the toilet seat bolt holes with
the holes in the toilet itself and insert the new bolts. - Thread the nuts onto
the bottom of the bolts until finger-tight. - Gently tighten the nut into
place using the adjustable wrench to hold the nut below the seat and the
screwdriver to tighten the bolt from the top. Don't overtighten the nut — this can damage the new seat.
The Finishing Touches
The Finishing Touches
- Once finished, snap the protective tabs back
into place over the bolt heads and lift and close the toilet seat a few times
to make sure everything is in place and stable. - Sit on the seat and wiggle a
bit to make sure it doesn't wobble unevenly. If it does, try to stabilize the fit by loosening; then tightening,
the bolts again. - There's likely to be an instruction sheet or
installation guide included with the installation software package for the new
Mayfair toilet seat. Depending on the model you choose, you may have
slightly different pieces and parts. Always check the manufacturer's directions
and suggestions before installation.