How To Clean Baked On Stains In A Self Cleaning Oven
Whether you cook often or tend to make a mess when you do, a self-cleaning oven is an amazing invention that will save you a lot of elbow grease. But as helpful as these appliances are, sometimes in a self-cleaning oven, burn marks remain even after a cleaning cycle. Fortunately, there are a few easy ways to remove tough oven stains by hand when you need to.
One reason to clean by hand would be if you keep tropical birds. Although the smells emitted by self-cleaning ovens are unpleasant, they're not toxic or dangerous for most people or pets. They are, however, toxic to some bird species, so clean your oven by hand or ask a friend to watch your birds at their house for you on oven cleaning day.
Cleaning the Racks
Cleaning the Racks
The first step to cleaning your oven is always to empty it, whether you're cleaning it by hand or running a self-cleaning cycle. You'll need to remove everything, including the oven racks. You may as well clean your oven racks while you have them out, and the bathtub is the best place to do it.
Start by lining your tub with bath towels so the racks won't scratch your tub. Place the oven racks in the tub on top of the towels, then fill the tub with hot water until the racks are completely covered. Add about 1/2 cup of dish detergent to the tub, letting the racks soak for at least four hours. If you have the time, soak the racks overnight.
After they've had a good soak, scrub the racks with a sponge or non-abrasive scrub brush. If any residue still sticks, add a little Bar Keeper's Friend to the mix. When you're done, rinse and dry your oven racks thoroughly before placing them back into your freshly cleaned oven.
Baking Soda and Vinegar
Baking Soda and Vinegar
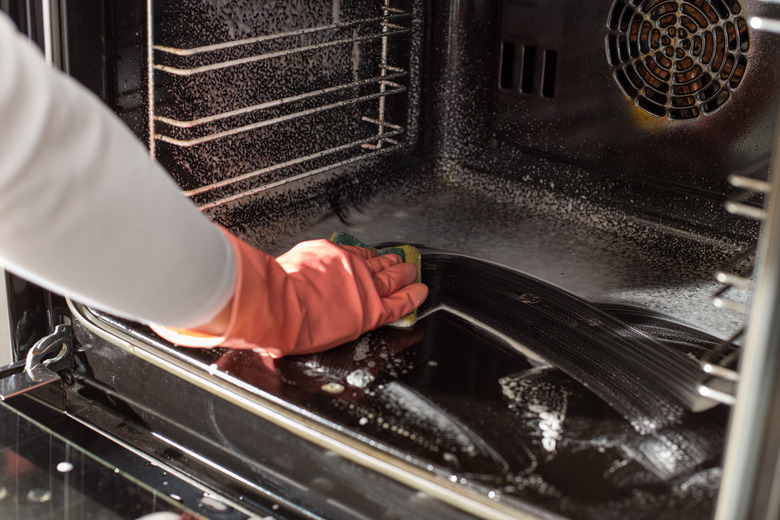
You don't need expensive oven cleaning products to clean your oven by hand, and some oven cleaners specifically warn against use in a self-cleaning oven. Instead of running to the store, turn to your pantry and grab the baking soda. Mix the baking soda with some water to make a thin paste. Use about 3/4 cup of baking soda and 1/4 cup warm water, but you can adjust this ratio as needed to get the desired consistency.
Spread the baking soda paste on the inside of your oven, covering everything except the heating element. Allow the paste to sit overnight. In the morning, spray the paste with some vinegar for extra cleaning power before using a plastic spatula to scrape the paste away and reveal a clean oven. Rinse away any residue with warm water and a soft sponge.
Clean the Oven with Vinegar Steam?
Clean the Oven with Vinegar Steam?
The idea of cleaning an oven with vinegar steam or water steam is a popular one – so much so that some self-cleaning ovens use steam to clean rather than high temperatures. Unfortunately, this isn't a very effective cleaning method. There is no way to distribute the steam evenly throughout the oven, so only parts of the appliance actually get clean. Typically, the bottom of the oven, near the water or vinegar solution, comes clean but the top does not.
Although steam doesn't work, you can try citrus vapors if you're so inclined. Lemon and other citrus oils are natural degreasers and can help lift greasy cooking stains. Squeeze the juice of two lemons into about 1/3 cup of water. Place the lemon water into your oven and bake it at 250 degrees for 30 minutes. When the oven cools back down, use a plastic scraper and hot water to clean away any stains.