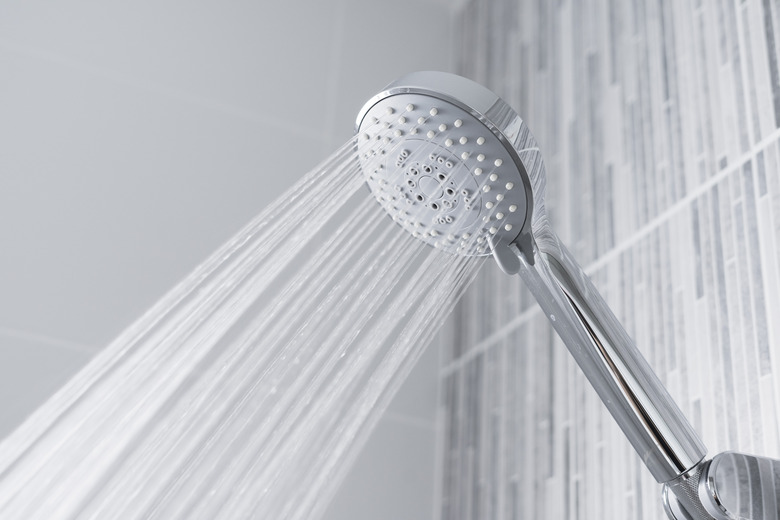
How To Adjust The Mixing Valve In A Peerless Single Showerhead
We may receive a commission on purchases made from links.
Many newer showerheads feature mixing valves that automatically adjust to sudden hot water depletion, keeping the water temperature consistent. Long gone are the days when a toilet flush can turn the shower to scalding. If you have a Peerless single showerhead, you may have occasion to adjust your mixing valve. Fortunately, doing so is fairly straightforward. Here's how to do it.
1. Remove the Faucet Handle
1. Remove the Faucet Handle
At the end of the handle, there should be a cap that can easily be popped off. Use a flathead screwdriver to pry off the cap and access the handle screw. If your model does not have a cap, the handle screw is most likely already exposed. Remove the screw and pull the handle from the faucet.
The rotational limit stop dial determines the maximum water temperature; you'll need to identify that next. It is a round piece attached to a stem that connects it to the mixing valve. If the rotational limit stop dial cannot easily be located, it may be located somewhere else in the handle. If there is a lever on the handle, the dial may be located beneath it. To remove the lever, unscrew it with a hex wrench.
2. Change the Temperature
2. Change the Temperature
Turning the dial counterclockwise will lower the maximum temperature, whereas turning it clockwise will raise the maximum temperature. Adjust accordingly in small increments.
Depending on the model, it may be possible that the temperature adjustment is part of the valve cartridge. If it is, remove the metal sleeve surrounding the valve by hand. The words "hot" and "cold" should be printed on the cartridge. Pull the cartridge from the handle without removing it and rotate it clockwise or counterclockwise depending on the desired temperature.
Showers are usually set so they do not exceed 120 degrees Fahrenheit to prevent scalding temperatures. However, if you would like reassurance that the temperature is safe, set the dial to your desired temperature and run the shower for about a minute. Collect the water in a cup and measure the temperature with a thermometer.
Tip
Usually, the temperature should be anywhere between 100 and 120 F. The recommended maximum temperature is between 110 and 115 F. You can test the water temperature as you adjust the dial by reattaching the handle and running the water.
3. Reassemble the Handle
3. Reassemble the Handle
Once you are content with the temperature, reassemble the handle by carefully returning the pieces in the order in which they were removed and reattach it to the faucet. It is recommended that you perform one final test. Run the shower for several minutes to ensure that the temperature remains consistent and the handle was correctly reassembled.
