How To Use Backer Rod Caulking Material
We may receive a commission on purchases made from links.
Backer rod is a foam rope that fills a wide gap between surfaces to allow you to more easily fill the gap with caulk. Commonly, you use a backer rod to help bridge a gap that is 1/4 to 1/2 inches or more wide. There are two standard types of backer rods that are available to use depending upon the installation site. The caulking material used to seal the bridged gap depends upon the surface material, and most types are easy to apply.
Things Needed
-
Cloths
-
Detergent
How to Apply Backer Rod and Caulk
1. Clean the Surfaces
Clean all surfaces to which you want the caulking material to adhere, using a damp rag. If necessary, use suitable detergent to remove oil or grease so that the caulk beds onto an unsoiled joint.
2. Remove Old Caulk
Remove old sealant with caulk remover, if necessary. Apply it directly onto the sealant to loosen it. Use a putty knife to scrape away all traces of old caulk and wipe the area down with a damp cloth.
3. Add Backer Rod
Allow the cleaned areas to dry. Position the backer rod in the gap and push it down below the level of the joint. Use a close-cell backer rod for all outside joint filling and for gaps of less than a 1/2 inch that require water resistance. Use an open-cell backer rod for gaps of more than 1/2 inch wide. You should use an open-cell backer only for indoor applications.
4. Prepare the Caulk
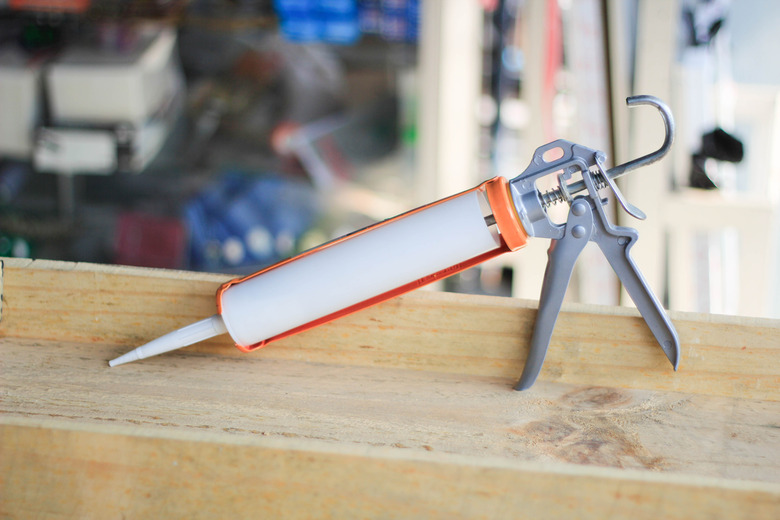
Fit the caulk tube into the caulking gun by releasing the plunger at the back. Pull on the trigger until the plunger holds the bottom of the caulk tube and is secure. Cut the point of the caulk tube nozzle at a 45-degree angle with a sharp utility knife so that the open edge is facing down.
5. Apply a Caulk Bead
Position the caulking gun nozzle at the furthest end of the backer rod, and to one side of the rod where it meets the facing material. Pull the trigger to release the caulk. Draw the nozzle back towards you and run a bead of caulk between the rod and facing material. Release the trigger just before you reach the end of the joint length and twist the gun to cut the caulk with the nozzle.
6. Apply More Caulk Beads
Apply a second bead of caulk adjacent to and touching the first. Continue to apply the caulk in lines until you join up to the other face of the joint. Fill the whole gap with caulk by applying caulk to the lowest points and building up the layers. This methods prevents getting air trapped in the caulk. Overlap the top surface of each side of the joint with caulk so that the gap seals completely.
7. Smooth the Caulk
Run your finger or a suitably sized spoon back or putty knife along the sealed joint so that it is a shallow concave shape. Allow the caulk to dry out and cure before applying a surface finish or using the area.