How To Replace A Larson Door Handle
Things Needed
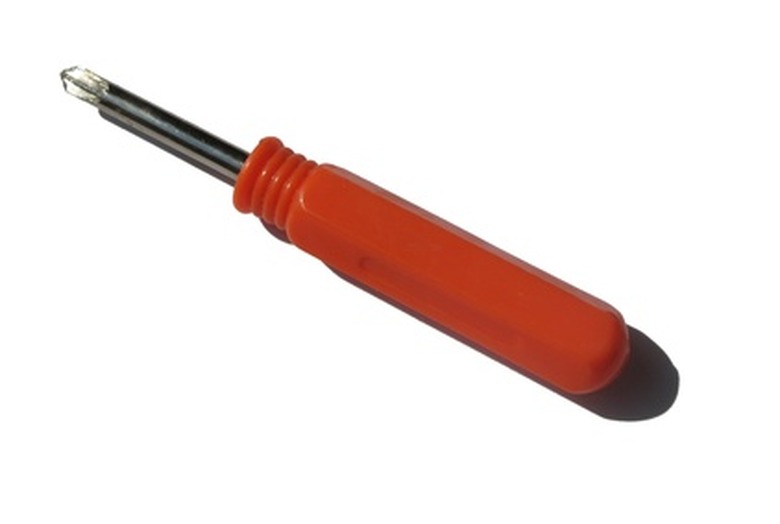
-
Phillips screwdriver
-
Replacement handle
Larson Manufacturing is one of the largest manufacturers of storm doors in the U.S. It specializes in a heavy duty door that typically requires little maintenance. If you want to replace the handle on your Larson door, order a replacement handle directly from Larson. Its hole pattern is very specific and other handles will fit poorly. Use a screwdriver instead of a drill when installing hardware to prevent stripping the holes or damaging the screw heads.
Step 1
Open your Larson door and prop it in place with a block of wood so you can access both sides of the handle.
Step 2
Choose a Phillips screwdriver with a tip the equivalent size to the head of your screws. Using the correct size screwdriver makes removal easier and protects your hardware. Locate the screws in the edge of the door above and below the deadbolt and the handle striker. Apply pressure against the handle of the screwdriver toward the door, then twist counterclockwise to loosen the screws. Stick your screws to a piece of adhesive tape to keep track of them.
Step 3
Remove the screws from the plate on the inside of the door. There are typically two: one at the top and one at the bottom. Use the same technique as described in Step 2 to remove the screws. Stick the screws to the adhesive strip.
Step 4
Grasp the handles on either side of the door and pull out gently. The handle spindle and lock tumbler are attached to the outside plate and will pull away with it. The inside handle will drop away. Push the striker and lock bolt from the door by sticking the screwdriver into the door face hole and pushing it toward the edge of the door.
Step 5
Insert the new lock bolt and striker mechanism into the edge of the door and attach them with the supplied screws.
Step 6
Grab the outside door handle and insert the handle spindle and lock cylinder through the hole in the door face and through the holes in the lock and striker mechanism. Align the inside handle so the receiver holes in the handle and lock mechanism receive the spindle and cylinder. Insert the screws and tighten them with the screwdriver to complete installation.
References
- "Stanley Complete Doors and Windows": Meredith Books, 2007
- "Windows and Doors": Phylicia Entrelle; Xlibris Corp, 2008
- Larson: Online Ordering