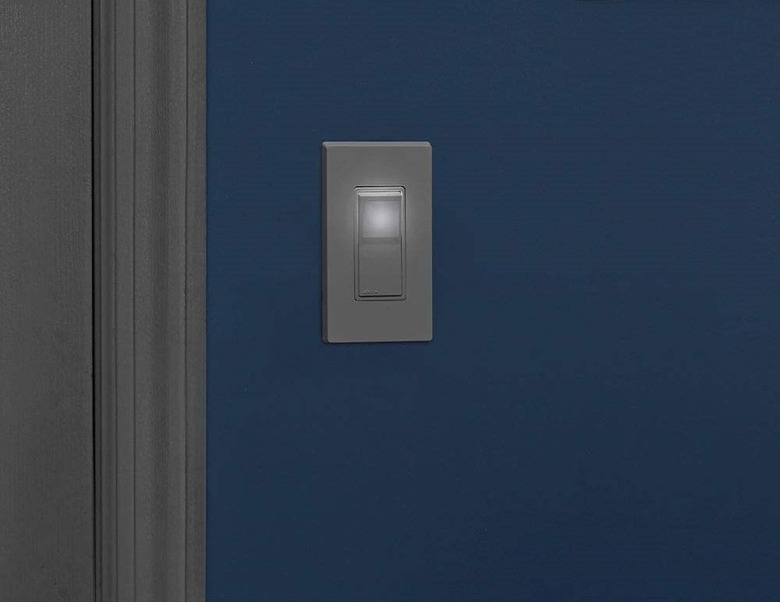
How To Connect A Lighted Rocker Switch
We may receive a commission on purchases made from links.
Walk into a dark room and the first thing you need to find is the light switch, but when it's dark, the switch is just as invisible as everything else. That can be inconvenient, but it turns into a real problem when you have elderly or disabled people in your household. Installing an illuminated switch is the solution, and if you replace your standard toggle switch with a rocker switch, it will be that much easier to see and to operate.
This isn't a job for which you need an electrician. Switch wiring is one of the most basic home electrical tasks there is, and adding illumination to the switch doesn't make it any more complicated. In the past, illuminated switches needed a neutral connection, but modern ones are designed to trickle just enough current to operate an LED without a neutral. You can simply remove the old switch and wire a new illuminated rocker in exactly the same way as the old one was wired. Here's how to connect a lighted rocker switch.
How to Connect an Illuminated Rocker Switch
How to Connect an Illuminated Rocker Switch
Every 120-volt electrical circuit in your house has a hot leg that supplies power and a neutral leg that returns power to the panel. Hot wires are black or red, and neutral wires are white. A switch interrupts the hot leg only while the neutral leg bypasses the switch and continues on to the light fixture. In the switch box, the hot wires connect to the switch, and the white wires are spliced together (usually twisted together and capped with a wire cap).
1. Turn Off the Power
Locate the circuit breaker in the main electrical panel that controls the circuit for the switch and light fixture and turn it off.
2. Test the Voltage
Unless you're wiring a brand-new switch, you'll have to remove the existing switch. To do this, unscrew the cover plate with a flat-head screwdriver, unscrew the switch from the electrical box with a Phillips screwdriver, and pull it out. Before you touch anything, make sure the power is off by holding a noncontact voltage tester close to both switch terminals and verifying that it doesn't beep or light up.
If you're wiring a brand-new circuit, test all the black wires in the switch box with the voltage tester before you touch them.
3. Remove the Existing Switch
If you're replacing a switch, disconnect it by loosening both brass terminals as well as the green ground terminal and pulling off the wires. Leave the wires just as they are so you can attach them to the new switch in the same configuration.
4. Prepare the Wires
If you're wiring a new circuit, prepare the wires in the switch box by stripping 3/4 inch of insulation from the end of each one using a wire stripper. If you're replacing an existing switch and the wires are in poor condition, you may want to snip off the damaged ends and strip off insulation to make a fresh connection.
5. Connect the Hot Wires to the Switch
There should be two cables in the switch box: a line wire supplying power and a load wire going to the fixture. Connect the black wire from each cable to one of the switch terminals. It doesn't matter to which terminal you connect either wire; the switch will work either way.
To make the connection, use pliers to make a clockwise bend in the end of each wire, hook the bend around the terminal screw, and hold it steady while you tighten the screw with a screwdriver.
6. Splice the Neutral Wires
Twist the white wires together in a clockwise direction using pliers and screw on a wire cap. Tighten the cap securely to make a good connection.
7. Ground the Switch
Twist the bare ground wires in the switch box together, leaving one end longer than the others. Make a clockwise hook on the long wire, wrap it around the green ground screw, and tighten down the screw.
8. Test the Switch
Push all the wires into the switch box, screw the switch onto the box, and install a new cover plate. If you're replacing a toggle switch, you'll need a new cover plate designed for rocker switches. Turn on the breaker and make sure the switch illuminates. Then flip it to the "on" position and make sure the lights come on.