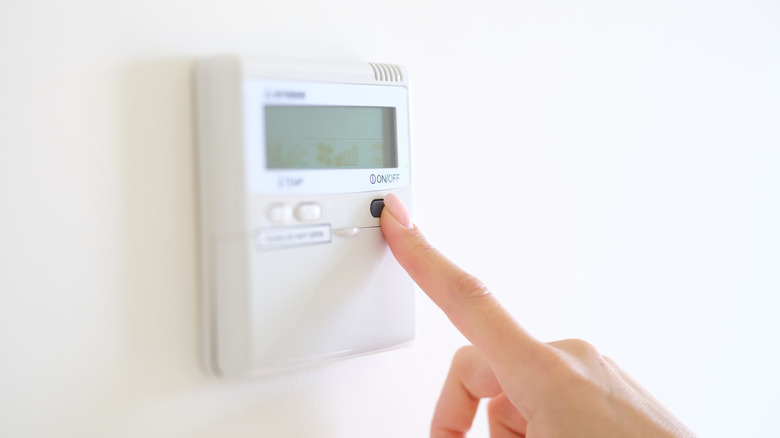
How To Install A Line-Voltage Thermostat
A line-voltage thermostat typically controls a baseboard heater or some other simple heating device. Instead of connecting to a low-voltage transformer as the thermostats for sophisticated heating/cooling systems do, you connect a line-voltage thermostat directly to the wires supplying 110- or 220-volt power to the heater. As such, the thermostat functions much like a wall switch.
A 110-volt inline thermostat is a single-pole switch. If you turn it over and look on the back, you'll see one pair of wires. When controlling a 240-volt appliance, a single-pole thermostat interrupts only one leg of the hot circuit. A double-pole thermostat, on the other hand, has four wires and interrupts both legs. The main difference between them is that you can't turn a single-pole one off. You can only set it to its lowest setting. This means the heater could come on unexpectedly if the room temperature falls low enough.
Getting Ready to Install a Line-Voltage Thermostat
Getting Ready to Install a Line-Voltage Thermostat
Because many heating and cooling systems are complex, a low-voltage thermostat can have as many as seven or eight wires. A baseboard heater is very simple, though, so the maximum number of wires you'll find on a line-voltage thermostat is four. Unlike the 16-gauge wires on a low-voltage thermostat, which control multiple functions, the 12- or 10-gauge wires on a line-voltage thermostat have a single function, which is to turn the heater on and off.
Install an electrical box for the thermostat in an easy-to-reach location out of direct sun and away from the warm air from the heater. Run a live circuit cable from the panel to the box and another cable from the box to the heater. Connect the second wire to the heater wires, following the instructions that came with the heater. You're now ready to wire the thermostat, but first turn off the breaker in the main panel that controls the circuit.
Wiring a Single-Pole Line Thermostat
Wiring a Single-Pole Line Thermostat
You'll find only two wires on the back of a 110-volt inline thermostat. One connects to one of the hot wires coming from the panel, and the other connects to the same color hot wire going to the heater. That's it. The other hot leg bypasses the thermostat, so twist the two remaining hot wires together and screw on a wire cap. If the heater requires a neutral (most don't), cap the two white wires in the box as well. Finally, twist the ground wires together and connect them to the ground screw on the thermostat.
If the heater runs on 110-volt power, the thermostat acts as a 110-volt inline thermostat. Connect the incoming and outgoing black wires to the thermostat wires, splice the white wires and cap them and connect the two grounds to the ground screw.
Wiring a Double-Pole Line Thermostat
Wiring a Double-Pole Line Thermostat
The main difference in 240v thermostat wiring is that the thermostat has two pairs of hot wires so it can interrupt both hot legs of the circuit. The line wires, which are for the wires coming from the panel, are marked L1 and L2, while the load wires, which are for the hot wires going to the heater, are marked T1 and T2.
Connect the black wire coming from the panel to L1 and the red wire coming from the panel to L2. Connect the black wire going to the heater to T1 and the red wire going to the heater to T2. If there are white wires in the box, splice them together and cap them, then twist together the ground wires and connect them to the ground screw.