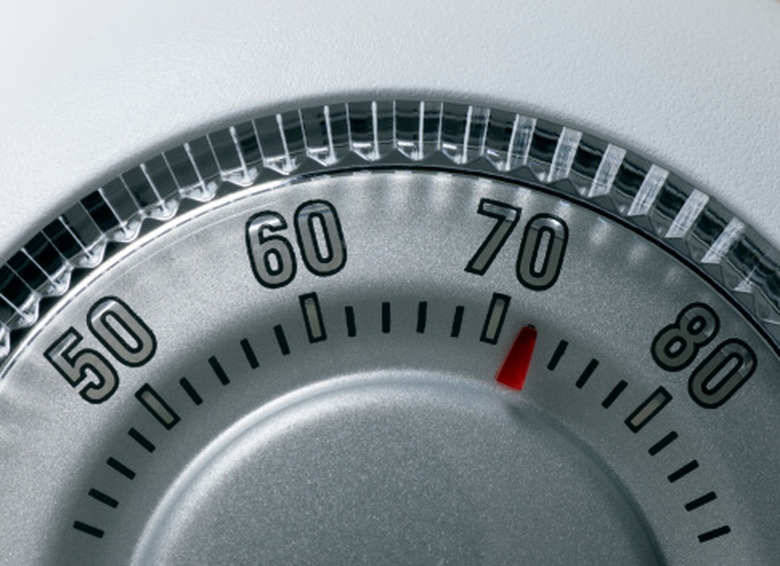
How To Wire A 240V Thermostat
Things Needed
-
Circuit tester
-
Electrical pliers
-
Five wire nuts
Warning
Use caution when working with 240 volt circuits, as it can cause injury, and death, if mishandled.
Thermostats designed to operate 240 volts heaters have two "hot" terminals, each accepting one standard 120 volt connection. Electric baseboard or wall heaters, and their thermostats, should be wired to their own dedicated circuit, to prevent overloading. A 240 volt thermostat doesn't use neutral wires, and as such all wires are hot. When wiring a 240 volt heater, a "double pole" thermostat should be used. A double-pole thermostat is designed to shut off power to both the 120 volt wires when the heater is turned off, preventing the thermostat from burning up.
Step 1
Turn the power off at the service panel and double check the wires with the circuit tester.
Step 2
Strip ½ inch of insulation from the two hot wires coming from the service panel with the electrical pliers. Repeat with the two wires coming from the heater.
Step 3
Connect the two 120 volt hot wires from the service panel to the thermostat's two black "line" wires. Secure with wire nuts.
Step 4
Connect the two hot wires from the heater to the thermostat's two red "load" wires. Secure with wire nuts.
Step 5
Connect the ground wire from the heater to the ground wire from the service panel. Most 240 volt thermostats generally do not have ground wires. If yours does have a ground wire, connect it to the other two, making a three-wire connection. Secure with wire nut.
References
- Wiring 1-2-3: Steve Corey: 2005
