How To Wire A Lamp With Two Bulb Sockets
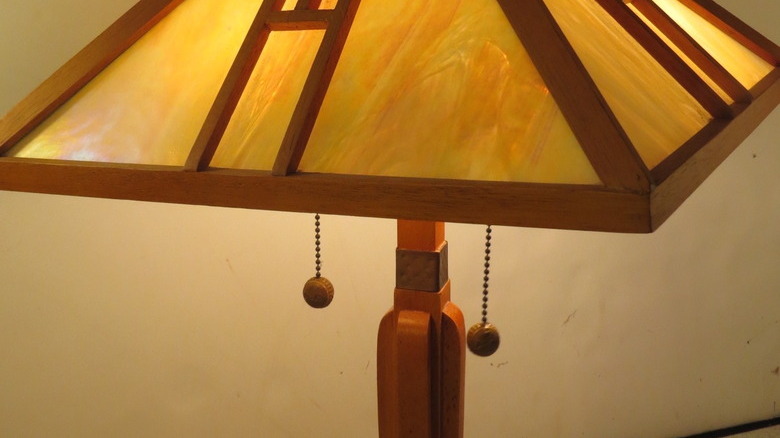
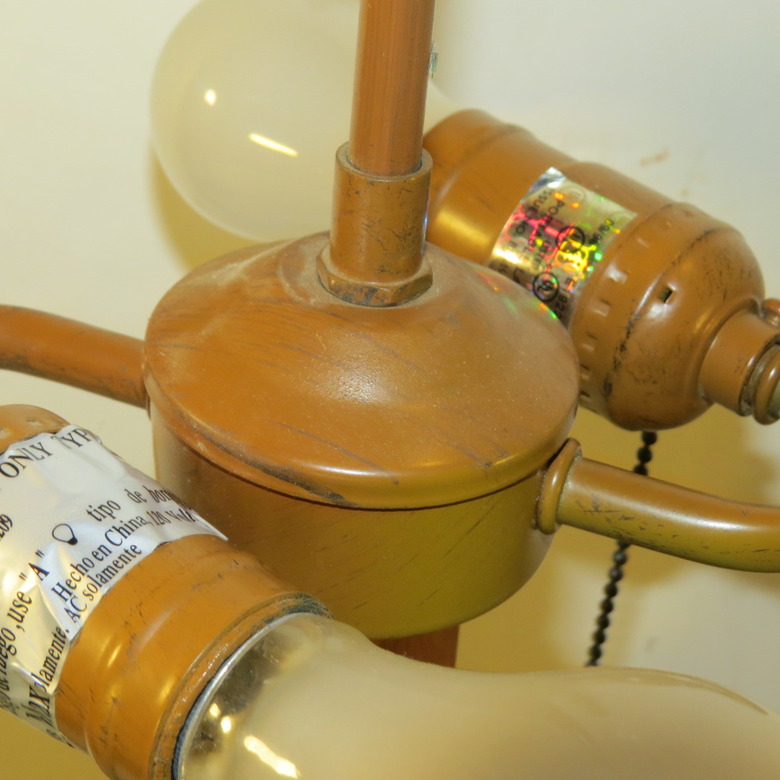
Table lamps or floor lamps often have two or more bulb sockets, and rewiring these offers some different challenges than wiring a single-bulb lamp. Not only is there the main plug-in lamp cord feeding up through the base of lamp, but somewhere within the body of the lamp, this main cord is connected to secondary cords running to each of the sockets. Usually, these connections are made within a wire connection housing near the top of the lamp base, covered by a removable cap.
This article will show how a typical wiring for a lamp with two bulb sockets. Be aware that the configuration may vary slightly depending on the lamp style you have, although the techniques for rewiring will be very similar to our demonstration.
Things Needed
-
Lamp wire (zip cord)
-
New lamp sockets (if necessary)
-
New lamp plug (if necessary)
-
Utility knife
-
Combination tool or wire stripper
-
Wire connectors (wire nuts)
Step 1
Disassemble the lamp and remove the old wires: Unplug the lamp and remove the lampshade. Remove the cap on the wire connection housing—usually, this is a simple pop-off cap. Then, pop the outer shells off the bulb sockets, exposing the inner metal socket and the wire connections. Disconnect all screw connections and wire nut connections, and remove all the wires—the main lamp cord running down through the base of the lamp, and the two shorter cords leading to the sockets.
Step 2
 Bryan Trandem
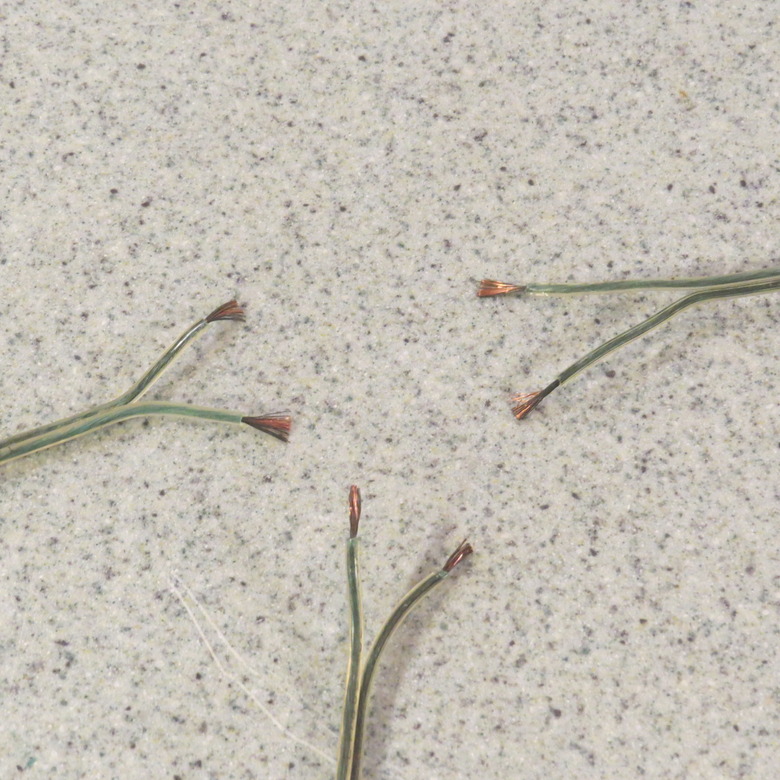
Prepare the new lamp cord: Cut three lengths of lamp cord (also called zip cord). The main cord will be several feet long in order to run down through the base of the lamp and to the plug (how long you make this is up to you). The other two cords will be short lengths, long enough to reach from the socket connections to the center wire housing on the lamp base.
Split the ends of the wire along the center seam of the cord, so there are two separated halves, about 2 inches long. Often this can be done by simply pulling the cord apart with your hands. Or, you can carefully cut down the center of the cord with a utility knife.
Use a combination tool or wire stripper to remove about 3/4 inch of outer insulation off of both ends of each wire.
Step 3
 Bryan Trandem
Run the cords: Thread the cords through the lamp—the long one up through the base of the lamp, and the shorter lengths through the socket channels. This can be a somewhat tricky operation, so be patient and work slowly in order to avoid kinking and binding as you run the cords. You may find a pair of needle-nose pliers helpful to grab the end of the wires as they become visible.
Step 4
 Bryan Trandem
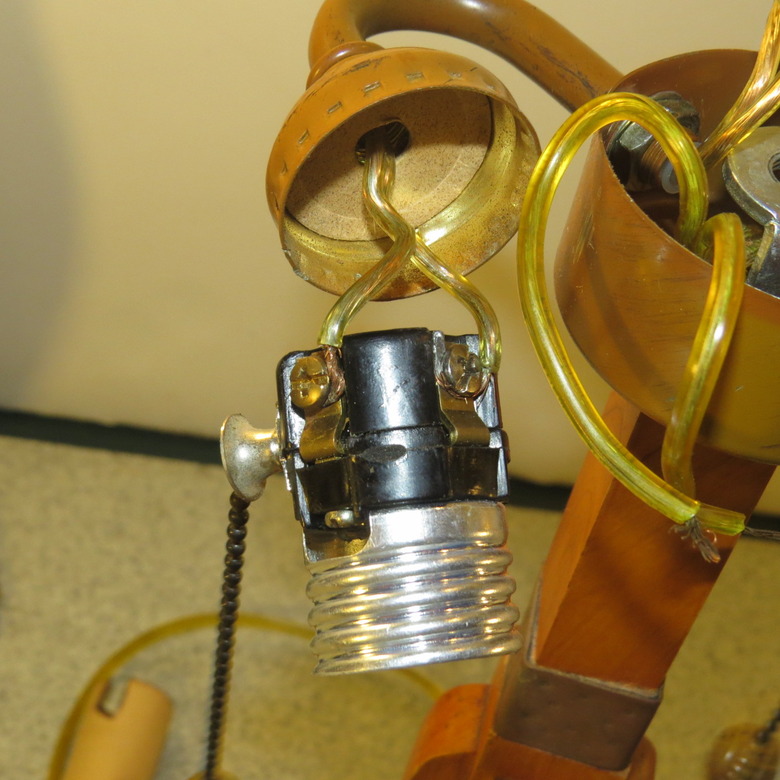
Connecting the sockets: Connect the short lamp cords to the sockets. The neutral half of the divided cord is marked with small ridges on the plastic jacket—you can feel this with your fingers. Attach this half to the silver-colored neutral screw terminal on the metal socket. Loop the braided wire clockwise around the screws, then tighten the screw down around the wire. Now do the same for the smooth half of the lamp wire (the hot wire), connecting it to the copper-colored screw terminal on the socket.
Repeat this process for the other lamp socket.
Step 5
 Bryan Trandem
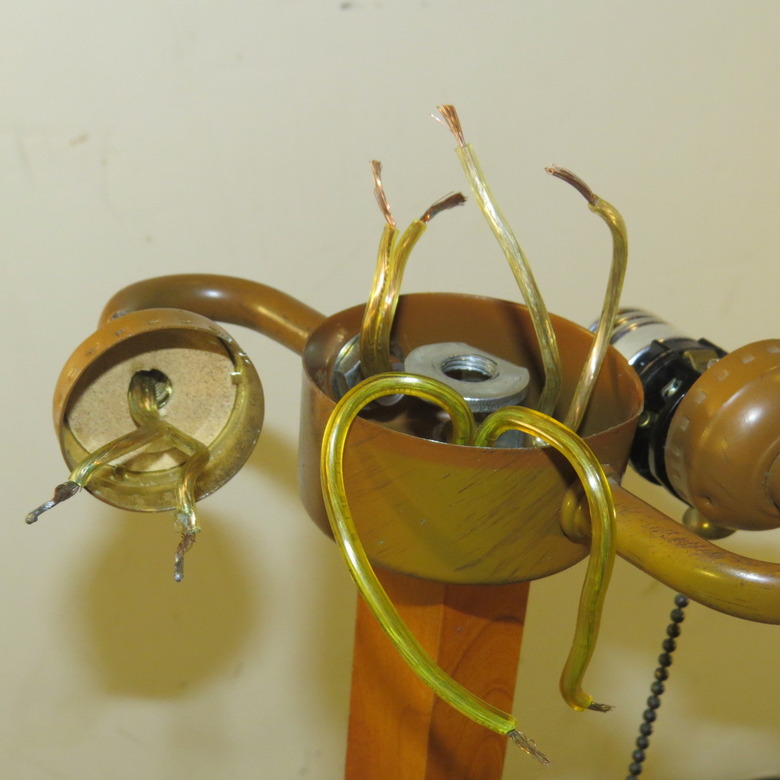
Join the socket cords to the lamp cord: At the center wire connection housing, join together the three neutral wires (the portion of the cord with faint ridges on the jacket) by twisting the bare ends together and screwing a wire nut over the bare ends. Do the same with the hot wires (this is the portion of the cord that has smooth insulation). The hot and neutral wires from the main lamp cord are now attached to the hot and neutral wires running to each of the sockets.
Step 6
 Bryan Trandem
 Bryan Trandem
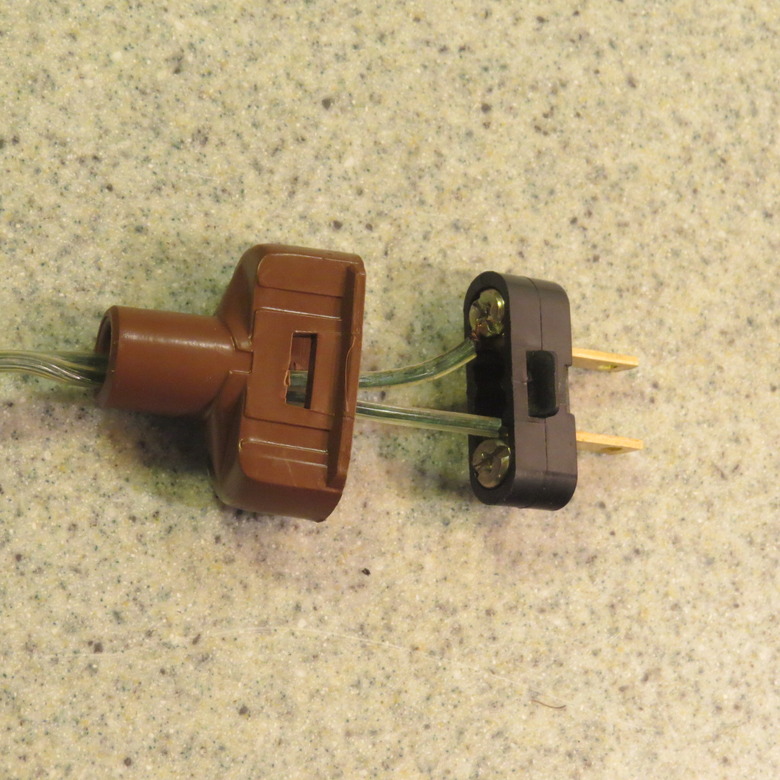
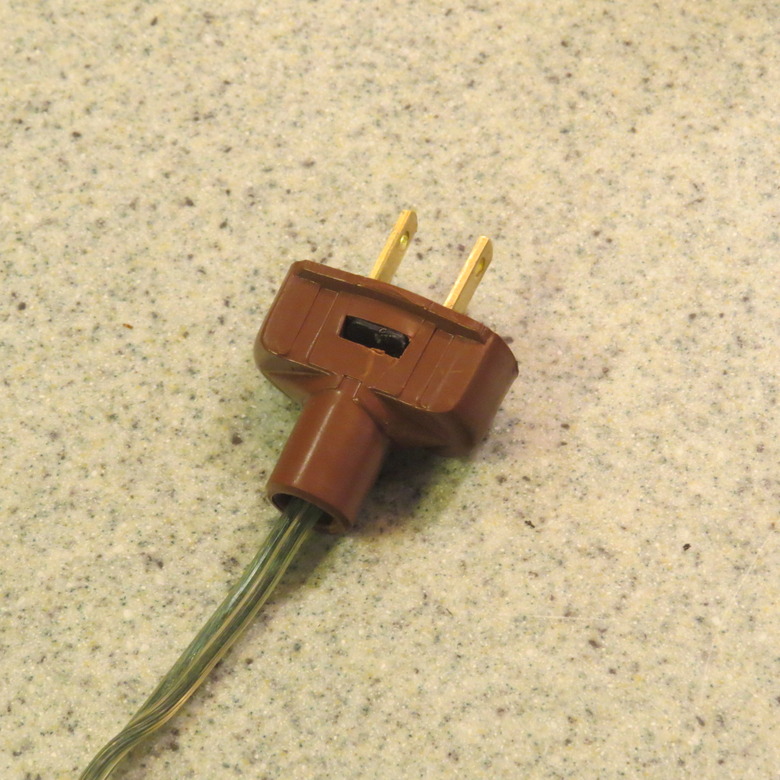
Install the new plug: To attach a new cord plug, start by removing the core of the plug. Feed the end of the lamp cord through the outer plug jacket, then attach the wires to the screw terminals on the plug core. If the core is polarized, one of the blades will be wider to distinguish this neutral blade from the narrow hot blade. Attach the neutral half of the lamp cord (the half that has ridged insulation) to the screw terminal connected to this wider blade. Attach the smooth half of the lamp cord to the hot screw terminal, which has a smaller blade.
- Note: Replacement lamp plugs are very often not polarized, with both blades of the plug the same width. In this case, it makes no difference which blade is connected to which wire.
Now, snap the core back into the plug jacket to complete the installation.
Step 7
 Bryan Trandem
 Bryan Trandem
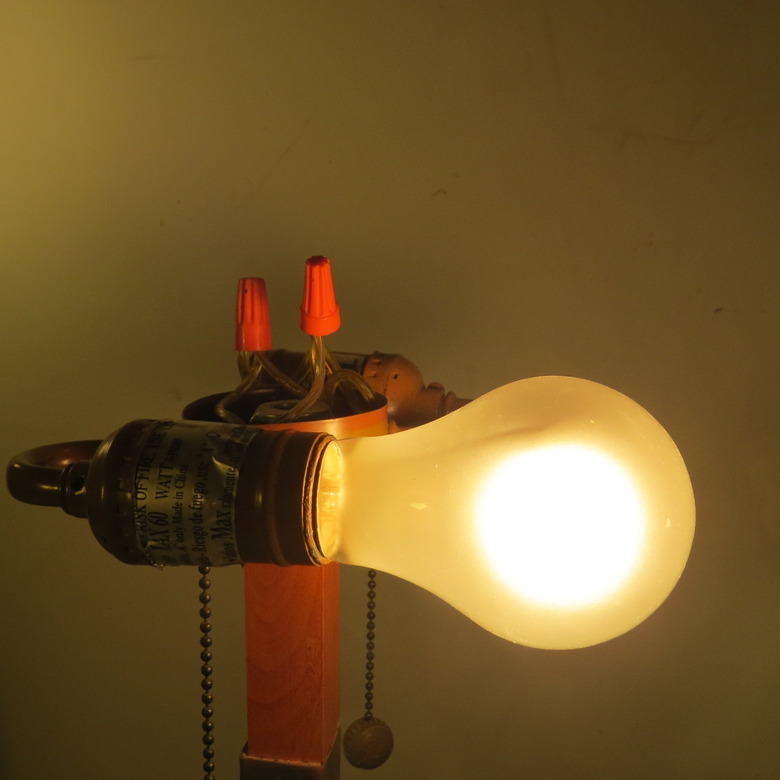
Test, then reassemble the lamp: Reassemble the light bulb sockets inside their outer shells, then snap the shells back into the lamp. Before finishing assembly, plug in the lamp and check to make sure the bulbs are operating properly.
Unplug the lamp again, then snap the cap on the wire connection housing back in place, and reassemble any other parts. Reattach the lamp shade.
Your rewiring project is now done.