How To Fix Christmas Lights With A Multimeter
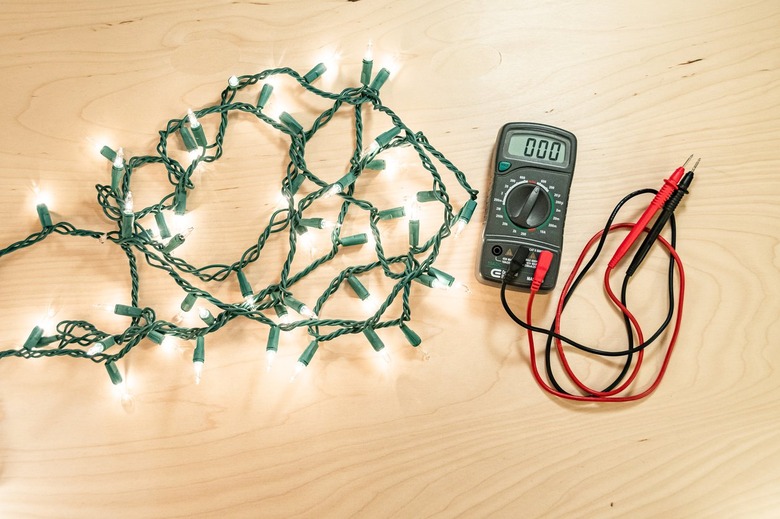
Although string lights have many uses throughout the year, many people keep dedicated sets in storage to use exclusively during the holidays to adorn their tree or use as outdoor Christmas lights. For some reason known only to the Christmas angels — and perhaps the light manufacturers — string lights hate to be in storage and often refuse to work even though they were working when you put them there. Most of the time, the problem is caused by a single bulb, and depending on how the string of lights is wired, that one bulb can make an entire section of bulbs or the whole string go out.
Your light set had one job to do — and when it doesn't work you may be tempted to throw the entire string in the trash and replace it with a new set. But that's a little hasty and wasteful — instead, use a tool called a multimeter to check the string for failure and to find a defective bulb (which is very easy to replace). If it isn't a burned-out bulb, the problem is likely a blown fuse (which is inserted between the prongs of the male plug), and that's also a fairly simple DIY.
Ready for the ultimate holiday hack? Here's how to fix your Christmas lights using a multimeter.
Checking Continuity With a Multimeter
Checking Continuity With a Multimeter
It's fairly easy to check Christmas lights by doing a voltage test with a noncontact voltage detector, but you can't do that with a multimeter because the probes have to be in contact with the wires to get a reading. You can, however, use a multimeter to check continuity, which is a measure of resistance — and you can do this with the string unplugged, which is safer than testing the string when it's plugged in.
Tip
Checking continuity in a set of string lights means you are testing for a complete — or continuous — electrical circuit. Electricity in a complete circuit flows around and around with little resistance. If there is a break in a wire — or, in the case of a light bulb, a filament —the break would impede, or resist, the flow of electricity. Therefore, a reading of very high or infinite resistance indicates there is a break in the circuit.
The first step is to check the resistance from one end of the string to the other. Like any electric circuit, the circuit in a set of string lights consists of a hot leg that runs through all the bulbs and a return (neutral) leg that extends from the male plug on one end of the string (the part with the prongs) to the female plug on the other end (the part that looks like an outlet) and bypasses the bulbs. The return leg should be intact and show low or no resistance. If it doesn't, the wires are damaged, and although you could theoretically fix them, it's probably best to throw away the string.
You can also do a continuity test on the individual bulbs until you find the bad one. This is a bit of a painstaking process because you have to go from bulb to bulb. There's a more efficient way to find the bulb when you have a noncontact voltage tester, but if all you have is a multimeter, this process may take a few minutes.
How to Test String Lights for Continuity
1. Set Up the Multimeter
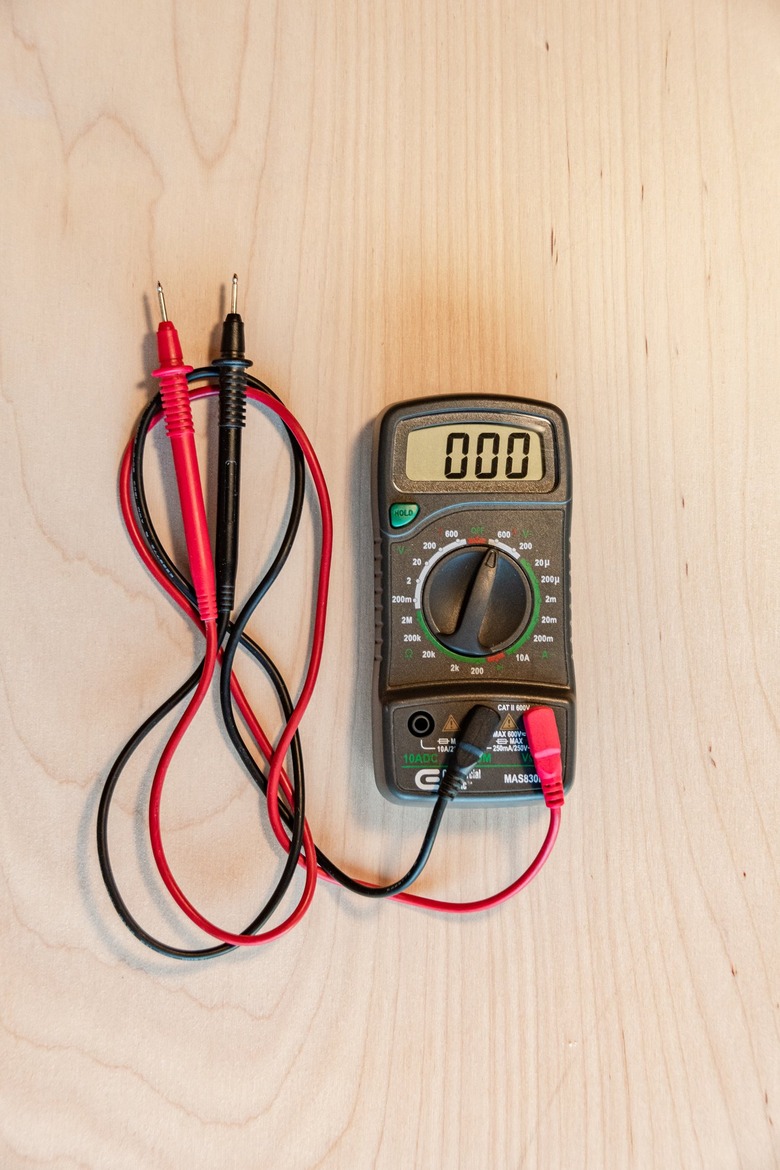
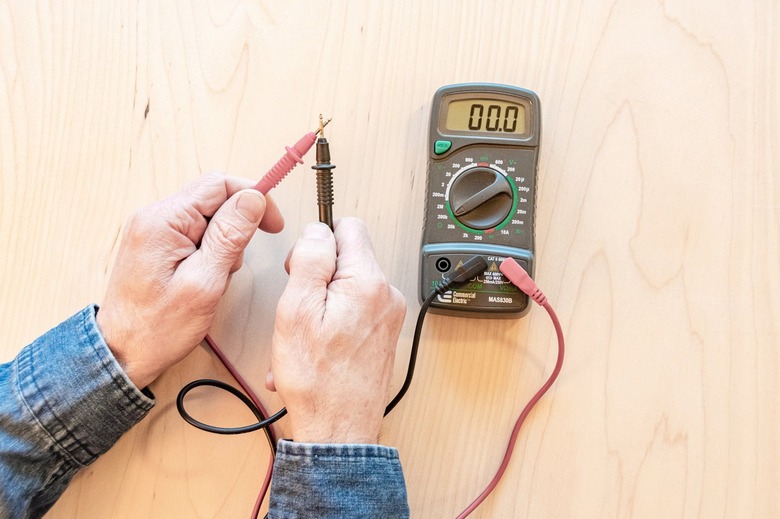
Adjust the dial on the multimeter so that the arrow points to ohms (Ω) of resistance. Plug the black lead into the common (COM) socket and the red lead into the volts-ohms (VΩ) socket. Touch the leads together. Since there is nothing between them, the resistance reading should be zero.
2. Check the String for Continuity
 Leigh Schmidt for Hunker
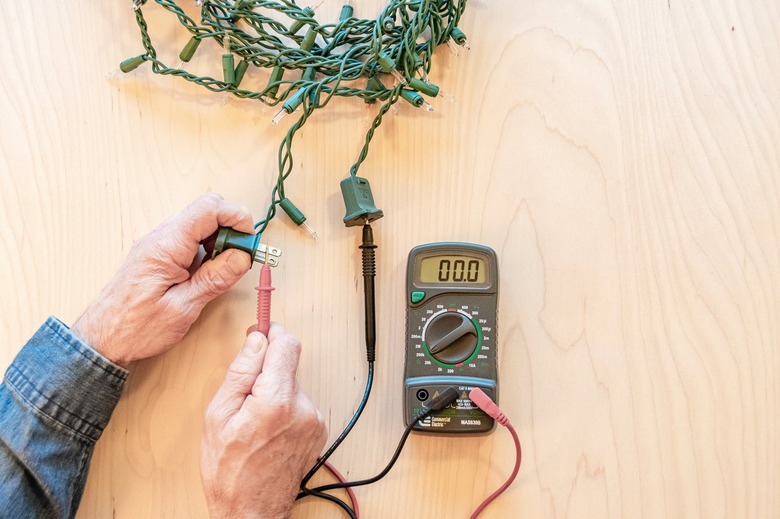
Unplug the light strand and insert one of the multimeter probes into one of the slots of the female plug end (the outlet-like plug). Touch the other probe to one of the prongs on the male plug end, then move that probe to the other prong. The meter should read zero (0) — meaning no resistance, with one of these tests, indicating continuity.
Move the first probe to the other slot on the female end, then test both prongs, as before. Again, one test should read zero. If so, the string's wiring is intact. If you can't get a zero reading with either test, there could be a break in a wire or the fuses may have blown.
3. Access the Fuses
 Leigh Schmidt for Hunker
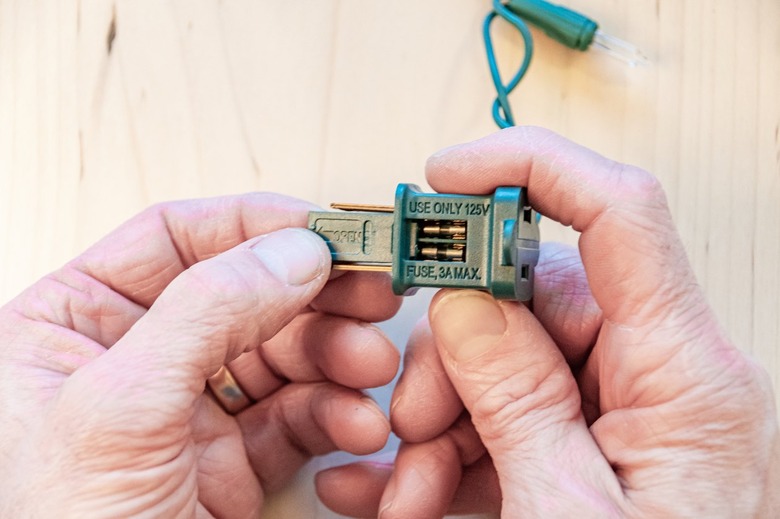
If you don't get a zero reading with the continuity test, check the fuses in the male plug end. Look for a little sliding door marked "OPEN" on one side of the plug, between the prongs. Slide the door toward the prong end of the plug, using your fingernail or a small flat screwdriver. This exposes the fuses inside the plug.
4. Check the Fuses and Replace If Necessary
 Leigh Schmidt for Hunker
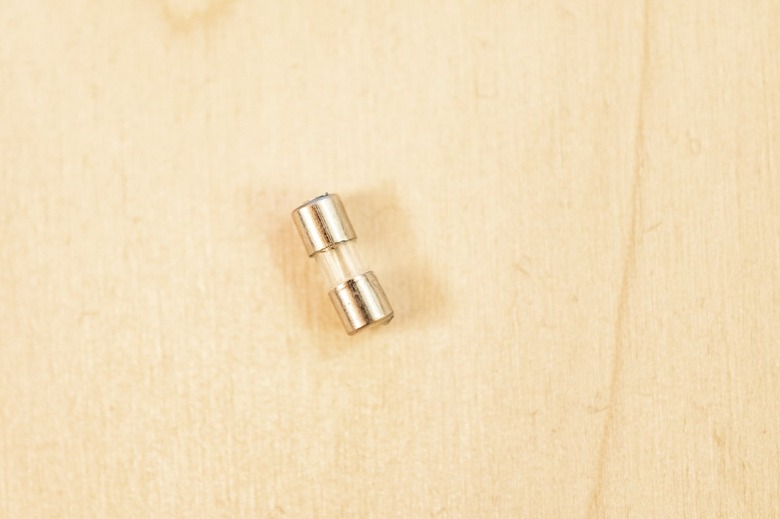
Carefully remove each fuse by prying up one of its metal ends with a small flat screwdriver. Hold the fuse up to strong light. If the glass cylinder of the fuse is blackened or the filament inside — which looks like a light bulb filament — is broken, the fuse has blown.
5. Replace Blown Fuses
 Leigh Schmidt for Hunker
Light strings usually come with a small plastic bag containing a some spare bulbs and fuses. If you can't find these spares, you can borrow a fuse from a light string you're not using — as long as the fuse is the same size as the original. Replace any fuses that have blown, and close the little access door, then test the string again for continuity. If you still can't get a zero reading, it's time to replace the string.
Tip
You can splice your Christmas tree light wires, which entails cutting the bad portion of the light wiring and "crimping" it back together.
How to Find a Bad Bulb on String Lights
How to Find a Bad Bulb on String Lights
If none of the string lights up, so that you can't tell if any of the bulbs are bad, you can test each bulb for continuity with the multimeter. Start at one end and work your way to the other end; that way, you won't miss any bulbs in your testing. To get started, set up and test the multimeter as described in step 1 in the previous set of steps above.
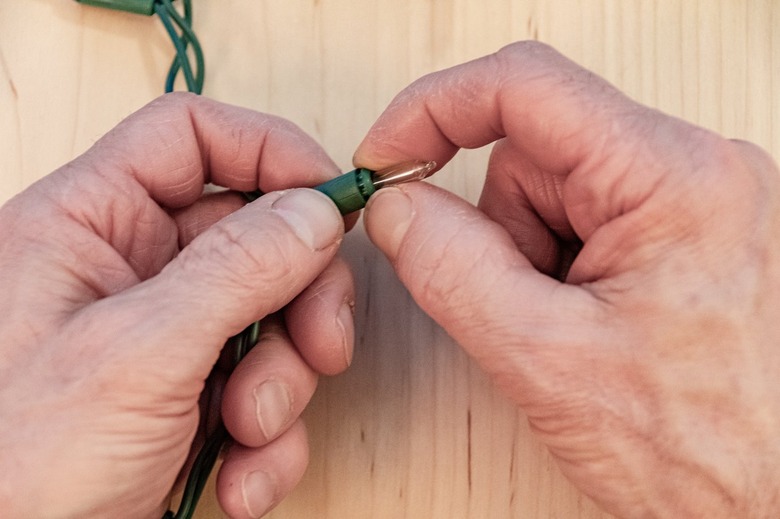
1. Pull Out the Bulb
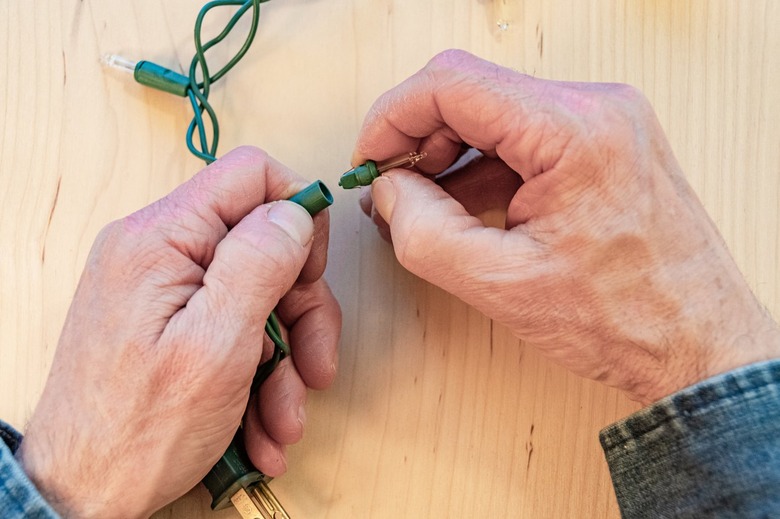
Grasp the socket of the bulb (the part attached to the light string wires) between your thumb and forefinger, and squeeze it tightly. Use your thumbnail from the other hand to pry under the ring of plastic at the base of the bulb; do not pull on the clear glass part of the bulb. Lift the bulb out of the socket and place it on your work surface.
2. Test the Bulb
 Leigh Schmidt for Hunker
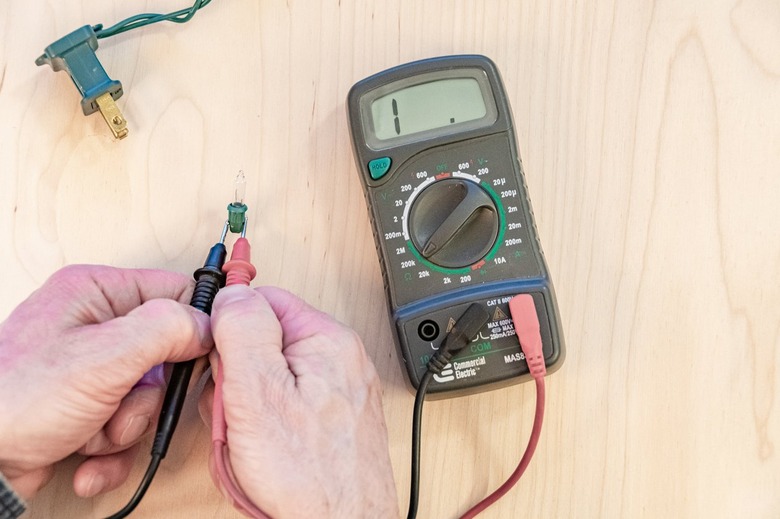
Note the two small wires that extend from the bottom and fold up along each side of the plastic bulb base. Without letting the probes touch each other, touch one probe of the multimeter to each of the wires. Sometimes you have to press inward with the probes (like grasping something with chopsticks) to get a reading.
Check the meter readout. If it reads zero or close to it, the bulb is good. If you get a high resistance reading (denoted by "1," "OL," or "Open Line" on digital meters), the bulb is bad.
3. Reinstall or Replace the Bulb
 Leigh Schmidt for Hunker
If the bulb passes the continuity test, reinsert it back into its socket. Note that the bottom of the bulb base has flat sides; this must align with the shape inside the socket. Push in the bulb until it snaps into place.
If the bulb failed the continuity test, hopefully you have a replacement bulb (most holiday lights come with a little bag of spare bulbs and fuses); if not, you can steal a bulb from an old string — if you've saved one — or dedicate an extra string for "new bulbs" and keep it for just this purpose.
Tip
Want your Christmas lights to last longer and don't want to bother with time-consuming troubleshooting every few years? Upgrade your incandescent lights to LED Christmas lights. Incandescent bulbs only have a lifespan of about 1,200 hours versus LED bulbs, which can last a whopping 50,000 to 100,000 hours.