How To Refinish Cabinets Without Stripping
We may receive a commission on purchases made from links.
Your cabinets are looking like castoffs from a second-hand store, but you can't afford the time to strip and sand them, and you don't want all those nasty chemicals in your kitchen anyway. Certain volatile chemicals found in paint strippers are toxic chemicals that can be harmful to a person's health.
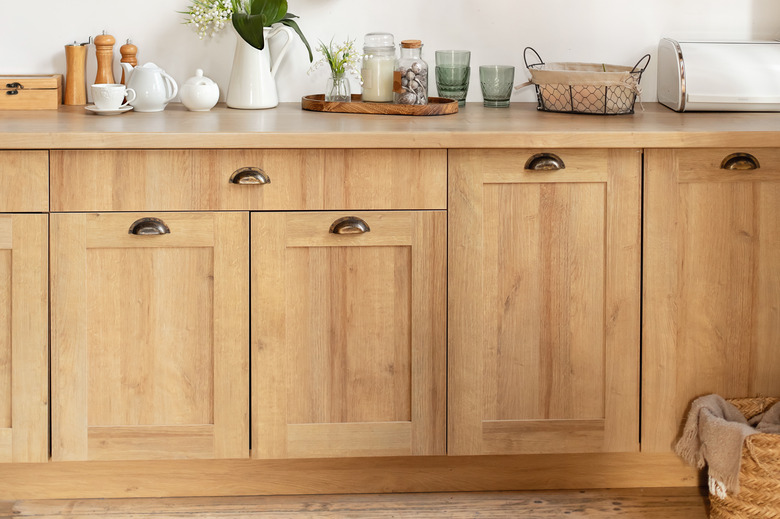
Providing that the wood of your cabinets is in good shape, you can refurbish wood cabinets. It's possible to make significant improvement to the cabinet's finish without stripping. You may even be able to get the cabinets looking like new once again.
Choose Your Cabinet Refurbishing Style
Choose Your Cabinet Refurbishing Style
It's good to have a particular style in mind before you begin refurbishing your cabinets, because of the myriad possibilities. You can opt for updating the current finish with stain and a clear topcoat and refinish no sanding. Or, you can paint the cabinets with latex paint or even milk paint. This gives you the opportunity to choose whatever color tone you wish.
You don't have to stop there. Use a wood stain or another paint color to add a glaze or antique effect to your kitchen cabinets. Or try applying a whitewash or pickled finish. While you're in the process of updating your kitchen cabinets, seize the opportunity to make the cabinets look updated and stylish by buying new hinges and knobs to complete the picture.
Preparing to Refurbish Wood Cabinets
Preparing to Refurbish Wood Cabinets
While you don't have to strip the cabinets to restore cabinets, you do have to clean them thoroughly. Any grime you leave on the surface when you refurbish wood cabinets will interfere with the finish adhesion.
Start by taking the cabinets apart. Remove the doors. Next, take out the shelves, and remove all the hardware. Put any hardware you plan to reuse in a safe place. This will ensure that you can find the hardware when it's time to put the cabinets back together again.
Wash down all surfaces with a solution of 1/2-cup trisodium phosphate per gallon of water. While renovating your kitchen cabinets, also wipe off all kitchen grease with mineral spirits. When the cabinets dry, scuff them thoroughly with 220-grit sandpaper. This procedure will bring on the new finish.
Updating the Finish
Updating the Finish
If you like the way your cabinets looked before they didn't look so good, find a can of stain or a touch-up stain pen with a matching color to repair spots from which the color has worn.
If you want to deepen the color in general, go ahead and stain the entire cabinet by brushing the stain on and wiping off the excess with a clean rag. The stain won't penetrate, but it doesn't have to; a coat of clear polyurethane or lacquer will fix it in place. Apply the finish by brush, or use an aerosol can. It's best to apply at least two coats. Scuff the first coat with 320-grit sandpaper before applying the second coat.
Special Effects Renovation Ideas
Special Effects Renovation Ideas
You can paint the cabinets as easily as updating the existing color, and the preparation process is the same. If it strikes your fancy to whitewash or pickle the cabinets, brush an appropriate light-colored stain over the existing finish, instead of a dark-colored one.
Some glazing effects look best if you apply them over a coat of paint or finish. For example, create layers of colors by brushing on successive coats of milk paint, then sand through the layers at strategic points to age the finish. Finish off by coating the new finish with at least one coat of clear polyurethane. This will seal in the color and prevent wear.