How To Seal A Picture With Polyurethane
Things Needed
-
Drop cloth or plastic
-
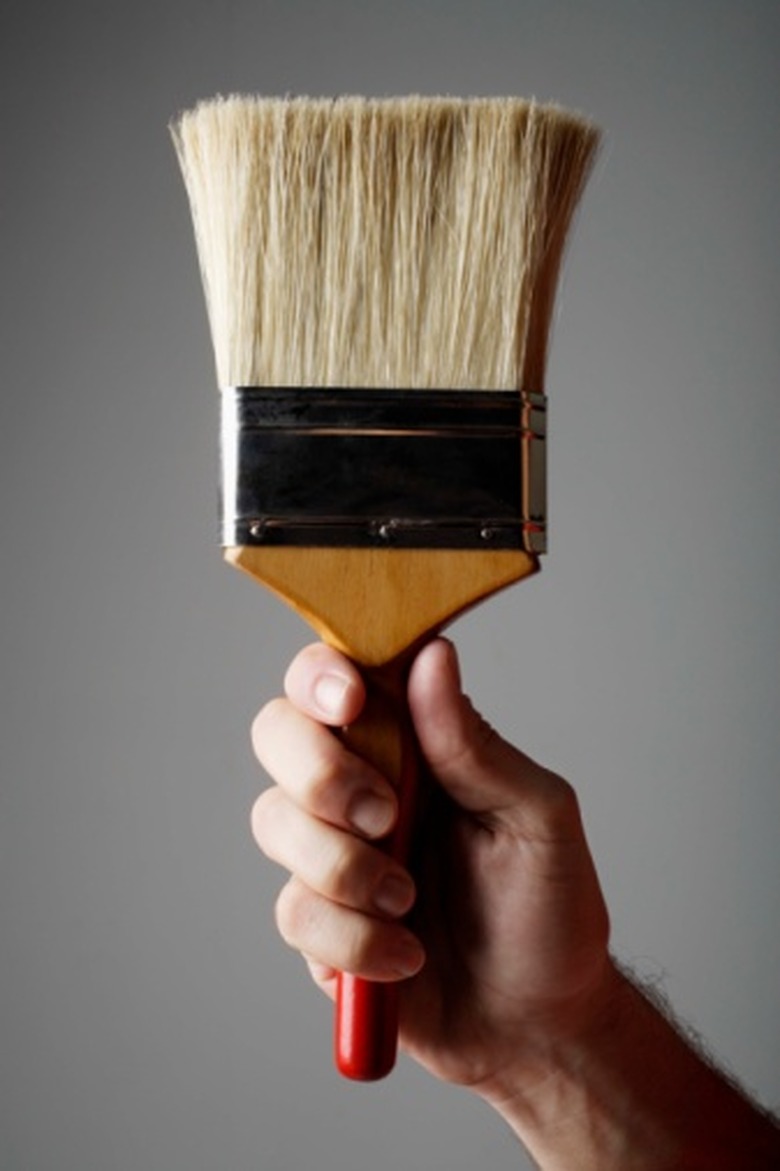
Soft-haired flat-ended brush or foam brushes
-
Acrylic varnish
-
Polyurethane
Tip
Choose polyurethane in the finish you prefer; it is available in flat, stain, gloss and high-gloss finishes.
After applying half a dozen coats of polyurethane, it may be tempting to think that the photo is properly sealed to the surface. Do not take this chance. Over time, even the tiniest gap between the surface of the object and the photo will create enough friction for the photo to become dislodged. Better to do the job right from the start and apply as many coats of polyurethane as needed to create a completely smooth surface.
Warning
Polyurethane is highly toxic and should be handled with care. Make sure the lid is properly sealed between coats.
If you're ready to seal a picture with polyurethane, chances are you're in the final stages of decoupage – the art of affixing paper to furniture, walls and decorative accessories. Polyurethane will give you a tough, durable finish that will withstand heat and other outdoor elements. But remember that unlike water-based acrylic varnish, polyurethane contains linseed oil, which creates a yellowed effect. For this reason, many people choose the slower-drying, oil-based polyurethane because it produces an antique effect that suits their taste and decor.
Step 1
Protect your work area with a drop cloth or piece of plastic.
Step 2
Work in a well-ventilated area. Open the windows if you're indoors and put on a fan. If you are working on a small object, take it outdoors.
Step 3
Remember the goal for an effective polyurethane finish: you want to be able to run your hand over the picture freely, without feeling the picture or the edges. For this reason, be prepared to apply between 10 and 15 coats of polyurethane over the course of several days, depending on drying time between coats. Check the label for the correct drying time, making adjustments if necessary, for hot or cold temperatures and humidity.
Step 4
Ensure that your photo is properly affixed to the surface.
Step 5
Apply one coat of acrylic varnish for the first coat and then finish the job with repeated coats of polyurethane. There are two reasons for this step: it will reduce the yellowed effect created by the polyurethane and the patchy, bubbled appearance that may result if you apply an oil-based varnish directly onto paper.
Step 6
Allow the acrylic varnish to dry. Then dip your brush into the polyurethane and cover the photo with a thin, even coat, being careful not to over-brush and leave brush marks or subtle ridges in your work. Allow each coat of polyurethane to dry thoroughly to the touch before applying a subsequent coat.