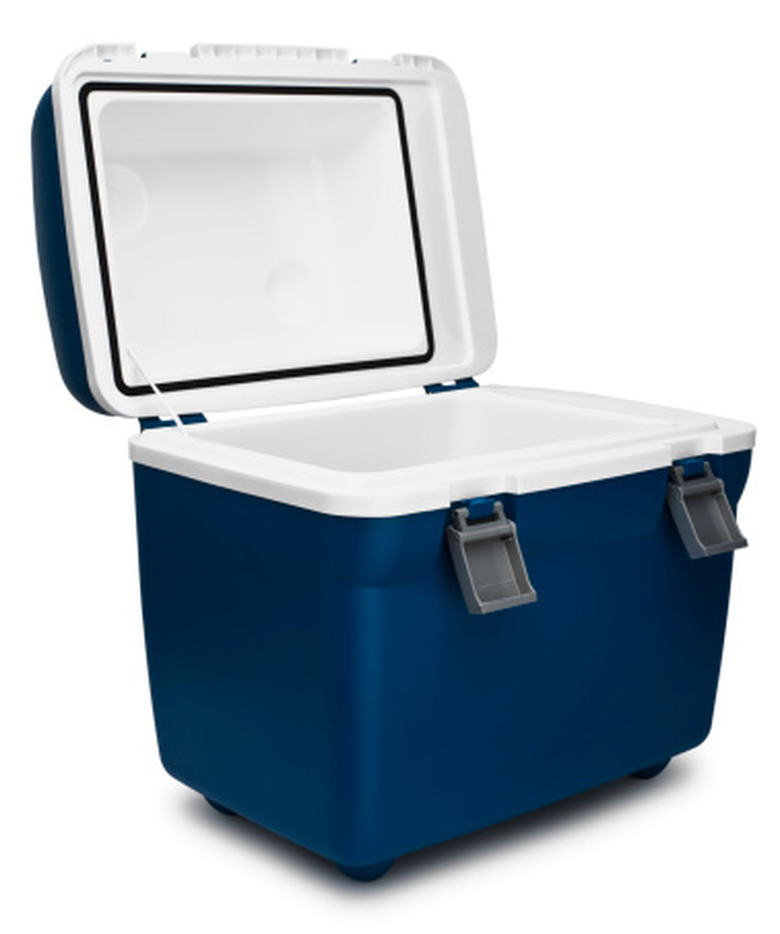
How To Repair A Cracked Igloo Cooler
Things Needed
-
Degreasing detergent
-
Fine-grit sandpaper
-
Flame
-
Metal rod
-
Heat-resistant leather gloves
-
Parchment paper
-
Epoxy putty
Tip
Wear safety glasses. Wear thin latex gloves to protect hands from epoxy putty.
An Igloo cooler is a brand-name ice chest typically used to keep food and drinks cold. Plastic Igloo coolers can become damaged due to accidents, age and rough handling. Ice chests act to insulate the cold contents from the hot or warm exterior. When a cooler cracks, warm air enters and cold air escapes, leaving the cooler useless. Repairing cracks returns the cooler to a useful state.
Heat-Welding Small Cracks
Step 1
Working outdoors to prevent inhaling harmful fumes from melting plastic, wash the cooler with a mild degreasing detergent to remove dirt and oil from the surface.
Step 2
Allow the cooler to dry completely. Sand the edges of the crack with fine-grit sandpaper to smooth them.
Step 3
Wearing heat-resistant gloves, turn on a stove or barbecue grill on and place a metal rod over the flame.
Step 4
Place parchment paper over the crack in the cooler and hold in place. Parchment paper creates a nonstick barrier between the plastic and the metal rod.
Step 5
Touch the cracked area with the hot metal rod and move it back and forth over the crack until the plastic edges begin to melt together. Continue until the plastic crack is no longer visible. Reheat the metal rod as necessary to weld the edges together.
Filling in Large Cracks and Holes
Step 1
Clean the cooler with a degreasing detergent and dry completely.
Step 2
Sand the crack with fine-grit sandpaper to smooth the edges of the crack and rough up a 1/4-inch area surrounding the crack.
Step 3
Knead two-part epoxy putty by hand until the putty molds easily. Press the deeply putty into the crack and build it up to slightly higher than the cooler's surface.
Step 4
Allow the putty to dry completely, generally 30 minutes to one hour, depending on the manufacturer.
Step 5
Sand the putty smooth, and flush with fine-grit sandpaper.
References
- "Working With Plastics"; Time Life Editors; 1982
- "Handbook of Adhesives and Sealants"; Edward M. Petrie; 2006
