How To Drain A Portable Sharp Model CV-P10MX
We may receive a commission on purchases made from links.
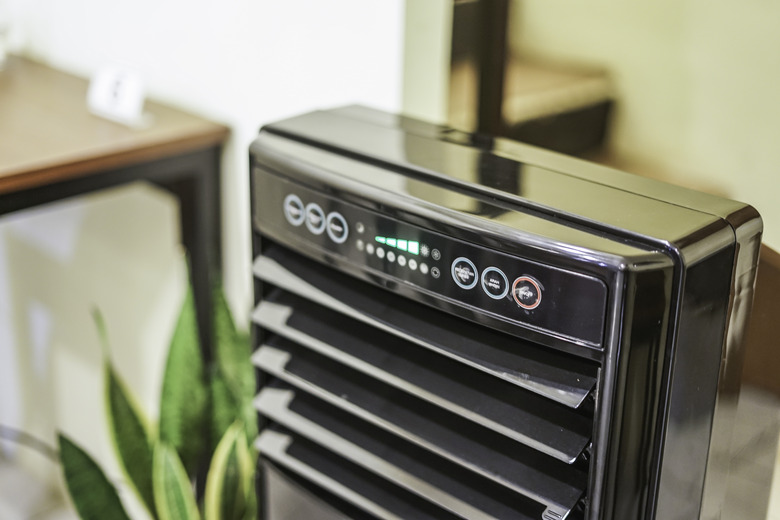
Portable and economical, the Sharp CV-P10MX air conditioner is designed to cool and purify the air in one room. The unit is equipped with a water tank to collect the liquid condensation produced during the cooling process — liquid that must be drained periodically. When the tank is full, the unit won't operate, which prevents overflow and damage; the operator indicator light, the timer light and the "Mega Cool" light will blink continuously to alert you to the need to drain the tank as well.
Draining the air conditioner will turn off the Mega Cool light and allow the unit to resume operation. To prevent the air conditioner from shutting off automatically in the future, check the water level in the tank and drain it periodically before the water reaches the maximum level.
To drain the tank from your Sharp CV-P10MX air conditioner, you'll need a 5/8-inch inner diameter rubber hose (or silicone tube), a bucket, and a shallow container. Use a bucket that holds at least a gallon and a half to prevent overflow; a standard 2-gallon bucket works well. Use a container that holds about a pint of liquid to empty the drainpipe.
Pre-Draining Prep Work
1. Shut Off the Power
Turn off the Sharp CV-P10MX air conditioner, but keep the unit plugged in.
2. Attach Clamp to Hose
Prepare a rubber hose with an inner 5/8-inch diameter by sliding the hose clamp that came with the unit around one end and pushing the drain grommet, which resembles a tiny cup, into the end.
3. Find the Drainage Nozzle
Locate the drainage nozzle on the back of the unit, just below the exhaust pipe of the left side. The drainage nozzle resembles a dial with a small tubular hole in the center.
Draining a Sharp CV-P10MX
1. Open Drainage Nozzle
Turn the drain dial to the open position, so that it's positioned vertically. Remove the small covering, or stopcock, from the nozzle.
2. Attach Hose to Nozzle
Push the drain grommet on the end of the hose over the drainage nozzle and tighten the clamp around the hose securely. Hand-tightening is typically fine, but you may want a screwdriver to ensure a tight connection. Place the other end of the hose into a bucket.
3. Initiate the Flow
Press the unit's power button two times to start the flow of water into the bucket.
4. Turn Unit Off
Press the power button once to turn the unit off again when the water has drained.
Cleaning Up After Draining Water
1. Loosen Clamp and Remove Hose
Loosen the hose clamp and remove the grommet and hose from the drainage nozzle. Replace the stopcock and turn the dial so it's positioned horizontally to close.
2. Drain the Nozzle
Place a shallow container under the drainpipe nozzle, located on the lower right side of the back of the unit. Remove the stopcock and allow the remaining liquid to drain out. Once drained, replace the stopcock. This step isn't necessary if you plan to keep the air conditioner running, but should be done before moving or storing the unit.