How To Replace The Head On A Stihl String Trimmer
We may receive a commission on purchases made from links.
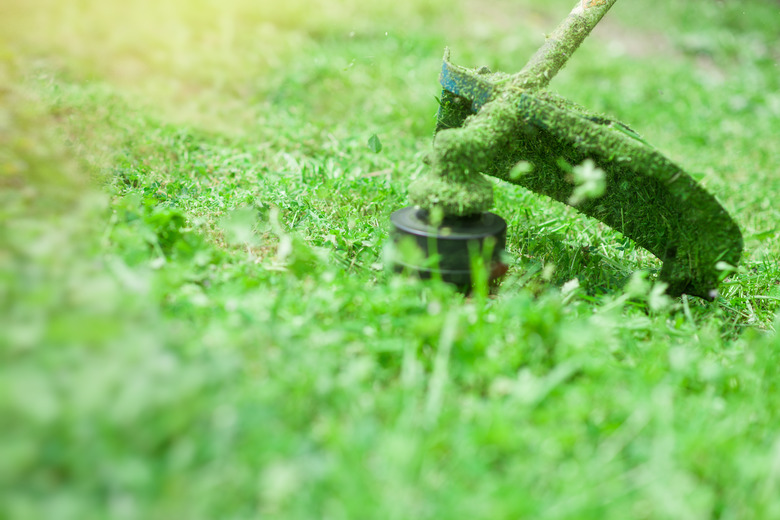
If you own a Stihl string trimmer, you'll have more than one opportunity to change the trimmer head during the tool's service life. You may want to replace the string head with a brush cutter blade to handle some gnarly undergrowth, or you may want to get really serious and install a circular saw blade capable of cutting through large branches and even small tree trunks.
It's also possible that you want to take advantage of a nifty trick used by some landscaping professionals and keep a few pre-wound trimmer heads on hand so you don't have to restring the trimmer in the middle of a job. Whatever the reason for removing the trimmer head, you'll find the job easy to do, and it won't take more than a few minutes, but the procedure does vary slightly according to which cutting head you want to install. Some cutting heads come with extra washers and other parts, so be sure to refer to the instructions for the head you want to install to make sure you have all the parts.
Things Needed
-
Stop pin or Phillips screwdriver
How to Replace the Head on a Stihl Trimmer
1. Prepare the Trimmer
Pull the spark plug wire off the plug to disable a gas trimmer. If you're replacing the head on a cordless model, remove the battery. Lay the trimmer on a flat, horizontal surface in a position that allows you to access the trimmer head. You may want to loosen the deflector nut with a wrench and slide the deflector out of the way — or remove it altogether — to give you more working room.
2. Stop the Head From Spinning
Locate a small hole on the gear head at the base of the shaft. Insert a metal rod into this hole and push it in as far as it will go to stop the head from rotating while you loosen the nut to remove it. You can use any Phillips screwdriver that fits through the hole if you lost the stop pin that came with the trimmer. After inserting the rod, rotate the head until it locks onto the rod and won't spin anymore.
3. Remove the Trimmer Head
Use a socket wrench of the appropriate size to unscrew the nut holding the trimmer head to the gear shaft. It has reverse threads, which means you have to turn it clockwise to loosen it. Remove the nut and then lift the trimmer head off the shaft as well as any collars and washers. If you're removing a bump-feed head, remove the spring when you remove the head.
4. Install a Replacement Head
Double-check the installation instructions that came with the head or accessory and note which extra parts you need and in which sequence to install them. If you're installing a blade or brush cutter, you usually have to install a washer followed by the cutting blade, a dome-shaped collar and the nut to hold them. If you're installing an AutoCut head, there are no extra parts other than the head and the nut to hold it.
Tighten the nut by turning it counterclockwise with a socket wrench unless you're installing an AutoCut head on selected trimmer models. In that case, the plastic nut can be turned by hand, and you rotate it clockwise to tighten it.