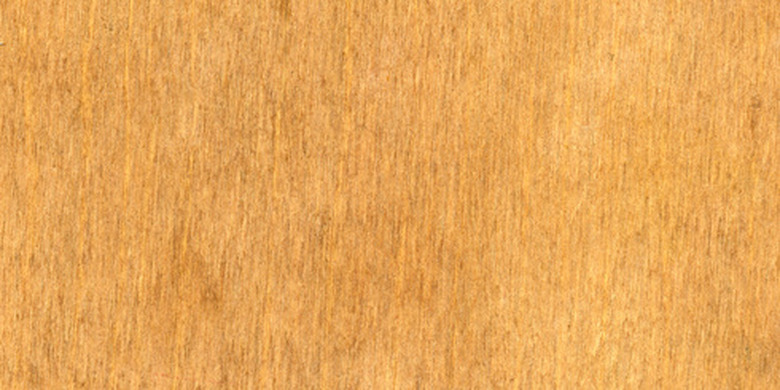
How To Replace A Wood Veneer Table Top
Things Needed
-
Wood veneer
-
Wood glue
-
Utility knife
-
Plywood
-
Weights
-
Thin chisel or metal putty knife
-
Rubber mallet
Tip
Choose new wood veneer to match or complement the existing furniture.
Warning
Use caution when working with a sharp utility knife.
Wood furniture manufactured from plywood, hardwoods or low grade woods employs the use of wood veneer to cover the base wood. Wood veneers are available in many choices of wood colors such a cherry, oak and mahogany. Wood veneers offer the look of these expensive hardwoods throughout the piece of furniture without the expense. Glue holds wood veneer in place but over the course of time, glue becomes brittle and the veneer lifts or cracks. In the case of extreme damage, the wood veneer of the table top may need to be replaced.
Step 1
Measure the table top, both length and width to determine the size of the veneer required.
Step 2
Purchase a sheet of veneer at a lumber yard, woodworking supply store or online supplier.
Step 3
Remove the old veneer from the table top using a thin chisel or metal putty knife. Wedge the chisel or putty knife under the veneer and lift the old veneer off. Tap the putty knife or chisel gently with a rubber mallet to loosen stubborn veneer.
Step 4
Use a medium-grit sandpaper to sand off old, dried glue.
Step 5
Sweep off any dust and then use a tack cloth to pick up remaining dust.
Step 6
Paint a thin coating of wood glue over the entire surface of the table top.
Step 7
Place the sheet of veneer over the surface of the table, allowing the excess wood veneer to hang over the edges.
Step 8
Taking care not to scratch the new veneer, place a sheet of plywood over the top of the table.
Step 9
Place bricks, heavy books or comparable weight on top of the plywood with the weight evenly distributed over the surface to ensure a strong and even bond.
Step 10
Allow the glue to dry for 24 hours.
Step 11
Remove the weights and plywood.
Step 12
Turn the table upside down.
Step 13
Use a sharp utility knife to trim the excess wood veneer away from the edges.
Step 14
Sand edges very lightly with a fine-grit sandpaper.
