How To Restore Pine Furniture
Things Needed
-
Sand Paper – 60, 80, 120, and 220 grit.
-
Finishing Brush
-
Staining Cloth – cotton t-shirts
-
Blue Masking Tape
-
Stain
-
Finish
Tip
Wear rubber gloves and eye-goggles.

When restoring pine furniture, there are a few things that are absolutely necessary for a successful project. Although the finish on pine furniture can last for decades, there are unavoidable forces that can wear down the furniture. Scratches can cause pine furniture finish to flake and peel, and UV light can fade and damage the color beneath the finish. Refinishing pine furniture is not difficult, and, depending on the size of the project, it can be done in one day or less.
Tape and Cover Cloth
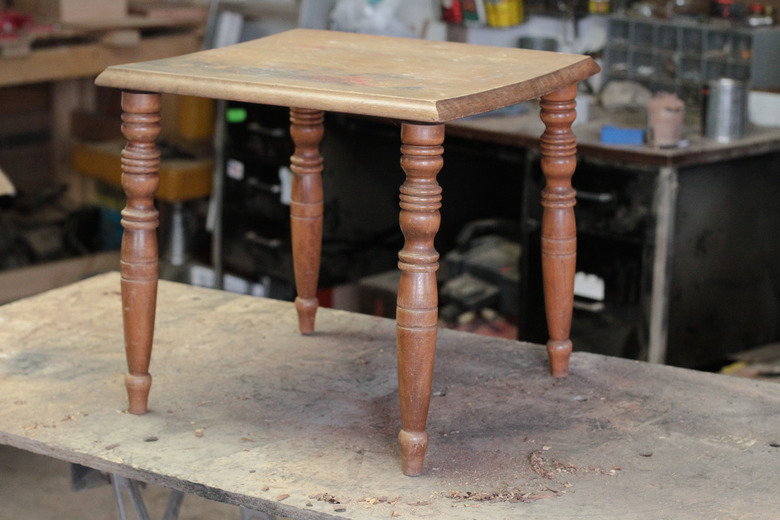
Step 1
Place the furniture on a sturdy work surface–sawhorses with plywood as a top will do. Tape any cloth upholstery or other materials that may be stained or scratched during the refinishing stage. Use painters plastic to cover any large areas; tape the smaller areas with green or blue painters tape.
Step 2

Sand the furniture using coarse, medium, and fine-grit sandpapers. Always sand in the direction of the grain. Make sure the room is properly ventilated with a fan, and wear a dust mask when sanding. Sand first with course paper(60 grit)–this will remove any old finish–and then even out the wood with medium grit paper(80 grit).
Step 3
After you have finished sanding, spray a fine mist of water over the wood grain–this will raise the grain and allow for a finer sanding. Re-sand with 120 and 220 fine-grit sandpapers. You can use an orbital sander instead of hand sanding. Regardless of which method you choose, make sure to start off with coarse and medium papers, and then use fine papers to smooth the surface.
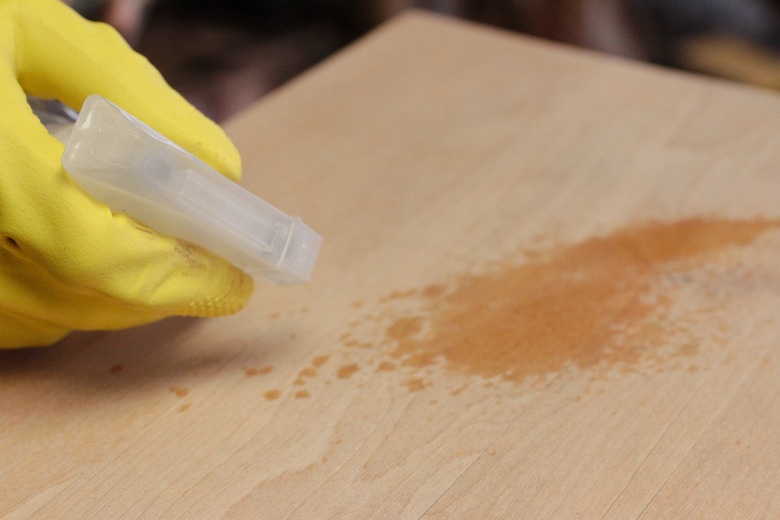
Step 4
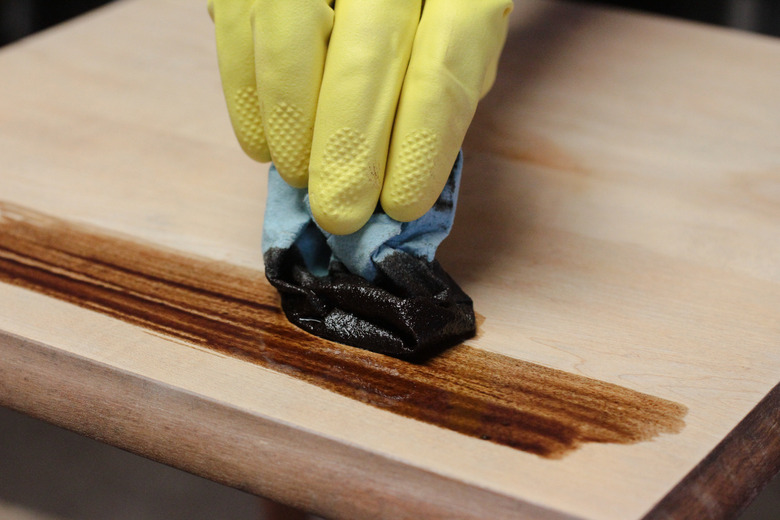
Apply wood conditioner to the furniture before you color with stain–the conditioner will prevent uneven staining. Wipe the stain onto the furniture using a cotton rag–old T-shirts work well. Remove any excess stain with another rag. Your color depth can be achieved in several coats, so it won't be necessary to try and get all of the color at once. Follow the drying instructions on the can for drying time. Re-coat as many times as you'd like to achieve your desired shade. Use a fine bristled brush to apply the finish. Remember to keep stains and finishes paired so that oil-based stains are matched with oil-based finish.
Step 5
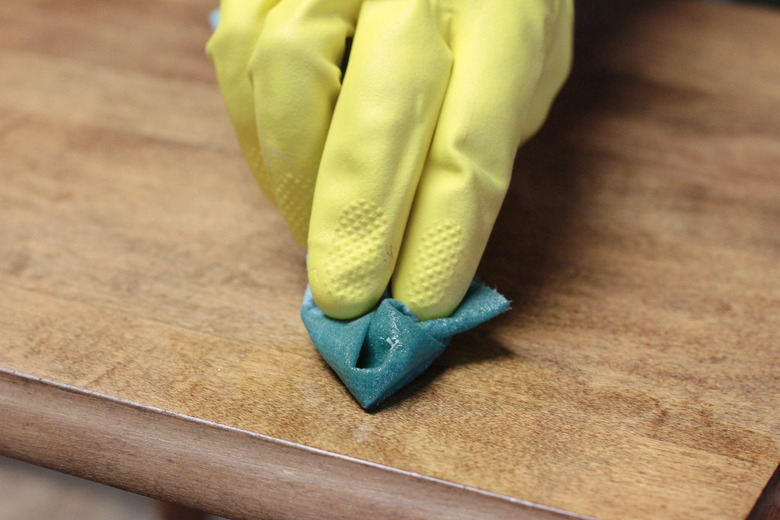
Apply three coats of finish after the stain has dried–this will provide a deep glass finish on the piece. Follow the instructions on the side of the can for drying instructions. Oil-based finishes will dry quicker, so, if you want to finish in a hurry, use oil-based finish. Sand between coats in order to remove any imperfections.