How To Replace Sliding Glass Doors With A Solid Wall
We know what you're thinking: There's no way this is a DIY job. Sliding glass doors have moving parts. They're made of oddball materials like fiberglass, vinyl, or even steel, that you don't normally deal with. They keep rain and racoons from either splashing or crawling into your home. This doesn't seem like the kind of thing you want to mess about with, right?
Surprisingly, removing a sliding patio door and enclosing the resulting hole with a solid wall is essentially the reverse of opening up a wall to install a patio door, and is probably not the hardest thing you'll do in your home. Maybe not even the hardest thing this week.
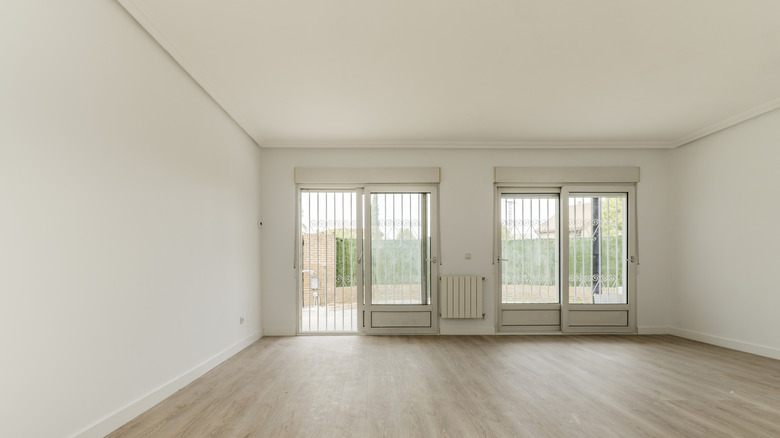
First, let's look at some of the assumptions we're making below. We assume that, like most folks, you have wood-framed walls finished with drywall on the inside (and an unknown siding on the outside). There's nothing stopping you from enclosing a door opening on a plastered wall, of course, but it's far less common. We're also assuming that you have fairly standard framing around your sliding glass doors. Sometimes techniques like advanced framing can change the structure of the wall around doors and windows. Even if your builder used advanced framing, it's unlikely to affect this project, but it's worth being aware of the differences. And, finally, we're assuming that you want to close in the old door opening with a solid wall, but of course you might also consider other alternatives to a sliding glass door, like replacing it with French doors or a swinging door with sidelights. For these purposes, though, we're going with the solid wall.
Removing the sliding glass door assembly
Your project begins by making a 40-square-foot hole in an exterior wall of your home. Don't worry; this is actually the easiest of two easy parts of your project (and oh yeah, if you don't expect to finish this project in a day, you should be prepared to at least get a tarp over the opening to ward off those aforementioned racoons).
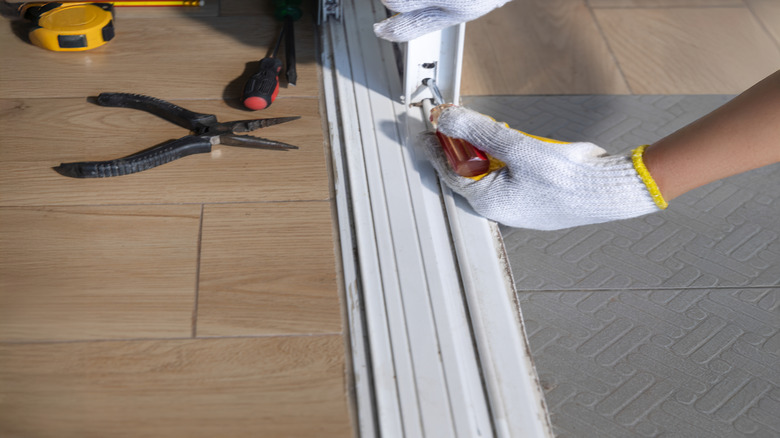
Demolition begins with getting the sliding door itself out. Use the adjustment screws in the bottom of the door to lower the door (raise its rollers), then lift the door up and out of the frame from the bottom. Remove screen panels the same way, then remove the fasteners and mechanisms holding the stationary panel in place. Once freed, you should be able to slide the once-stationary door over to the opening and pull it out.
Work your way around the door's frame and remove any screws or nails that are securing the frame to the wall's framing and the floor system. Since you can unscrew screws but not unnail nails, be prepared for some prying if you have the latter. Nails can often be bypassed by center-punching them to create a divot for a drill bit, then drilling the heads out with a bit slightly larger than the nail head. You can often cut through the nails with a reciprocating saw. Remove any caulk, which you're likely to encounter along the floor. If there's a nailing flange attaching the frame to the wall on the outside, you will need to cut away enough siding to get to its fasteners and remove them. Then simply push the frame out.
Framing a new solid wall
If you've ever done any framing, you probably have a good sense of what's coming next. Sister a wall stud to the stud on each side of the opening. This will be a nailer for your drywall and exterior sheathing. Add a top plate along the floor, made from the same 2x4 stud material, then add a bottom plate according to local codes, making sure to attach it to floor joists. It's probably a good idea to run a bead of latex caulk between the existing framing and the new plates and studs you add. Set your new boards firmly into the caulk. Lay out stud locations on the top and bottom plates, usually 16 inches on center. You might be used to doing this before the plates are installed and that will work fine, but you should build the wall in place rather than building it on the floor and lifting it into place like you might with a new wall. Measure, cut, and toe-nail (or screw) studs into place according to your layout marks.
Add caulk around the outside of your studs and plates, then install exterior sheathing to the studs. Seal any joints, then caulk and staple plastic house wrap over the sheathing (what you do with the siding depends on what siding you already have, and other factors we can't predict). Install plastic sheeting or vapor barrier by applying polyurethane caulking around the inside of the studs and plates, then stapling the material to the framing through the sealant. Install your drywall and tape, mud, sand, and finish as usual.


