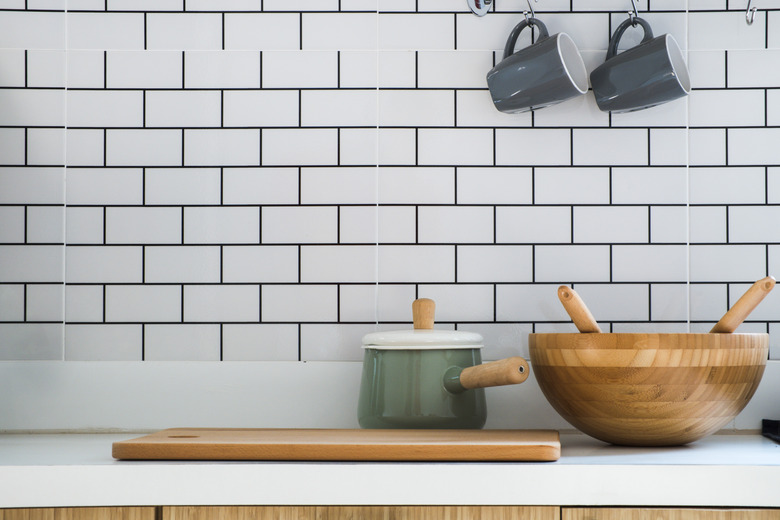
How To Use Peel & Stick Tiles On Countertops
Peel and stick tiles, sometimes referred to as self-adhesive countertop laminate offer homeowners an economical option to dress up old or distressed countertops. Peel and stick tile on countertop surfaces allow decorators to show off their creativity, add a splash of color or mimic stone varieties and other costly countertop surfacing materials (a peel and stick marble countertop can be created for a fraction of the cost of the real thing). Vinyl tiles provide a durable and easy-to-maintain surface in high traffic kitchens. Peel and stick tiles allow all levels of do-it-yourselfers an opportunity to revamp their kitchens beautifully on a budget, and offer an inexpensive way to create removable backsplashes.
1. Prep and Clean Countertops
Remove all items from the existing countertop. Spray the surface of the existing countertop with a de-greasing detergent. If you have a smooth surface, a thorough cleaning will be enough to prep the countertop for peel and stick tiles. Scrub the countertop with a scrub brush to remove grease, oils and surface dirt. Dry the countertop thoroughly with a rag.
2. Amend Loose Materials
Secure loose old countertop material in place with the appropriate adhesive, which will depending on your existing material. Clamp the lifted pieces with a C-clamp or place weights on the area to bond the existing countertop to the substrate.
3. Fill in Any Holes
Fill in divots and low spots with epoxy repair putty to create an even and smooth surface. Fill the depression so it sits slightly above the existing countertop. Let the epoxy putty dry for two to three hours before returning to your countertop project.
4. Even Out the Surface
Sand down high spots and the epoxy repair putty surface with 100-grit sandpaper to make the surface even. Using sandpaper is made easiest when it's wrapped around a sanding block. Use a clean towel to wipe away any excess debris created during sanding.
5. Prep With Sandpaper
Rub 100-grit sandpaper over the entire surface of the countertop to rough it up slightly so the peel-and-stick tiles adhere well.
6. Arrange Tiles
Lay the peel-and-stick tiles on the countertop and arrange them in any configuration you find desirable. Fit the tiles tightly up against each other. Continue to arrange or rearrange tiles until you are happy with the layout, and be sure to leave the protective paper on the backs of the tiles while you are still configuring where they will lay. If all whole tiles do not fit within the confines of the countertop space, mark them with a grease pencil for cutting later.
7. Stick the Tiles Down
Peel the protective paper backing off the first tile and set it in place on the countertop. Begin along an edge and carefully align the peel and stick tile to the edge of the countertop, and rub a rag over the surface of the set tile while pressing it in place on the surface. Continue to peel off the protective paper, as the tile covers the countertop and set tiles tightly abutted to each other and affix them firmly in place. Make cuts as necessary with a utility knife, and always use a metal straightedge to keep cuts straight.
8. Roll Adhered Tiles
Roll a heavy rolling pin over the peel and stick tiles to press them in place and gain good adhesion on the countertop. This will help your tiles lay flat and can prevent them from curling up at the corners or shift.
9. Cover Countertop Edges
Measure the height of the countertop edge and write down the measurement. Cut peel and stick tiles into strips that equal the height of the countertop edge with a utility knife and metal straightedge. Peel the protective paper off the back of the peel and stick tile strips and attach them one-by-one to the countertop edge. Rub your hand over the edges to press the tiles in place.