How To Install Vinyl Tile In A Shower
We may receive a commission on purchases made from links.
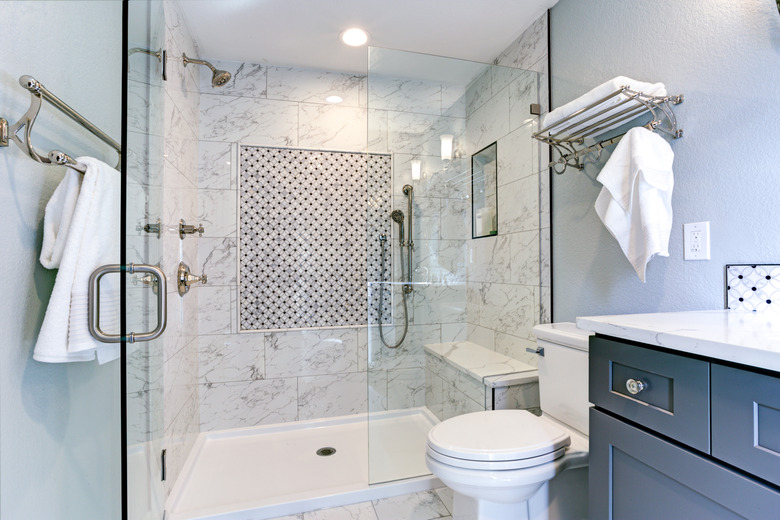
Luxury vinyl tiles in the shower provide the appealing look of real tiles while offering easier installation than regular ceramic tiling. Vinyl tiles come in a convenient 1-by-1-foot size with a self-adhesive backing that makes tiling a shower quick and relatively painless. There are many colors and patterns available on the market that give you endless shower-decorating options. You need to measure, peel and press, with the occasional cut, to do this installation job and make your shower beautiful.
Although the vinyl tiles themselves are waterproof, you'll have to very precise about matching the seams between each tile and pressing them firmly together. Otherwise, water can find its way between or behind the tiles and damage your walls and/or set up a breeding ground for mold and mildew.
As an option, luxury vinyl flooring that comes in sheets is easier to install in a shower, and it has the extra benefit of having no seams where water can seep through and cause damage.
How to Install Vinyl Tile in a Shower
1. Measure the Tiled Area
Measure the dimensions of the space where you are installing the vinyl tiles with a measuring tape. Calculate how many 1-by-1-foot tiles will be needed to fill that space. Buying some extra tiles is advisable, just in case mistakes or bad cuts are made.
2. Check for Smoothness and Level
Make sure the area you are installing on is level. If it is not, use a mallet or sandpaper to ensure that you are working with a smooth, level surface. Also make sure there are no cracks or holes in the surface you will be installing the tile on. If there are, fill in and smooth these surfaces before proceeding.
3. Clean and Dry the Shower
Thoroughly clean the shower area so the vinyl tiles will adhere properly without dirt or debris being trapped between the surfaces. If you used water to clean the area, make sure things are thoroughly dry before proceeding.
4. Apply the Tiles
Take your first vinyl tile and position it into place to make sure it will fit. If you are happy with the way it looks, peel the adhesive backing off and carefully put it into place. Press firmly on the tile in every direction to make sure it adheres well. Roll with a tile roller or rolling pin to push any air bubbles out from under the tile.
5. Match Patterns and Cut Tiles
Proceed with the other tiles. Make sure the edges of the vinyl tiles line up flush with each other. If there is a pattern in the tiles, make sure the patterns line up as you go. If you need to cut tiles to fit in any area (as you usually do near walls), make a cardboard template of the area first, then carefully trace the template on your tile and cut with a utility knife. Proceed as usual after you cut.
6. Finish With a Tile Roller
Examine the tiles after you are done to make sure they have been firmly pressed into place. If you find any trouble areas, roll firmly with a tile roller or rolling pin.