How To Paint A Kitchen Tile Backsplash
Dated tile can be one of the hardest things to update in a home. The cost of labor and materials adds up fast and that doesn't even include the potential for asbestos removal if you have an older home. A mere $30 can brighten and freshen drab and dreary tile with paint. (Yep, paint.) All it takes is some attention to detail, the right materials and a little scrubbing to transform your tile.
 Charlotte Smith
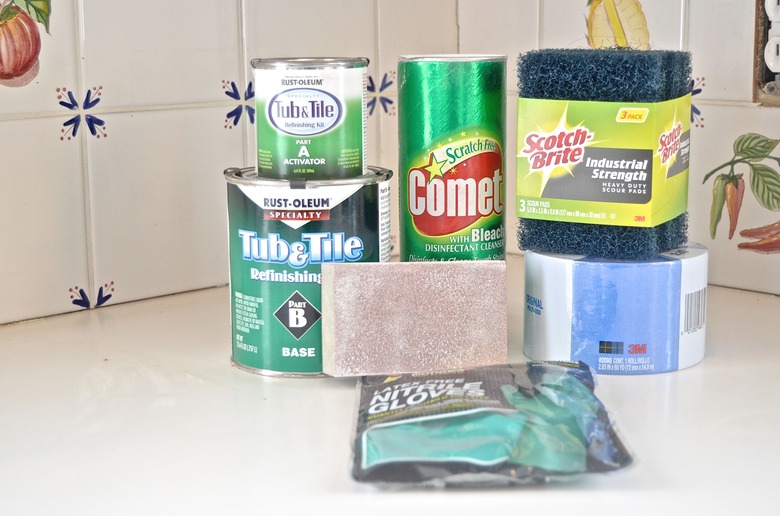
Things You Need
Things You Need
- Tub and tile refinishing epoxy [Rustoleum brand was used here]
- Abrasive cleaner such as Comet
- Steel wool
- Tack cloth (Optional)
- Cleaner intended to strip waxy build up
- High-quality low nap roller
- Protective respirator mask for the fumes
- Painter's tape
 Charlotte Smith
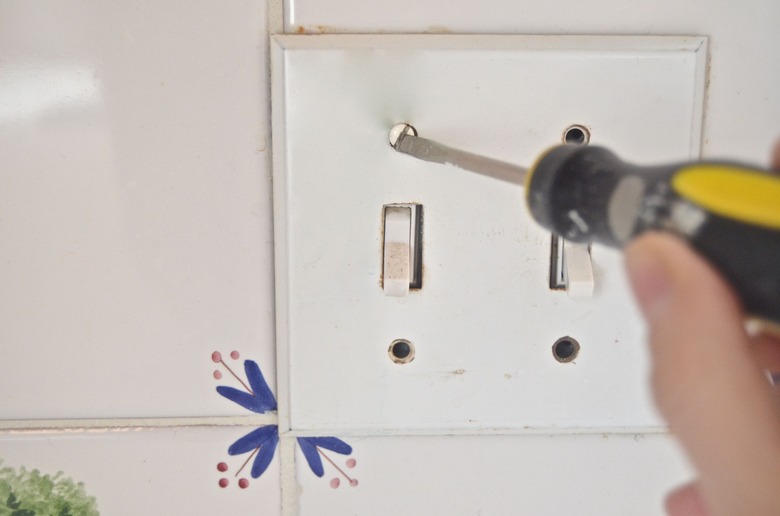
Step 1: Remove Switch Plates
Step 1: Remove Switch Plates
Before painting, remove any switch plates and keep track of the screws.
 Charlotte Smith
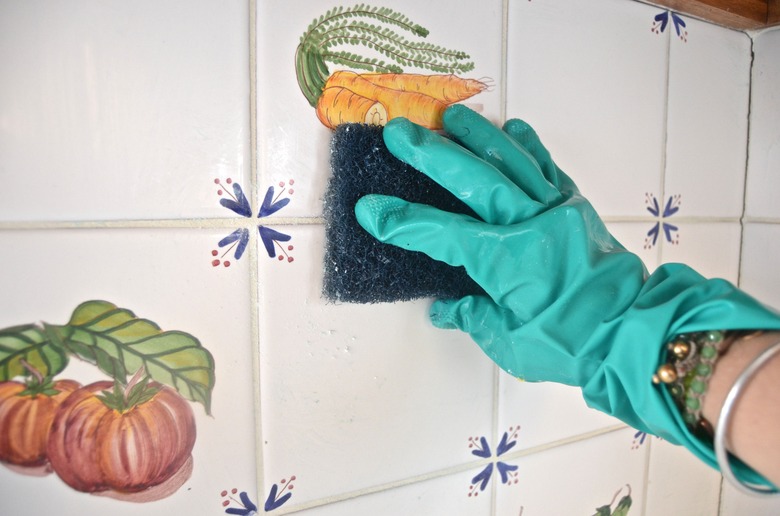
Step 2: Clean, Clean and Clean Some More
Step 2: Clean, Clean and Clean Some More
Start by scrubbing the tile with the abrasive cleaner. Rinse. Go back over the tile with steel wool. Rinse. Finish by rubbing down with wax-build up cleaner. The goal is to remove any greasy residue or grime that may have collected on the tile.
 Charlotte Smith
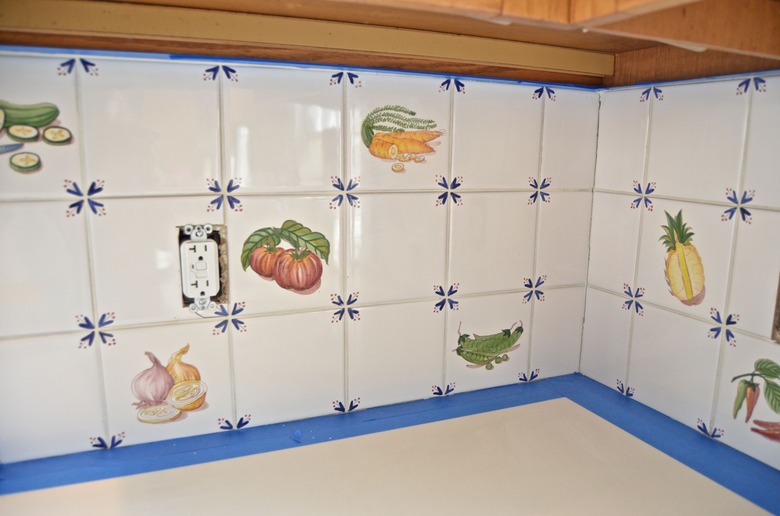
Step 3: Tape Off the Area
Step 3: Tape Off the Area
You will need to protect your counter top and any cabinets or trim that is in contact with the tile. Using painters tape, go around the area to be painted, being careful to seal the tape edges by going over them with a flat edge like a credit card.
 Charlotte Smith
Step 4: Tack Cloth
Step 4: Tack Cloth
Immediately prior to painting, go over tile with tack cloth to remove any fine dust and debris.
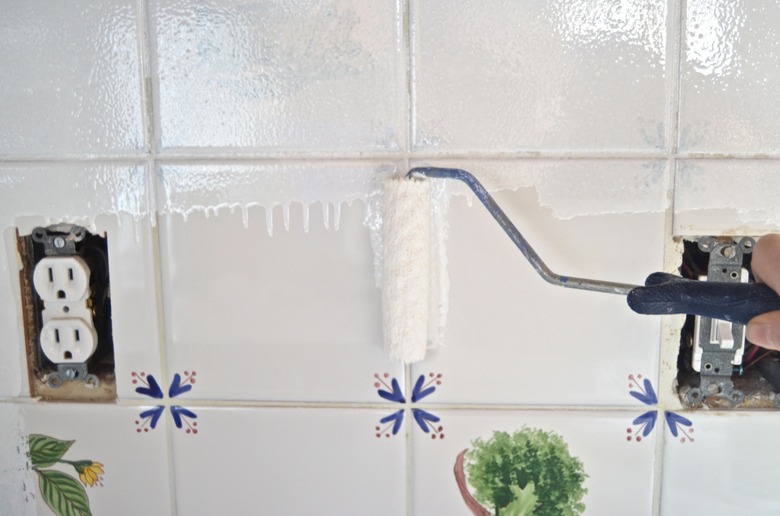
Step 5: Paint
Step 5: Paint
If mixing is called for, follow the directions on the container to mix paint correctly. The brand shown required a mixture of four parts base paint to one part activator and was only viable for six hours once mixed.
Using a best quality roller with thin nap, roll paint onto tile. Be careful not to go back over the epoxy too often, as the roller will begin to lift off previously applied paint. Be mindful of any drips or lines made by the roller edge.
 Charlotte Smith
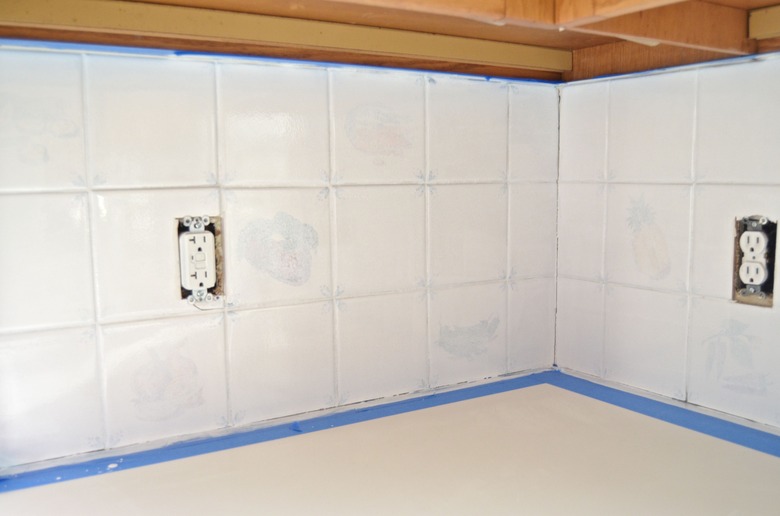
Step 6: Recoat
Step 6: Recoat
Check with specific guidelines for your brand before painting a second coat. For particularly dark tile it may be necessary to apply a third coat of paint. Again, follow directions as a third coat may require up to 72 hours of dry time before applying.
 Charlotte Smith
Paint should not be used on floor tile as it will be quite slippery, but it can be applied to tile in any other area of your home.
 Charlotte Smith
 Charlotte Smith
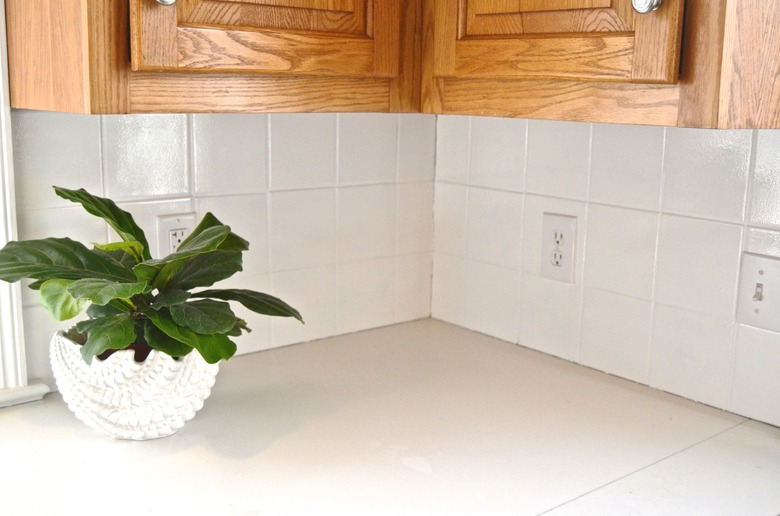
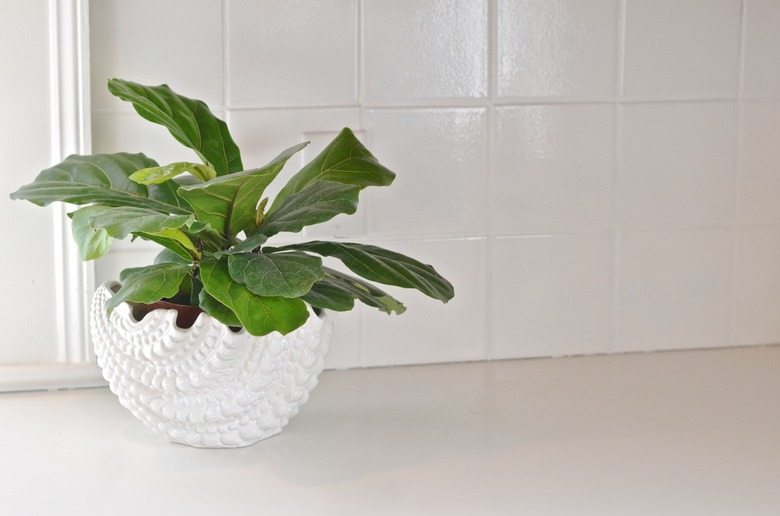
This project took one afternoon and it instantly brightened the kitchen. Old tiles from the 70s were transformed to a neutral and bright white and, as a result, the whole kitchen feels more modern and up-to-date.
 Charlotte Smith