What Can I Do About The Ceiling Cracking Above The Shower?
We may receive a commission on purchases made from links.
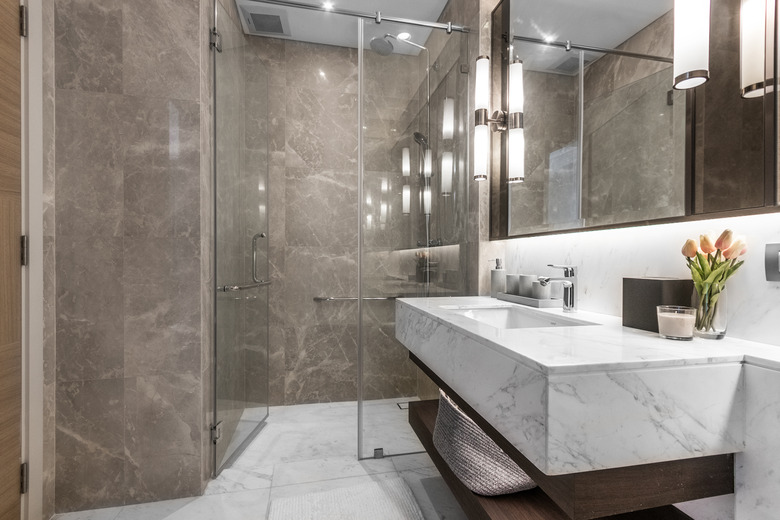
Bathrooms experience moist, humid conditions on a regular basis — sometimes multiple times daily, depending on how many people make up your household and what their habits are. Often, these areas are not ventilated as they should be, given the constant buildup of moisture in the air from running water and steam from showers, baths and sink faucets.
If you're starting to notice cracks in the ceiling above your shower, understand what's causing the cracks. Then consider your options for correcting the underlying problem and repairing the damage.
Tip
Assess the situation that's causing cracks in the ceiling above your shower, make any necessary corrections, repair the cracks and maximize your bathroom ventilation.
Causes of Ceiling Cracks
Causes of Ceiling Cracks
Cracks in ceilings can develop due to a number of conditions. Normal settling of houses, for example, can produce cracks in ceilings in any area, but bathrooms are particularly susceptible to ceiling cracks because of the constant presence of moisture, which can soften drywall around plumbing fixtures and other components.
Weight loads above the bathroom shower area can increase this tendency to crack. When you notice cracks in the ceiling above the shower, inspect the water connections carefully to ensure that leaking pipes aren't contributing to the problem. Repair any small plumbing issues yourself or call a plumbing contractor to prevent further damage.
Repairing Small Cracks
Repairing Small Cracks
Small or hairline cracks in drywall are easily repaired with drywall compound and high-quality, mildew-resistant primer and paint. Remove any flaking or chipping paint with a scraper; then carefully fill the crack with drywall compound, smoothing the area to the level of the surrounding ceiling.
Allow the compound to dry for at least 6 to 8 hours. Sand with 100-grit sandpaper or a sanding sponge to make the repair as level as possible. Then coat the repaired area with a layer of primer and allow it to dry. Finally, paint the area with a ceiling topcoat that matches the current color and allow it to dry thoroughly before using the shower.
Repairing Larger Cracks
Repairing Larger Cracks
Large cracks require a more thorough cleaning of loose material to provide a good surface to hold the repair compound. Carefully dig out loose bits of drywall and dust. Apply drywall compound, pushing it well into the cracked surface to remove air pockets and form a solid repair.
Level the compound with a scraping tool and allow it to dry overnight. Sand the area level; then apply drywall tape to the crack and cover the entire area with a final layer of drywall compound. Sand with 150-grit sandpaper and apply primer. Allow the primer to dry thoroughly before applying the topcoat of paint.
Preventing Bathroom Ceiling Cracks
Preventing Bathroom Ceiling Cracks
Opening the window after showering or bathing can help to vent some of the moisture buildup in the bathroom. If your bathroom doesn't have a window, install an exhaust fan that vents to an outside wall. This is a code requirement in most places. It's also helpful to leave bathroom doors open after using the shower or bathtub to allow fresh air in and moist air out.