How To Install An Inexpensive Pebble Floor
Do you love the look of a pebble floor, but you're not sure where to start? Rock flooring ideas can range from covering just your shower floor to creating a pebble design throughout a room. Installing the spa-like look of pebble flooring yourself keeps the costs of the project low. Interlocking pebble tiles make the job easier so you don't have to install each rock individually.
Choose Your Tile
Choose Your Tile
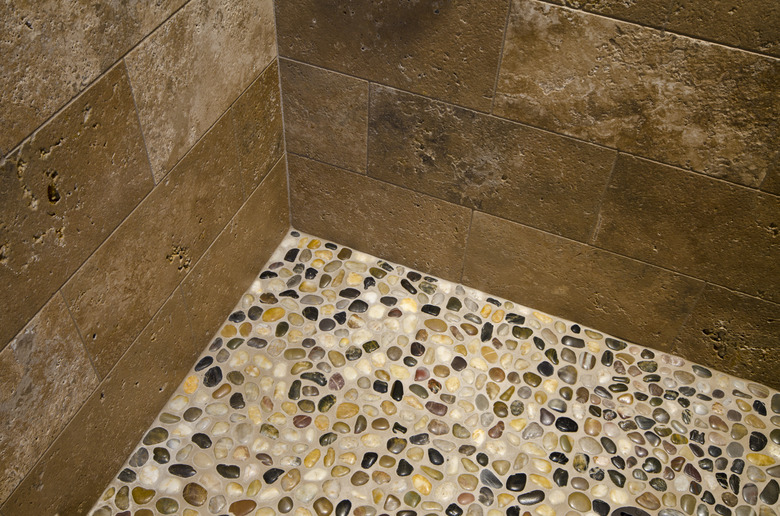
Pebble floor material comes on a mesh backing. The stones sit on the mesh backing in a random pattern to give it a natural look while fitting together well to keep the gaps to a minimum. This takes the guesswork out of placing the pebbles, and makes the installation process faster and easier.
Pebble tiles come in a range of colors, patterns and styles. Keeping the project inexpensive often depends largely on the tile you choose. Consider the general color and style you like, then narrow down the options in that category based on price to keep your tile installation on budget.
Dry Fit the Pebble Tiles
Dry Fit the Pebble Tiles
Most pebble tiles have an interlocking edge design that makes it easier to fit the pieces together naturally. But your flooring area may have small spaces, slopes and cutouts that require a little creativity in the tile placement.
Do a test run with the pebble tiles before you apply your thinset. If you have an area that's smaller than a full sheet of the tile, you can easily cut the mesh backing to make the pieces fit. You can also pull individual stones off of the backing and use them to fill in small gaps where the tiles meet to give it a more seamless appearance.
Set the Pebble Flooring
Set the Pebble Flooring
Apply your thinset to the subfloor the same way you do for regular tile. Use the trowel to swipe the thinset onto the subfloor in an even layer that's no more than 1/8 inch thick. Working in small areas, apply thinset in just that area so you have time to install the pebble tiles. Press the pebble tiles into the thinset.
The freshly set pebbles installation needs to rest at least 24 hours before you continue. Stay off the tiled area during that time to let the thinset harden properly.
Apply a Sealer
Apply a Sealer
When working with pebble flooring, you need to seal the stones before you apply the grout. If you don't, they may take on the color of the grout because of the porous nature of the pebbles. This leaves your beautiful flooring discolored.
Choose a stone sealer for the tile. Follow the product instructions for proper application and drying time.
Grout the Pebble Flooring
Grout the Pebble Flooring
Typically, pebble floor tiles call for sanded grout because the gaps between the stones are usually wider than 1/8 inch, which is the limit for unsanded grout. You have a variety of grout color choices to get the look you want.
Apply the grout the same as you would for regular tile. Use a grout float to push the grout into all of the gaps between the stones, making sure you pack it in to fill the gaps completely. This can take some time because the smaller pebbles create a lot more gaps.
After about 20 minutes, go over the pebbles with a damp sponge to remove the grout that's on them. Be careful not to pull grout out of the gaps between the stones. Continue wiping off the pebble surfaces until they are completely clean.
Finish Up the Floor
Finish Up the Floor
Once your pebbles are completely clean, let the floor rest for at least 24 hours so the grout can harden. Apply a sealer over the grout and pebbles for additional protection. Follow the sealer instructions to apply it correctly.