How To Remove Drip Marks On The Bathroom Walls
We may receive a commission on purchases made from links.
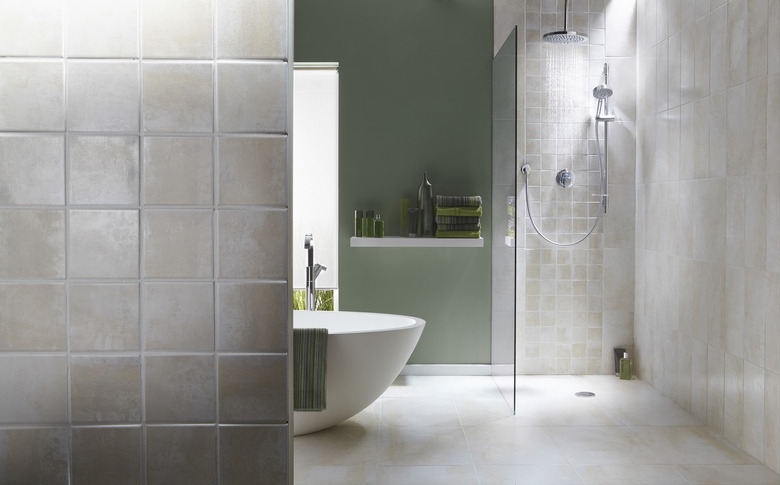
Of all of the rooms in your home, it's not surprising that your bathroom walls are the most prone to water damage. Drip marks on bathroom walls can be pretty unsightly, especially if they remain there even after the walls are dry.
Trying to treat these marks without damaging any paintwork can be tricky, but using the right method, you can do it. It's also important to look into different ways to prevent these drip marks from recurring in the future, likely through keeping your bathroom better ventilated and less humid.
What Causes Bathroom Drip Marks?
What Causes Bathroom Drip Marks?
After you bathe or shower in your bathroom, humidity levels in the air rise, thanks to the hot, steamy water. But after you leave the bathroom, this water vapor cools down and condenses — often near the tops of your walls.
Once the water vapor condenses fully, it will drip down your walls because of the pull of gravity. But traces of this water can be left behind in the drip formation. These can remain even after the wall is totally dry and can make the walls look dirty or poorly painted.
How to Remove Drip Marks
How to Remove Drip Marks
Cleaning painted or papered walls can be tricky, as you don't want to cause even more damage to them. Being too harsh or abrasive can remove the wall covering along with the drip marks, which will mean they'll need refinishing again.
Start with a very mild cleaner, such as a couple of drops of ordinary dish soap, mixed in a bucket of warm water. Apply this to your walls with a rag; then rinse and allow to dry. It's a good idea to clean your walls by working from the bottom up, which can prevent your cleaning process from causing further drip marks.
If this doesn't work to remove your drip marks, you can go in with a more intense cleaner. Combine 1 cup ammonia, 1/2 cup vinegar, 1/4 cup baking soda and 1 gallon of warm water and fill a large spray bottle with the solution, which should be extremely effective on any remaining drip marks without causing damage to your walls. Apply to the affected areas; then gently remove with a damp sponge.
How to Prevent Drip Marks
How to Prevent Drip Marks
Once you've removed the drip marks from your bathroom walls, it's important to prevent them from forming again. The key to preventing bathroom wall drip marks is effective ventilation. If the humidity from your baths and showers can escape your bathroom before the water condenses and forms drips, you can be sure no wall marking can occur.
It's important to let the steam out of your bathroom after use either by opening a window or a door. You should remove damp towels and bathmats from the room after use as well. It can help to dry or squeegee your shower walls to minimize water pooling. It's also important to wipe down the walls of your bathroom whenever you notice water collecting there, preventing drip marks before they can happen.
If you're having a persistent issue with your bathroom's humidity, installing an exhaust fan can be the best call for protecting your walls in the long run. Note that you should still wipe up water puddles and manually ventilate your bathroom even if you have a fan installed.