How To Fix A Water Leak Around The Sink & Countertop
We may receive a commission on purchases made from links.
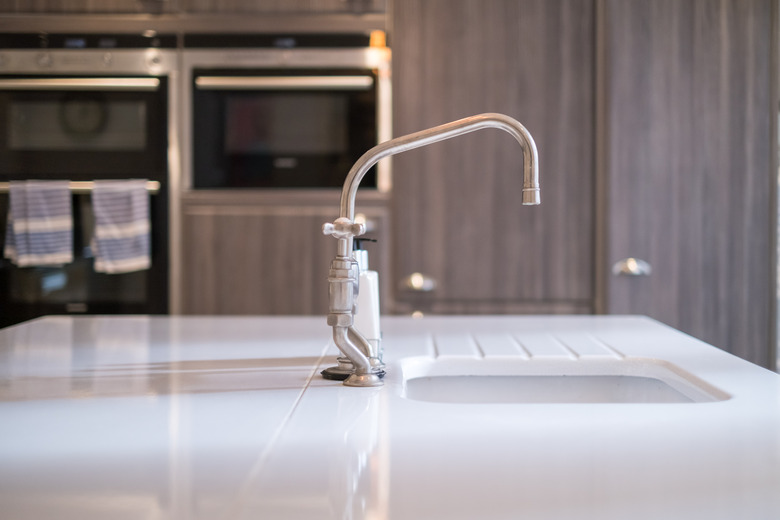
Kitchen sinks are used daily and can certainly withstand quite a bit of wear and tear. It's important to maintain them, even in the ways we might not always think about. One of the best ways to keep your kitchen sink in order and also protect your countertops from water leaks is by replacing the caulk on a regular basis — a job that's relatively easy when you know the kind of caulk you need and the basics of caulking. If you've got water leaking around your sink and countertop, here's how to fix it.
1. Remove the Old Caulk
1. Remove the Old Caulk
If you are replacing the caulk around your kitchen sink, you need to make sure to remove any traces of the old caulk before your new application. This task is best accomplished by using a single-edged razor blade or a utility knife to cut away any of the old caulk. Simply follow the edge of the kitchen sink and the countertop, respectively, since the caulk that must all be removed could be stuck to either edge. Otherwise, the new caulk will not adhere to the surface.
- Wipe away the remains of the old caulk. (Some experts suggest using rubbing alcohol around the remains to remove any traces that you may have overlooked.)
- Let the rubbing alcohol dry.
- Apply painter's tape around the edges of your sink and countertops leaving only enough space for the caulk.
Tip
Some people who are used to applying caulk overlook using painter's tape for straight lines. However, be warned that if you are using a silicone-based caulk, the application process could get fairly messy.
2. Apply the New Caulk
2. Apply the New Caulk
- Apply the caulk around the desired edge making sure the bead, or line of caulking, is consistent. Try to accomplish the application without breaking the bead.
- Make sure to slightly overlap the caulk when beginning again to ensure a watertight seal.
- Spray the area with glass cleaner. The glass cleaner will allow you to run your finger along the edge, giving the caulk a smooth finish, tight seal and removing any excess caulk.
- If you choose to apply painter's tape for straight-edged lines, make sure to remove the tape immediately after you are done to avoid pulling up the dry caulking once it has set.
Types of Caulk
Types of Caulk
Caulk is available in a few different types of materials with the most common being silicone or latex. The most popular color choice is simple white caulk. Caulk is also available in a multitude of colors, making it easier to blend it with its surroundings.
The caulk is available in different application forms as well. If you do not own a caulking gun, this could be an extra expense, as a good caulking gun can help get the job done more quickly and also leave a more professional looking finish. If you don't wish to make additional purchases, be sure to purchase a caulk that can be self-squeezed and not extracted by the use of a caulking gun.