How To Replace A Condensate Drain Pan
Condensate drain pans are a part of most central air conditioning systems. These pans sit below the cooling coils in the air handler portion of the system. As the warm air passes over the cooling coils, moisture accumulates on the coils and drips down into the condensate pan. From there, the water drains either to the ground outside or a sewer pipe. If the pan becomes clogged, rusted, or damaged, it will be necessary to replace it. This will prevent water from leaking into places where it can cause expensive damage to your home.
Things Needed
How to Replace a Condensate Pan
1. Turn Off the Power
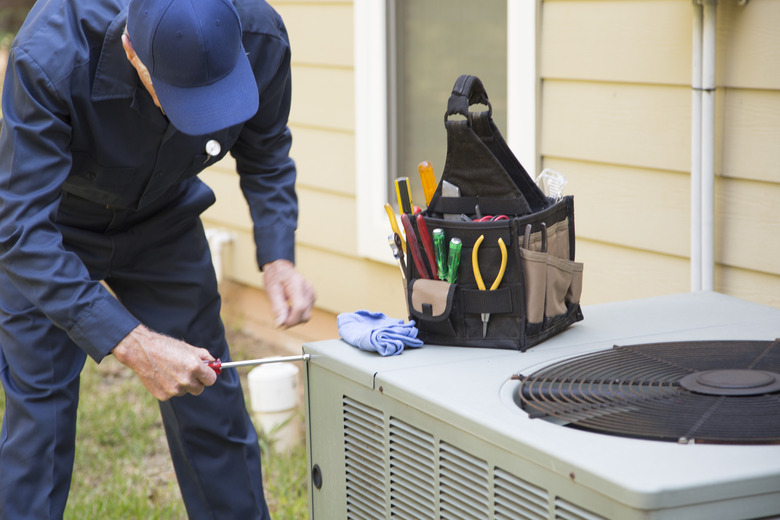
Always shut off the power to the air handler or furnace before working on it.
2. Locate the Drain Pan
Remove the cover from the air handler or furnace that covers the area where the cooling coils are located. This cover is removed by lifting it straight up and pulling it toward you on most units. The cooling coils may be concealed from your sight, but the condensate pan will be located just below them. It is a large, flat, shallow pan.
3. Remove the Drain Tube
Look on the outside of the air handler or furnace for the drain tube that runs from the condensate pan. This tube will usually be clamped to the drain port on the pan. Use a screwdriver to loosen this clamp and remove the drain tube. There should be no water here if the pan has been draining correctly. However, it's a good idea to have a small pan available just in case there's a small amount of liquid that you'll need to catch as you remove the pan.
4. Remove the Old Condensate Pan
Check to see if there are screws near the front of the condensate pan that attach it to the air handler. If screws are present, loosen and remove them. If there are no screws — or after the screws are removed — grip the condensate pan and pull it forward. If it does not move easily, look to see if it is welded to the condensing coils. If it is, you cannot replace it without replacing the entire cooling coil assembly. If there are no welded connections, try pushing the drain port toward the inside of the air handler. This should free the pan to be removed.
5. Install the New Condensate Pan
Simply slide the new pan into place. Make sure that the drain port is sticking through the side of the air handler. Replace the screws that hold the pan to the unit if the old pan was screwed in place. Put the drain tube and clamp in place and tighten the clamp with a screwdriver to secure the drain pipe. Slide the cover back over the cooling coils and push down on it to lock it onto the air handler to finish the job.
When To Call a Professional
When To Call a Professional
If you find that the condensate pan is welded to the cooling coil assembly, it's best to call in a professional to complete the job.