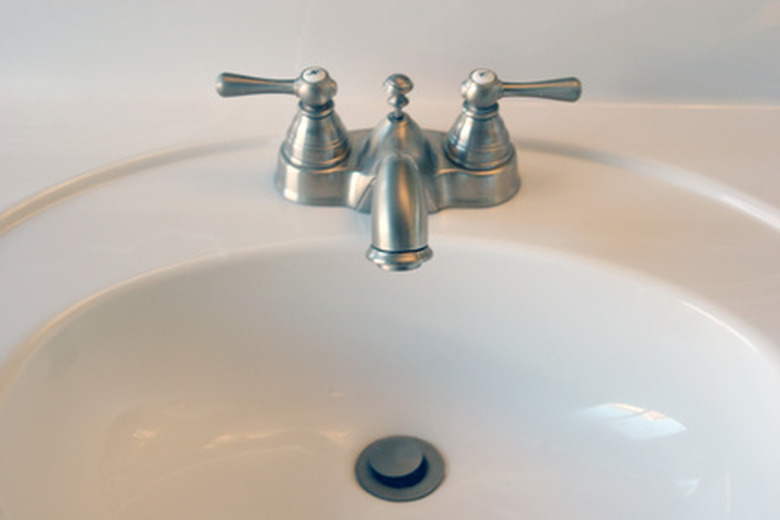
Acrylic Sink Repair
We may receive a commission on purchases made from links.
Scratches, chips and nicks in your acrylic sink can be unsightly and annoying, but they can also be repaired. There are many acrylic repair kits on the market that can help with acrylic sink repair, and they all work on the same principles and are fairly easy to use. Understanding the basics will help you use any kit with confidence and repair those unsightly dings or scratches in no time at all.
For the repair to look its best, a color match is very important. Many kits offer different colors, and some offer toners that will let you lighten or darken the repair materials for a better match. Choose the kit that will allow you to achieve the same color as your sink, or to at least come very close to an approximation of that color. As Do-It-Yourself Surface Repair points out, the colors might look different under different lighting as well.
Preparing to Repair Your Sink
Preparing to Repair Your Sink
Before you begin working with the acrylic sink repair kit, be sure to follow important safety precautions. The compounds in the repair kit have the potential to irritate your lungs, skin, and eyes. According to Willard Heating and Air Conditioning, you can properly ventilate the room in which you'll be working by opening windows and using a fan to draw air out. Wear gloves and don't let the repair products come in contact with your skin or eyes.
Next, thoroughly clean the sink. Dirt or dust on the sink's surface will prevent the repair materials from adhering, and they may make it harder for you to distinguish the scratch or nick from the surrounding area. The sink needs to be completely clean to the touch, not just visibly clean.
Wet a piece of wet/dry fine grit sandpaper and smooth out the edges of the scratch or nick. Remember you're not trying to sand out the damage, just to create a surface to which the repair materials can adhere. Finally, wipe acetone over the scratch or chip to make sure it's free of oils and particulates from the sanding.
Applying the Repair Compound
Applying the Repair Compound
Most kits, including most used by professionals, have two separate ingredients: a filler and a catalyst. When the two are mixed together, the catalyst begins to harden the filler. The process does not happen immediately, which gives you time to smooth the filler into the cracks, scratches and chips. Then it will harden to repair the damage.
To begin, add the toner (if using) to the filler first, and then add the catalyst to the filler and mix thoroughly according to the kit's directions. Apply the filler and catalyst mixture to the damaged area of the sink. Overfill the scratch, chip or crack a little so the filler covers it completely. This will help the repaired area blend with the surrounding area.
Allow the filler to dry. This can take from 10 minutes to an hour or sometimes more, but you can speed the drying time by using a hair dryer. Buff the repair with wet sandpaper to smooth out the edges or any rough patches and to sculpt the filler to the shape of the sink. Finally, follow up by buffing the area with a soft cloth to polish and finish the blending.