How Do I Use The Timer On A Whirlpool Digital Oven?
If you've lost your Whirlpool electric oven instruction manual, setting the timer may seem a bit daunting if you don't use the timed features frequently. Besides allowing you to set a timed alert with the Whirlpool oven cook time feature, some models also offer a delayed baking option that turns the oven on for a specific amount of time later in the day. This feature could come in handy if you wish to bake cookies while at work, for instance.
 JazzIRT/iStock/GettyImages
Oven Timer Instructions
Oven Timer Instructions
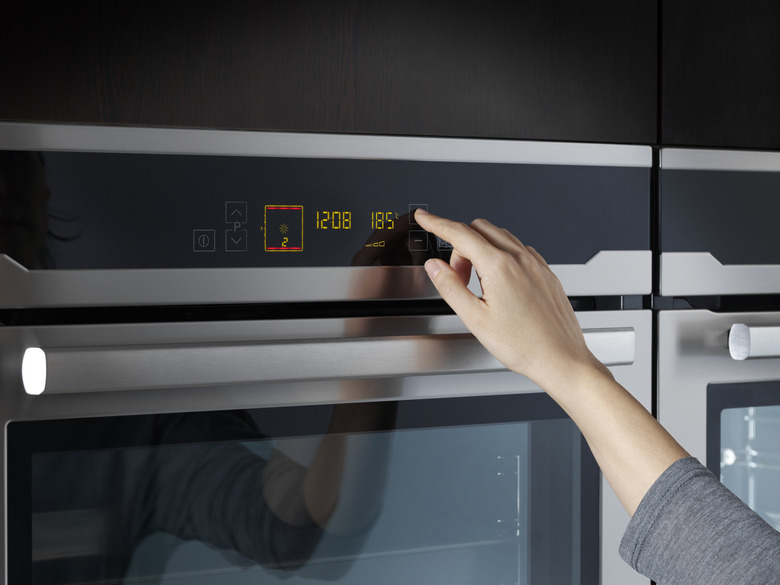
Both electric and gas Whirlpool ranges feature a digital timer that serves as a helpful reminder when your baked dish is ready. It also allows you to set a brief amount of time, such as 20 minutes, to remind you to check food for doneness or to remove the lid, for instance. The timer function works independently from the oven and cooktop. Setting only the timer does not turn the oven on or off; it's just an alert that rings an alarm at the chosen time.
To set the digital timer on gas or electric Whirlpool ranges, press the "Timer" button and then press the Temp/Time area's "+" and "-" arrow-shaped buttons to set the desired amount of time. Press "Start" to activate the timer. To cancel the timer, press the "Timer" button twice. Never use the "Cancel/Off" option, as this controls the oven and not the timer.
Set a Cooking Time
Set a Cooking Time
The Whirlpool oven cook time feature controls the amount of time the oven is on. To use this feature, select "Bake," which should activate the bake indicator light. Press the "+" and "-" buttons to change the displayed baking temperature if necessary or leave it as is.
Push "Cook Time" to activate the cook time light. Use the Temp/Time area's plus and minus buttons to select the desired cooking time and then press "Start." Once the allotted time is up, the oven will shut off. If you need to turn this feature off at any time while the oven is in use, press the "Cancel/Off" button.
Delayed Baking Option
Delayed Baking Option
Select Whirlpool ranges also offer the option to start baking time later in the day. Set this feature by pushing the "Bake" button and then the "+" and "-" arrow-shaped pads to choose the desired baking temperature. Press "Cook Time" and use the plus and minus pads to set the total cooking time. Press the "Start Time" pad and then set the starting time with the plus and minus pads.
Pressing the "Start" button activates the delayed cooking option. The oven will heat up at the selected time and temperature. Any of the settings can be changed by pressing "Bake" and then setting the new temperature, total cooking time or starting time as needed.
Do not leave perishable foods in the oven for more than an hour before cooking or after the oven cools. Eating such foods afterward could lead to illness or food poisoning. Plan accordingly when using the delayed cooking feature to ensure optimal food safety.
Setting the Whirlpool Range Clock
Setting the Whirlpool Range Clock
The delayed cooking feature works best when the appliance clock is set to the right time, as this ensures accurate starting and ending times. To set the oven clock, press the "Clock" button. Use the "+" and "-" buttons to move the clock's time forward or backward. Press the "Start" or "Clock" pad to set the clock once you've adjusted it to the correct time.
After a power outage, the clock's time display flashes. Press the "Clock" button to stop the flashing. If necessary, adjust the clock to the actual time once again.