How To Find And Fix A Leaking Bathtub Drain
We may receive a commission on purchases made from links.
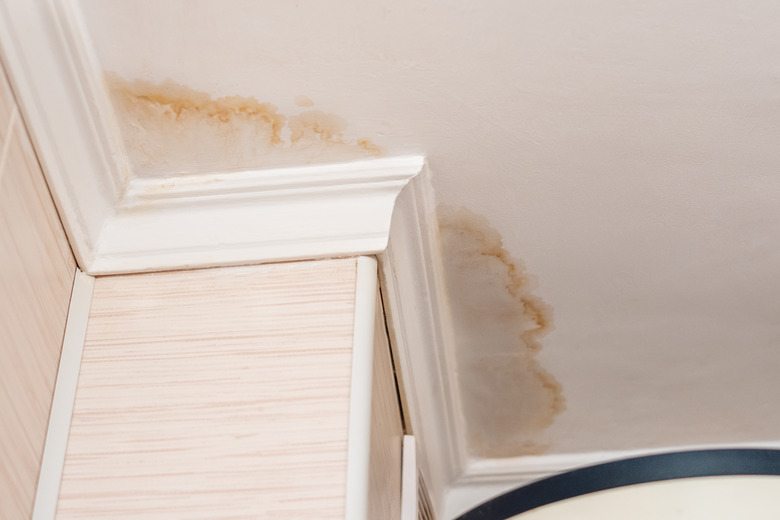
If your bathtub drain is leaking, you might notice the water level dropping when you're taking a bath, and if the bathroom is on an upper floor, you might also notice water damage and discoloration to the ceiling drywall in the room below it. Water leaking from an upper-story bathtub and discoloring the ceiling drywall isn't always coming from the tub drain, though, so if that's all you see, it's important to eliminate other possibilities before you make any repairs.
One thing is for sure: You have to do something. Water damage can be a serious matter that necessitates expensive cleanup and repairs to the floor and ceiling if you don't act promptly. If you do isolate the leak to the tub drain, that's actually good news because the repair isn't that difficult. Things won't be so easy if it turns out that the leak is coming from the water supply pipes behind the wall. For that, you may need a plumber.
What Could Be Leaking?
What Could Be Leaking?
If your first indication of a tub leak is water damage to the ceiling drywall in the room below the bathtub, the water could be coming from one of three places:
- The water supply: The water pipes that feed the tub faucet are hidden behind the wall on which the faucet is mounted, and if you're lucky, there's a panel on the wall that provides access to them. If you aren't lucky and you can't get behind the wall without demolishing part of it, look for signs of water on the floor at the base of the wall.
- The tub itself: Although it's unlikely, your fiberglass or acrylic tub could have a hairline crack that you haven't noticed yet. It's more likely that the grout or caulk sealing the tub to the wall has failed, allowing water to get behind the tub and drip onto the floor.
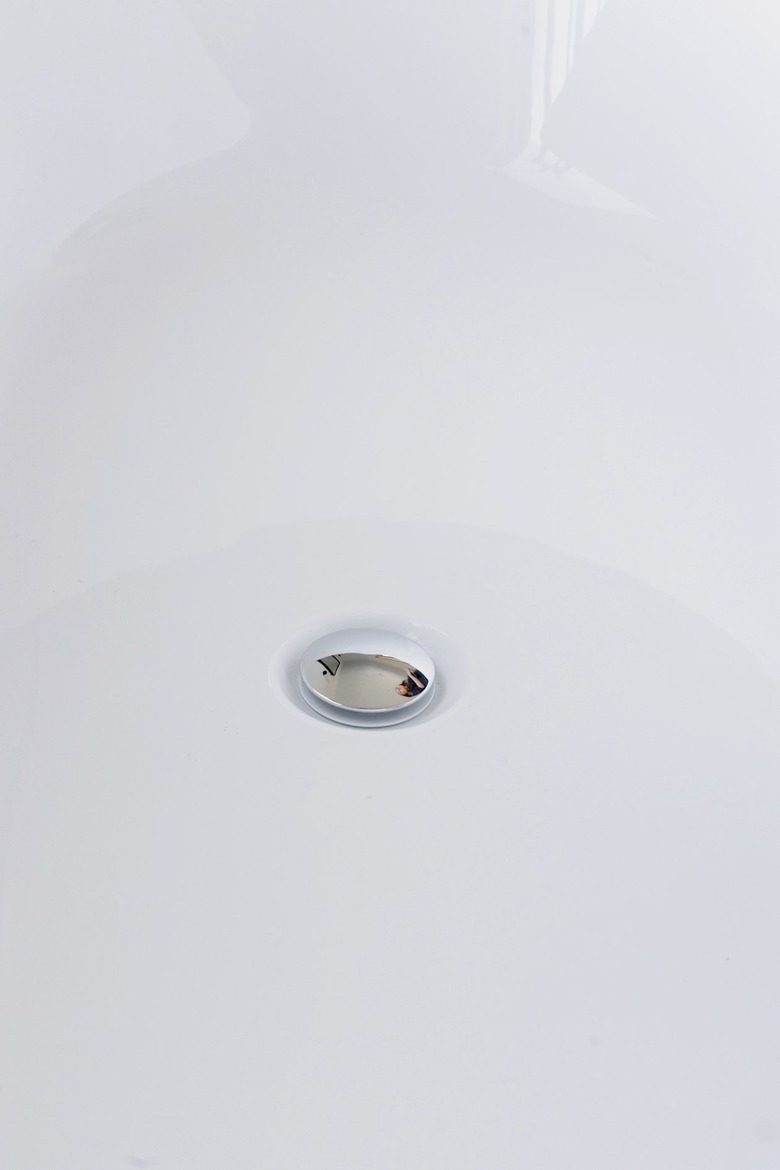
- The drain assembly: Water travels through the tub drain opening to a fitting called the boot, along a horizontal length of pipe to a vertical drop-off that connects to the tub overflow drain, and then proceeds downward through a P-trap to the waste pipe. There are multiple connection points in this network that can leak, but it's rare. The most likely source of a tub leak is the drain flange in the bottom of the tub.
 DonNichols/iStock/GettyImages
Isolating the Source of a Leak
Isolating the Source of a Leak
When your tub faucet has an access panel, you can open it and check the faucet plumbing using a flashlight. If you see water dripping or spraying, you should be able to see where it's coming from, and once you do, your best bet is to call a plumber to fix it. In the absence of an access panel, check for water on the floor around the base of that wall, soggy drywall, or moldy baseboards. Any of these are the evidence you need to call a plumber.
When you can't trace a leak to the faucet plumbing, the next step is to look for moisture around the base of the tub. Lay paper towels or sheets of dry newspaper on the floor around the tub, run the faucet or shower, and note whether or not they get wet. Look for damaged caulk, grout, or sealant in places where the tub rim meets the wall and for hairline cracks on the sides and in the bottom of the tub. You can repair damaged caulk and grout yourself, and you can also repair hairline cracks in acrylic or fiberglass tubs yourself using a bathtub repair kit.
After you've eliminated the faucet plumbing and the tub itself as sources of the leak, the only thing left is the drain. The water is most likely coming from the drain flange, and there's a simple way to check. Close the stopper, fill the tub with several inches of water, mark the water level with a piece of painters' tape, and let the water sit overnight. If the water level has gone down when you return in the morning, the flange must be leaking. Repairing it is a fairly simple DIY job that shouldn't take any longer than an hour.
How to Fix a Leaking Bathtub Drain
How to Fix a Leaking Bathtub Drain
A bathtub drain flange, like a shower drain or sink drain flange, is the metal fitting that seals the drain opening. The bathtub flange is screwed into the drain boot, which is a horizontal length of pipe that has a short elbow on one end that rises to the bottom of the tub. Just like a sink flange, the bathtub flange is typically sealed with plumbers' putty and starts leaking when the putty wears out or when it loosens because your fiberglass or acrylic tub wasn't properly set on a mortar bed and flexes. Your job is to unscrew the flange, check the rubber gasket between the boot and the bottom of the tub for problems and replace it if necessary, reseal the flange with new putty, and screw it back tightly.
1. Remove the Stopper
Depending on the type of stopper, unscrew it or simply pull it out. If you have a pop-up stopper controlled by a lever on the front of the tub wall, it's connected to a rocker arm. To get it out, lift the stopper an inch or two and pull it toward the back of the tub to extract the rocker arm. If your tub seems to magically hold water without a stopper, there's a drain plug inside the overflow tube. You don't have to worry about it.
2. Unscrew the Drain Flange
Depending on whether the drain flange has a crosspiece or not (the crosspiece is a pair of metal bars that form a cross inside the drain opening), you'll need either a drain key or drain extractor to get it out. A drain key hooks onto the crosspiece. An extractor wedges against the sides of the flange and is the tool to use when the drain has no crosspiece. Insert the key or extractor into the drain and turn it counterclockwise using an adjustable wrench or set of joint pliers to unscrew the flange.
Tip
If you don't have a drain removal tool, you may be able to unscrew the flange by inserting the handles of a pair of adjustable joint pliers through the crossbar and using a wrench to turn the pliers.
3. Clean Off the Old Putty
Scrape all the old plumbers' putty off the flange and use a wire brush to get all of it off the threads. Scrape putty away from the drain opening in the bathtub using a putty knife. Look for cracks around the drain opening. If you see any, it may mean that you need a new tub, but check with a plumber to determine whether they can be repaired.
4. Remove and Clean or Replace the Drain Gasket
Reach a flat-head screwdriver through the hole and underneath the rubber gasket or washer sitting on top of the drain boot and work the gasket through the drain opening. Check it for cracks or damage. If you see any, take it to a hardware store or home improvement center and purchase an identical new gasket. If the old one is still good, clean off all the old putty.
Replace the gasket by folding it, inserting it back through the drain opening, and working it into position with the screwdriver. Be careful not to let it fall.
5. Prepare the Flange for Reinstallation
Wrap plumbing tape clockwise around the threads of the flange. Five complete turns is usually enough. Pack the underside of the flange with new plumbers' putty. The best way to do this is to roll the putty into a rope that you can wrap around the flange. Don't leave any voids. To really get into all the nooks and crannies, some plumbers recommend using silicone caulk instead of plumbers' putty.
6. Reinstall the Flange
Insert the threads of the flange through the drain opening and into the boot and turn it clockwise. Once you're sure the threads have connected with those of the boot, use the same tool you used to remove the flange to tighten it down. Use enough force to tighten the flange as much as you can without putting enough stress on the tub opening to crack the material. Clean away the excess putty that oozes from under the flange using a putty knife and a rag.
7. Test the Flange
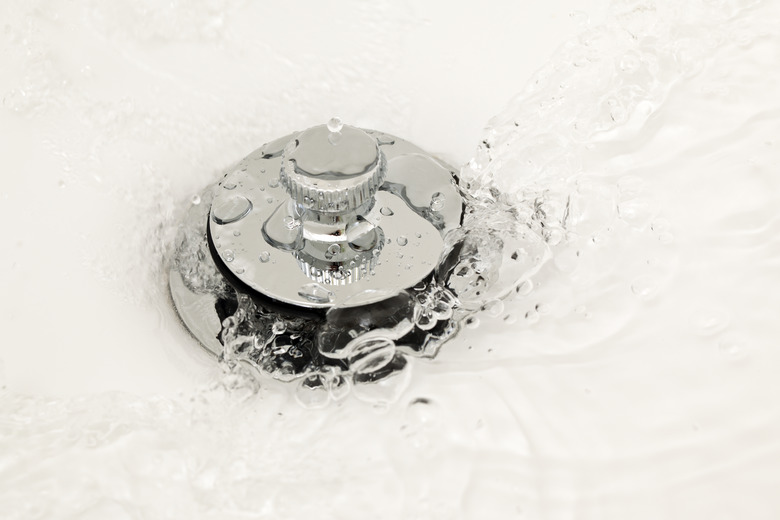
Put the stopper back, close it, and fill the tub with several inches of water. Note the level by making a mark on the side of the tub with painters' tape and then let the water sit for an hour or two. When you return, the water should still be at the same level. If not, tighten the flange a little more and try the test again.
 Andrei310/iStock/GettyImages
It's Still Leaking ... Now What?
It's Still Leaking ... Now What?
You've checked the faucet plumbing, resealed the tub caulk or grout and the tub itself, and now you've resealed the drain flange. If water is still dripping onto the ceiling drywall in the room below the bathroom, the only possibility is a leak in the bathtub drainpipe assembly.
You may be able to find the leak by looking through the access panel if there is one, but it's more likely that you'll have to cut through the ceiling drywall to get to the P-trap and the rest of the drain assembly. This isn't necessarily a difficult job for a DIY-savvy homeowner, but it's going to be messy, so you may prefer to go ahead and hire a pro to do it. You don't necessarily need a $75-per-hour plumber. A handyperson can remove the drywall, find the section that's leaking, replace drainpipes and fittings as necessary, and reinstall new drywall for a lot less than a plumber will charge.
If the downstairs drywall is soggy and discolored, you'll have to replace it no matter what, so you can save time by cutting it out and using a flashlight to examine the bathtub plumbing from below at the very beginning of the diagnostic procedure. Water dripping while the stopper is closed and the tub is full is coming from the drain flange, but water that drips only while the tub is draining is coming from some other part of the drain assembly.
References
- American Leak Detection: Common Bathtub Leaks and Simple Solutions
- Home Repair Tutor: How to Perform a Bathtub Drain Repair for Under $20
- YouTube: JMG Enterprises – Bathtub Drain Leak Repair // Leaking Bathtub Drain // How To Fix Leaking Bathtub
- Roto-Rooter: How to Find and Repair a Bathtub Leak
- The Bathtubber: Is Your Bathtub Leaking? How to Find and Fix the Source
- PlumbingSupply.com: How to Replace a Bathtub Drain Flange