How To Wire A 110-Volt Outlet
Wiring a 110V outlet, like switch wiring, is a basic electrical task that every homeowner should know how to do. An electrician charges a hefty fee for this job, and it takes less than 30 minutes to complete, even for a novice. If the reason you haven't learned how to do this yet is that you have a healthy respect for the hazards of working with electricity, you're right to have that respect. However, if you take a few precautions, you have nothing to fear.
Residential electrical devices all use a standard color code for wires and terminals, and if you follow it, it's almost impossible to wire a 110V outlet incorrectly. By the way, if you're wondering why the outlet you just bought has a label indicating it's for a 115-volt plug or a 120-volt plug, don't worry. Residential circuits are rated for 110, 115, 120 or 125 volts. All these numbers mean basically the same thing.
Safety Tips for 110V Outlet Wiring
Safety Tips for 110V Outlet Wiring
Whether you're replacing a worn 110V outlet or installing a new one, you'll need to make sure there is a live circuit cable in the electrical box, which should be firmly nailed to a stud or secured to the face of the drywall. The cable is connected to one of the breakers in the panel, so the first thing to do is to find that breaker and shut it off. Double check the circuit wires with a voltage tester before you start wiring. The tester light should stay off when you touch one lead to the black wire and the other lead to either the white one or the bare one.
Once you verify the wires are dead, you can touch them with impunity, but it's still a good idea to use tools with insulated handles just in case. There may be another cable in the box, and if so, it's feeding another fixture. It is probably dead, but you should check it as well just to make sure.
Keep the Color Code in Mind
Keep the Color Code in Mind
If you look at the receptacle you're about to install, you'll see it has two pairs of brass and chrome terminals arranged across from each other. You only need one pair to energize the outlet. The second pair is for daisy chaining another circuit device downstream in the circuit. The brass terminals are for hot connections. When you insert a plug, they determine which side of the plug is hot. You always attach black wires to brass terminals. Similarly, the chrome terminals are neutral and are only for white wires. The green terminal at the bottom of the outlet is for the ground wire.
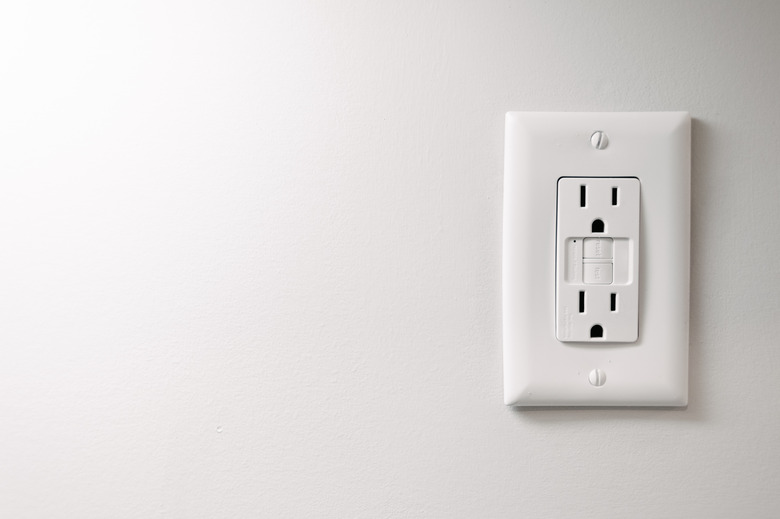
You can connect the live circuit wires to either pair of terminals, but to avoid confusion, choose the top pair and leave the bottom pair open for daisy chaining. Making this choice consistently simplifies troubleshooting when a problem occurs. If you're wiring a GFCI outlet, the live circuit wires must go on the terminal pair marked LINE. The LOAD terminals are for downstream devices only.
Getting It Wired Up
Getting It Wired Up
If the wires haven't been stripped yet, remove about 1/2 inch of insulation from the end of each one using wire strippers. Loosen the terminal screws and wrap the exposed ends of the wires around the screws, bending the wires clockwise with pliers before tightening the screws. If you're wiring a 15-amp outlet using 14-gauge wire, you have the option of feeding the ends of the wires into self-locking holes on the back of the outlet. This makes connections easier, but it also means you have to cut the wires if you want to remove them.
Once the wires are secure, push them into the box, straighten the outlet and secure it to the box with the two 3/16-inch machine screws that came with it. Screw on the cover plate, and then turn on the breaker and test the outlet.