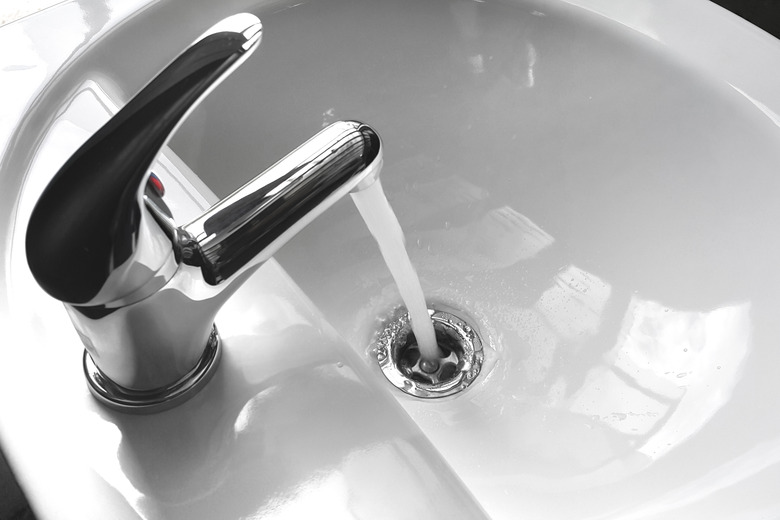
How To Repair A Dripping Washerless Faucet
We may receive a commission on purchases made from links.
A dripping faucet is not only annoying, but it also wastes water. Fortunately, it can be fixed by pretty much anyone who has a few tools and about an hour to spare. Of the four types of faucets you might find in your bathroom, only one has washers that might be worn out, and it always has two handles.
If your leaky faucet has a single handle, you are probably dealing with a cartridge or ball-valve faucet since the third kind, the disk faucet, rarely leaks, according to Fine Homebuilding. Fortunately, you can service all three types of faucets quite easily.
How to Repair a Dripping Washerless Faucet
1. Turn Off the Water
Turn off the water to the faucet by turning off the angle stops underneath the cabinet.
2. Remove the Handle
Unscrew the nut holding the handle to the faucet stem and remove the handle. You will need either a screwdriver or an Allen wrench to do this. You should find the nut either on the top of the handle or hidden somewhere underneath it.
3. Repair a Cartridge-Type Faucet
Remove the cartridge, if you have a cartridge-type faucet, by unscrewing the holding nut with tongue-and-groove pliers or removing the holding pin with needle-nose pliers. Pull the cartridge straight out using a pair of pliers or screw the handle back on and use it to pull the cartridge out. Pay close attention to the orientation of the cartridge in the faucet body because it will have to be replaced in the same way.
4. Check O-Rings and Valve Seat
Examine the O-rings on the cartridge and replace any that are worn. If they do not appear to be damaged, check the valve seat for signs of chipping or corrosion. If the valve seat appears to be intact, buy a new cartridge. Reassemble the faucet by inserting the new cartridge in the same orientation as it was when you took it out. Then replace the holding pin or screw on the holding nut and replace the handle.
5. Repair a Ball-Valve Faucet
Follow a similar procedure for a ball-valve assembly. Unscrew the holding nut with tongue-and-groove pliers and remove it. Remove the ball valve and the springs and examine the valve seat for signs of wear or corrosion.
Check the seals around the water inlets and replace them if they're worn. Replace the ball valve if it is chipped or badly corroded. Reassemble the faucet by setting the ball valve and spring back in place, being sure that the valve is seated correctly in the water inlets, and screw on the holding nut. Then replace the handle.
6. Repair a Disk Faucet
Repair a disk faucet by removing the handle and unscrewing the disk assembly, then lifting it out. Examine the three O-ring seals in the water inlet valves and replace them if they're worn. If this doesn't stop the leaking, you'll have to replace the entire disk assembly.
Tip
If you can't unscrew a holding nut because of corrosion, This Old House suggests spraying it with penetrating oil several times over a 24-hour period, if possible, and trying again.
