How To Fix A Leaky Single-Handle Bathroom Sink Faucet
Repairing a leaky single-handle bathroom sink faucet is often a lot simpler than you think. With the right tools and parts, a faucet repair can be completed in just a few minutes by most homeowners, even those with little or no plumbing experience. By doing the work yourself, you will save money on the cost of a plumber and stop that annoying drip in less than an hour.
The first thing to do when you realize that you have a leaky faucet is investigate the source of the leak. If the water is dripping from the spout, that's a pretty clear sign that the internal valve isn't shutting off the water completely, and the faucet cartridge needs to be replaced. If you have a leak around the faucet base or underneath the faucet, it could either be water running from the faucet body or from a different source. Because different leaks require different repairs, it's important to determine where it's leaking before taking the faucet apart.
Also keep in mind that there are different types of internal valves for single-handle bathroom faucets, including cartridge, rotary ball and ceramic disc. According to Fine Homebuilding, ceramic disc valves are less likely to leak and will generally last longer than other types of faucet valves. While different faucet brands have different internal valves, most single-handle bathroom faucets can be taken apart and repaired using the same basic steps.
Alternative Repairs for Single-Handle Faucets
Alternative Repairs for Single-Handle Faucets
If you have water at the base of your faucet, check to see if it is running down the spout and puddling at the base. This can be caused by a loose or faulty aerator or even by a small pinhole in the spout. If all looks good and the problem is not a leaky faucet spout, then the problem could be a loose retaining nut under the dome cap. Remove the faucet handle and the dome cap and check to make sure the nut is tight.
This type of leak could also be caused by a faulty cartridge, which is also the cause of a dripping faucet. The solution is the same for either problem: replace the cartridge. If there is water coming from under the single-handle faucet beneath the sink or counter, it could be caused by a variety of problems, including a leaky or faulty supply line or supply line nut.
It can also be that the rubber or plastic gasket under the faucet is cracked or faulty, allowing water that puddles on the counter or sink rim to leak through. To fix this problem, you will need to remove the faucet and replace the gasket or seal it with plumbers' putty before reinstalling. For a homeowner who is uncomfortable working with plumbing, this will probably require calling in a plumber to fix the leak.
If you are not used to working with plumbing or taking a faucet apart, it can be easy to forget what part goes where, even if you just took it apart five minutes ago. To avoid this problem and the need to call a plumber to put your single-handle faucet back together, take a video of yourself disassembling the faucet (or just take pictures along the way) to help keep track of each part. It's a simple way to save yourself a lot of headaches.
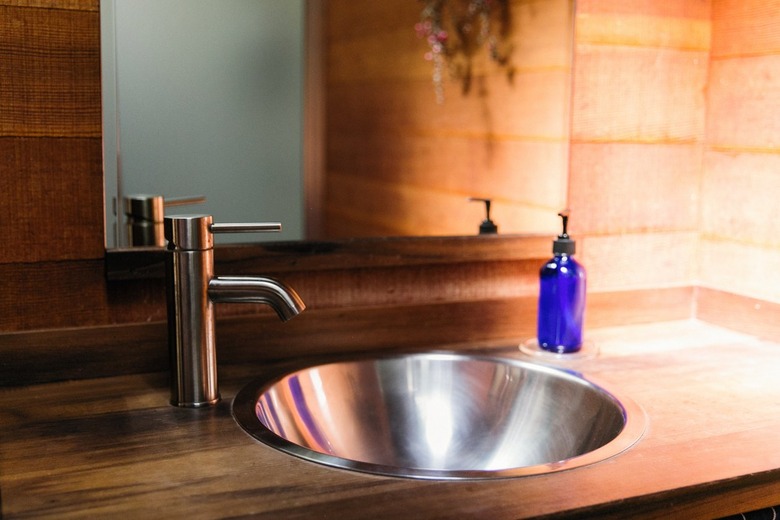
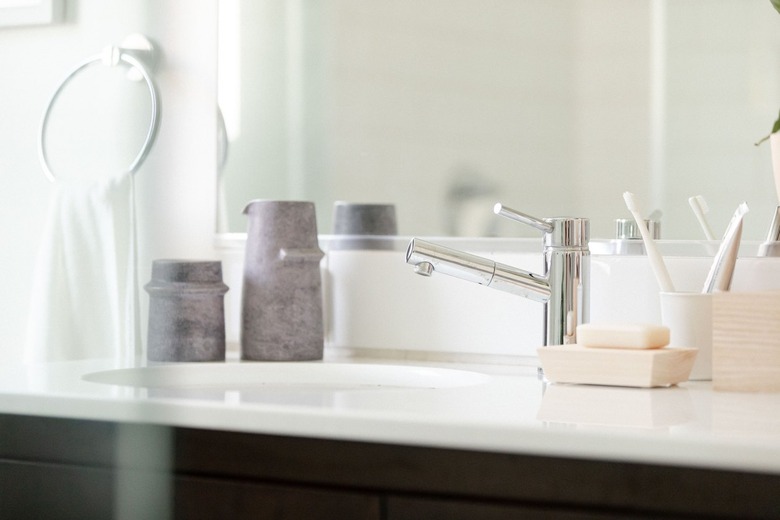 Stephen Paul for Hunker
How To Replace a Bathroom Faucet Cartridge
1. Turn Off the Water
Locate the hot and cold water valves beneath the bathroom sink and turn the handle clockwise on both valves to turn off the water to your single-handle faucet. Then, turn on the faucet to release the pressure and remove any water that may remain inside the water lines and faucet. If the water will not shut off completely or if there are no shutoff valves under your faucet, you can shut off the water at your home's main water shutoff.
2. Remove the Faucet Handle
The most difficult part of removing the faucet handle is often finding the screw. It is usually concealed under a small cover located either on the back or the front of the handle. Remove this cap by prying it up at an edge with a small flat-head screwdriver; beneath it, you will find the setscrew. Loosen the setscrew with an Allen wrench or a Phillips screwdriver as applicable. On most faucets, the setscrew only needs to be loosened (not removed) to allow you to pull off the handle.
3. Remove the Collar and Retaining Nut
After the handle is off, you'll find the retaining nut that holds the cartridge in place. Some faucets have a decorative collar or cap over the retaining nut. If your faucet has a collar, turn it counterclockwise by hand to remove it. You can use an adjustable wrench or tongue-and-groove pliers to remove the collar if it is tight. Be sure to place the wrench or pliers over the knurls or place a towel over the collar before turning to avoid scratching or damaging the finish. Then, remove the retaining nut by turning counterclockwise with an adjustable wrench.
4. Remove the Faucet Cartridge
The cartridges in some faucets may be held in place with a clip. (Moen is one brand that uses them.) You can remove the clip by pulling with a pair of tongue-and-groove or needle-nose pliers. Once the clip is removed or if your faucet doesn't have a clip, lift the cartridge straight up from the faucet to remove it. If it is difficult to remove, you can pull it with a pair of pliers or with a specialty tool called a cartridge puller.
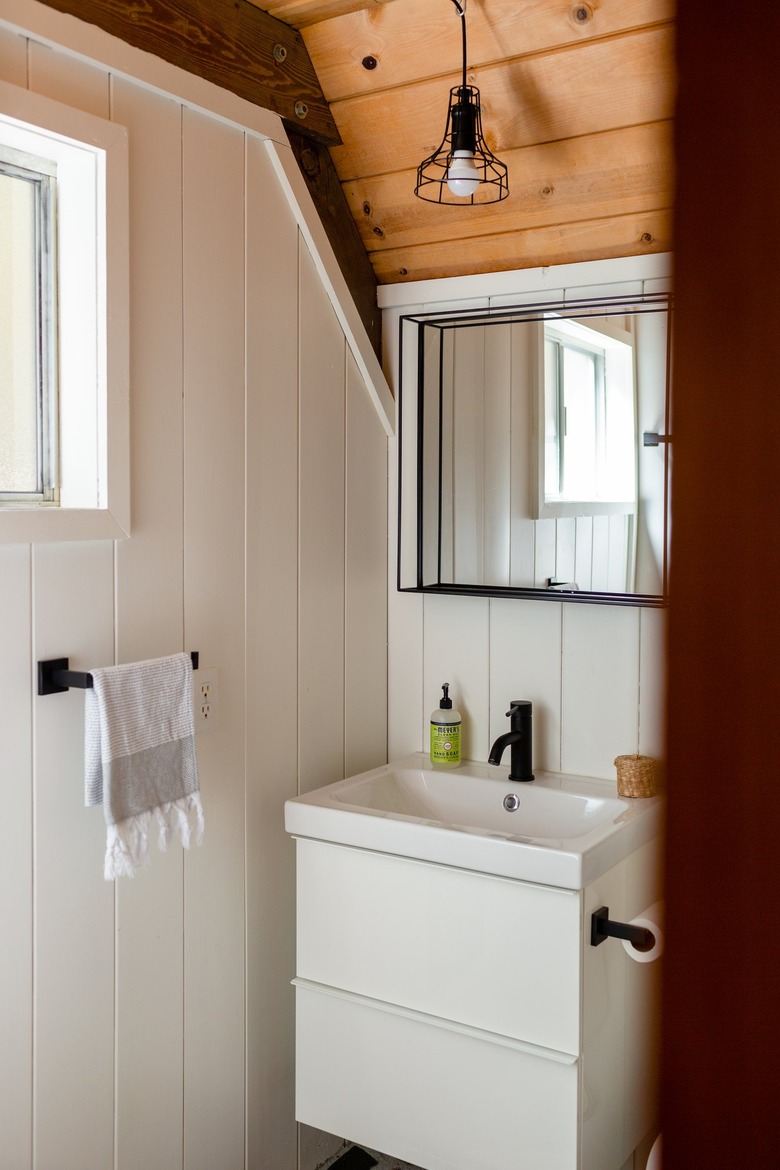 Paul Anderson for Hunker
5. Find a Replacement Cartridge
Most faucet cartridges can be found at hardware stores and home centers. Make sure you bring the old cartridge with you to be sure you buy the correct replacement, or have it ready on your phone before you head into the maze that is the home improvement store. Most faucet brand names can be found somewhere on the faucet.
If you also know the model number, most faucet manufacturer websites offer repair documents and parts information to help you find the correct cartridge. If you know the brand but not the model, brands such as Delta offer an online product identification tool to help you find your faucet and its replacement parts.
6. Replace the Cartridge
Set the new cartridge in the faucet. If the cartridge had a retainer clip, install it. You may need to use needle-nose pliers to install the clip. Replace the retaining nut by turning it clockwise and gently tighten it with an adjustable wrench. Set the collar back on and turn clockwise, tightening gently with an adjustable wrench or pliers. Set the handle back on and tighten the setscrew.
7. Turn On the Water
Check to make sure the faucet is in the off position and then turn on the water valves under the sink. Run the water for several seconds, checking for leaks. Then, turn it off and check to make sure the faucet is no longer dripping.