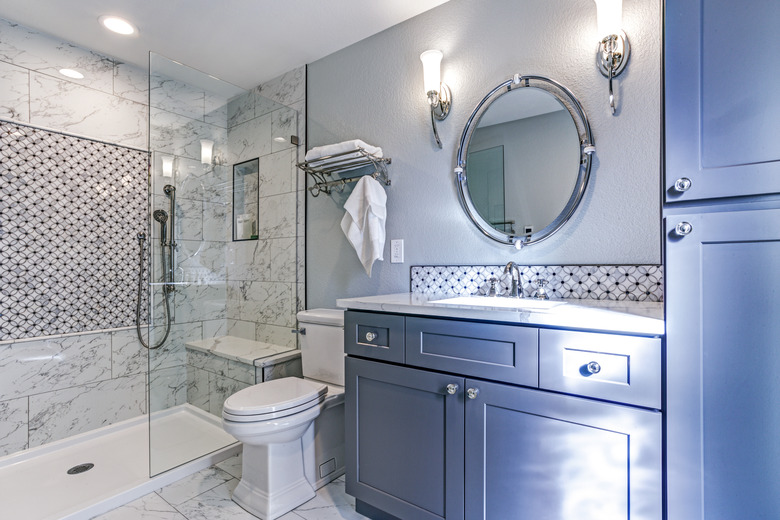
How To Repair The Drywall In The Bathroom Above The Shower/Bathtub
We may receive a commission on purchases made from links.
The drywall that's installed in the bathroom above the shower and bathtub surround is typically subjected to an onslaught of steam multiple times daily, depending on the size of your household. If there's a lip at the top of the shower stall, water has a tendency to collect there and seep into the drywall, eventually causing it to soften and crumble.
The drywall used in bathrooms is most often "greenboard," which has a moisture-resistant coating but isn't waterproof. Once water seeps into the tiniest crack or gap, it will start to crumble. Fixing drywall above a shower or bathtub entails removing the damaged area completely, patching it and then making it as watertight as possible.
1. Remove Crumbling Drywall
Remove the softened, crumbling drywall and scrape away any peeling paint. If there's a large area of drywall that's affected, cut it out with a utility knife. Then scrape away loose caulking along the lip of the stall with a putty knife.
2. Attach Furring Strips
Attach at least one furring strip (1 x 3-inch piece of wood) to the back of the existing drywall with 1 5/8-inch drywall screws unless the drywall you've removed has exposed at least two wall studs. You will need something solid to attach the new drywall patch to, so extend the furring strip well past the margins of the missing drywall.
3. Cut and Install Greenboard
Measure the hole and cut a piece of greenboard drywall to fit. Screw the drywall into the wall studs or the furring strips with the drywall screws. For smaller repairs that are less than 6 inches in diameter, buy a metal drywall patch to use instead. A metal drywall patch is a thin mesh patch that has adhesive on one side. Stick the patch over the repair and coat it with two coats of joint compound (drywall mud).
4. Apply Joint Compound
Apply a coat of joint compound to the edges of the patch using a 6-inch drywall knife. Embed fiberglass mesh drywall tape in the wet compound; then scrape off the excess and allow it to dry for at least eight hours.
5. Apply Additional Joint Compound
Apply two more coats of joint compound, allowing it to dry completely in between coats. Put on a respirator mask to protect your lungs and use 120-grit sandpaper, a drywall sanding screen or a flexible sanding sponge to smooth out the final coat.
6. Prime the Patch
Prime the patch with drywall primer and sealer or a coat of latex (water-based) primer.
7. Apply Silicone Caulk
Apply paintable silicone caulk along the top lip of the shower or bathtub stall. Allow this to dry for at least eight hours before painting over the repair.
8. Dispose of Excess Drywall
Don't rinse large quantities of excess drywall down the drain because it can settle and clog the plumbing. Instead, scrape the excess from your tools into a trash bag and dispose of it. It's OK to rinse the small amount remaining on your tools in a sink or tub.
