How To Fix A Cardboard Box
Things Needed
-
Clear athletic tape
-
L bracket
-
Clamps
-
Elmer's or book-binder's glue
-
Nail polish or acrylic paint
-
Acrylic gloss medium
-
Paint brushes
-
Magnifying glass
-
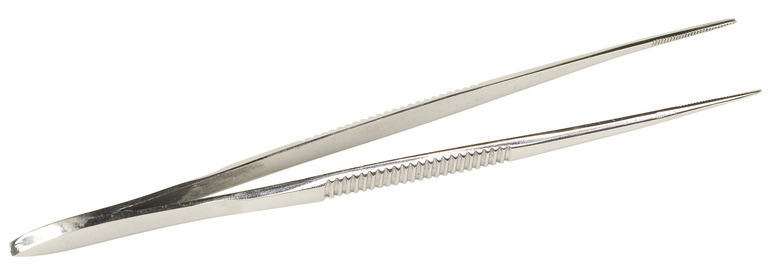
Tweezers
Cardboard is part of the fabric of our lives. It fills our kitchen cupboards and hall closets. Nearly every product smaller than a car, including refrigerators, comes to us packed in cardboard. Many types of cardboard box are easily disposable. You probably wouldn't think twice about tossing out a moving box and getting a new one, but the packaging on your favorite vintage toy is another matter. With a little know-how and some common household items, most minor damage can be repaired.
Quick Repairs
Step 1
Repair split corners or seams with clear, matte finish athletic tape. Like invisible Scotch tape, it blends in with the colors of its surroundings. It also has a strong adhesive backing and reinforcing fibers that make it ideal.
Step 2
Place the tape on the inside where it is much less noticeable and smooth it down securely. Use only as much tape as is needed to make the repair.
Step 3
Smooth over any torn paper on the outside with a coat of clear nail polish. It will act as an adhesive and restore the sheen of the original package.
Box Art Repair
Step 1
Restore dings and scrapes to the artwork on the package using a combination of nail polish and liquid paper. For small areas where the paper coating has peeled back but the artwork still is intact can be smoothed back down with clear nail polish.
Step 2
Lightly coat scuffed areas with liquid paper and allow to dry. This will give a bright white backing for your color repairs and help to restore the surface of the carton.
Step 3
Use nail polish or semigloss acrylic paint to paint the details back in. Test your color on a plain piece of cardstock, allow it to dry and compare before applying to the box. Colors can be blended to achieve the best possible match.
Step 4
Coat your finished repair with clear nail polish or spray-on acrylic art medium. Most cartons have a somewhat glossy finish. Choose the gloss level that best suits your packaging.
Invisible Corner Repair
Step 1
Mend corners invisibly with white school glue or a more expensive alternative, book binder's glue. Use an L bracket as a mold to insure your corner will remain square throughout the drying process.
Step 2
Repair the outside of the corner first. Place the L bracket snugly inside the box pushed into the damaged corner. Clip it in place with quick clamps or clothespins.
Step 3
Match the corners up on the outside of the box and add one clamp on each side of the damaged area. Use a small manicure or artist's brush to thoroughly coat the seam, being careful to press any torn paper back into place. A magnifying glass and tweezers are helpful.
Step 4
Allow the glue to dry thoroughly. Consult the label for best results. Then move the L bracket to the outside of the corner and repeat the process on the inside of the same seam. Allow it to dry completely before removing the clamps.
